ISO El-Cheapo
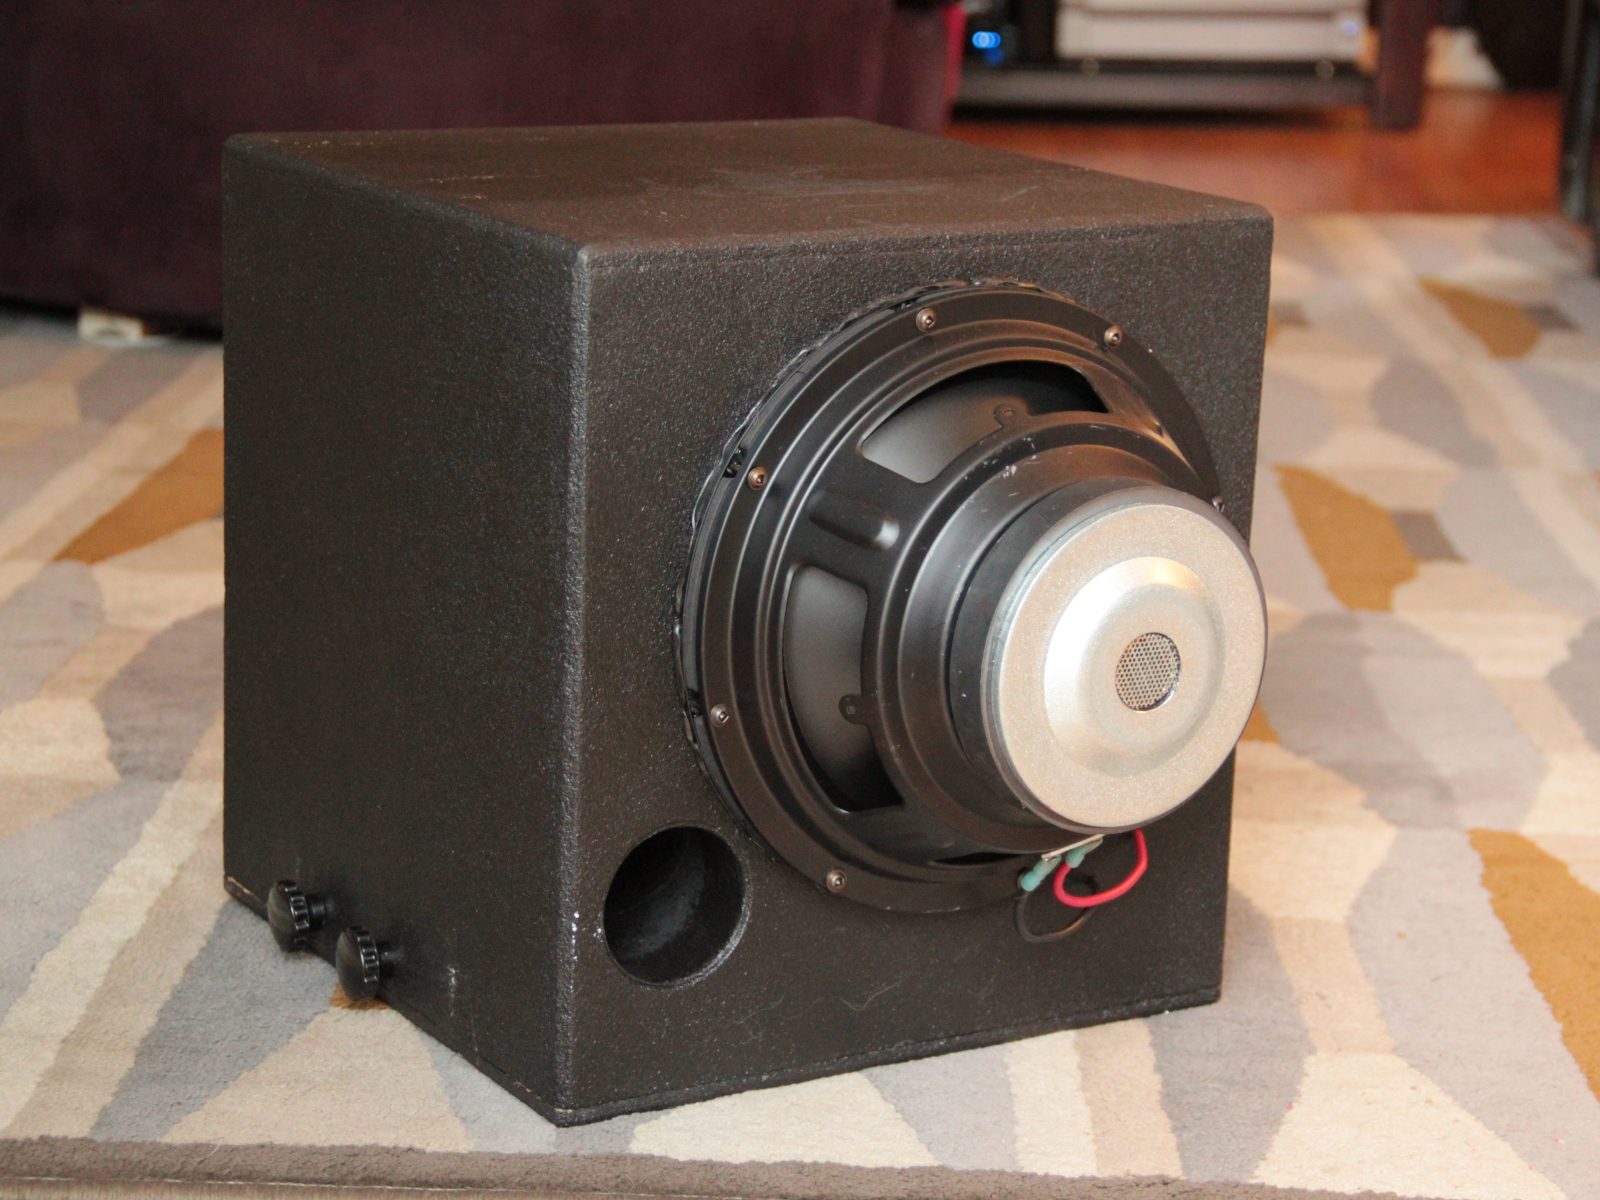
An inexpensive Isobaric loaded subwoofer when the most bass is required for the smallest amount of money in a small enclosure. This was an upgrade for an older cabinet that had used Pyle 10” woofers. The old woofers suffered from dry rot on the surrounds and were tossed.
Design Goals
Cheap with good bass extension fitting into the existing 1 cubic foot cabinet. In order to minimize cabinet size, the drivers are to be used isobaric loaded in a face to face clamshell mount. This arrangement allows inexpensive woofers to play deep in small spaces where a higher end, higher power woofer would usually be required.
The compromises of the existing cabinet being used were not a huge deal, as this build is targeted for the trunk of a teenager’s car, which necessitates the low cost and maximum output requirements.
Driver Selection
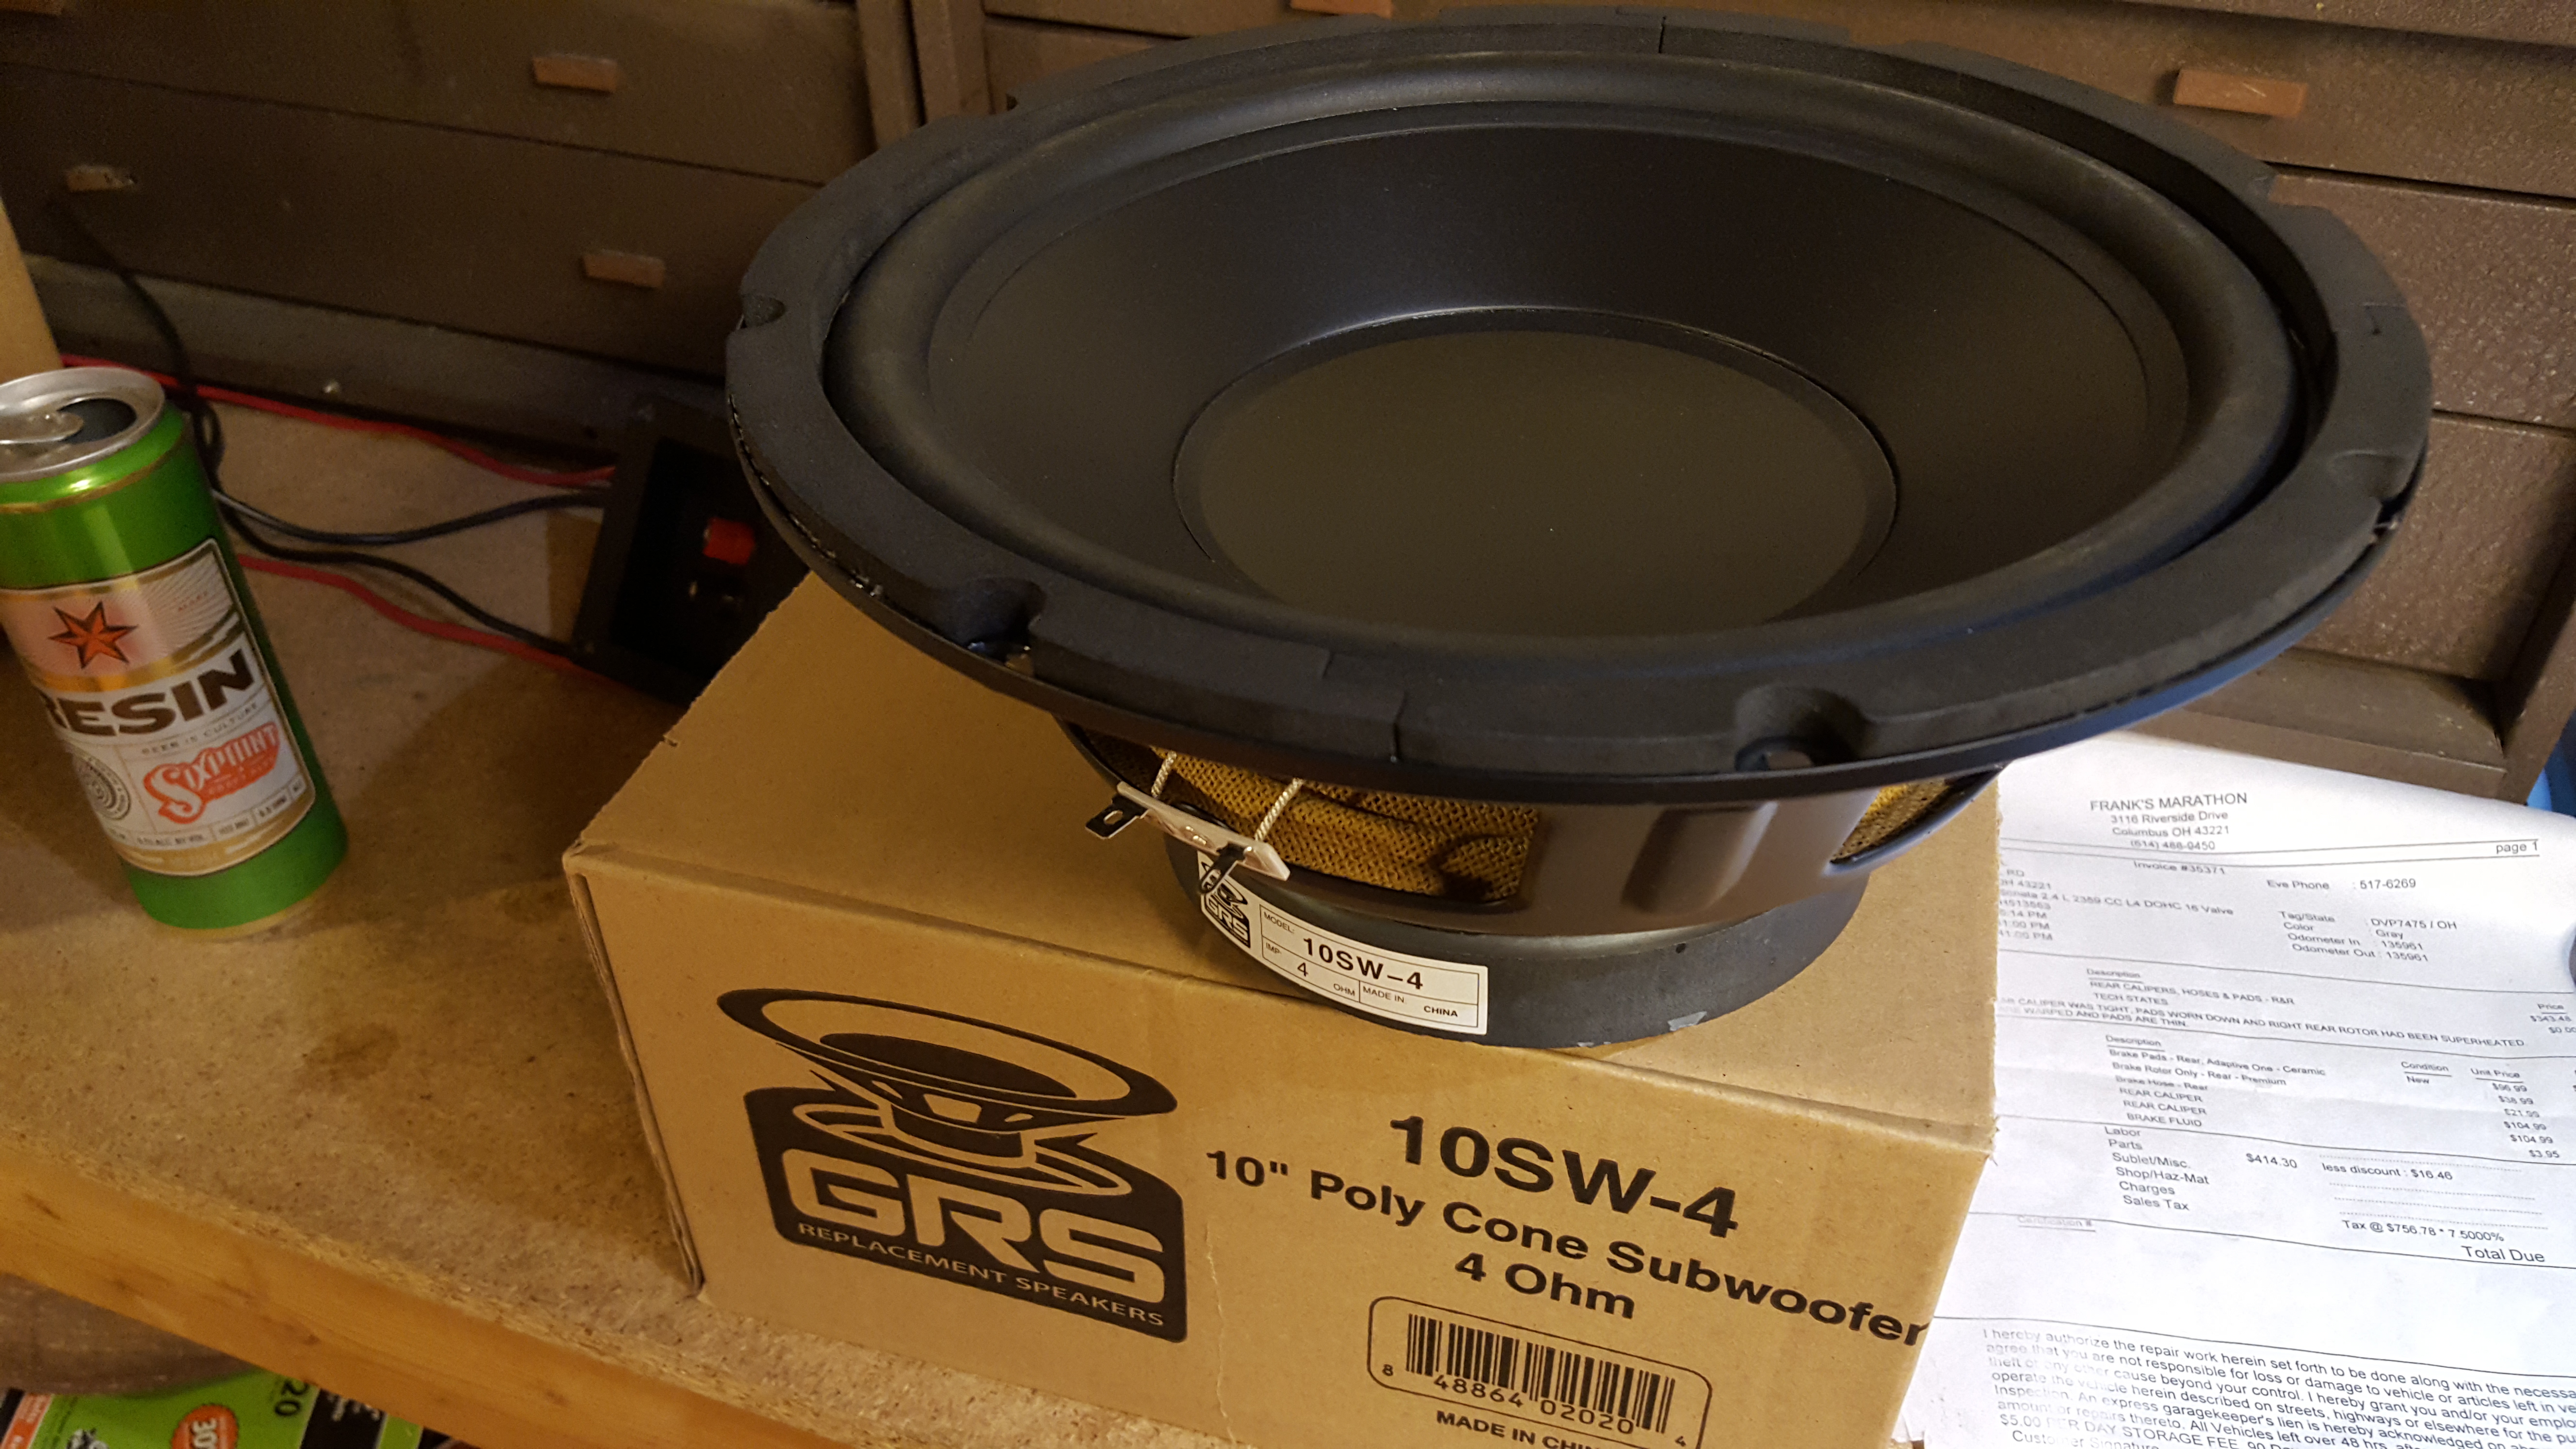
The GRS 10SW-4 woofers had similar parameters to the original Pyle speakers and modeled fairly well in the small existing enclosure. And at only $20 each, allowed a re-build with only $40 in drivers.
Enclosure Design
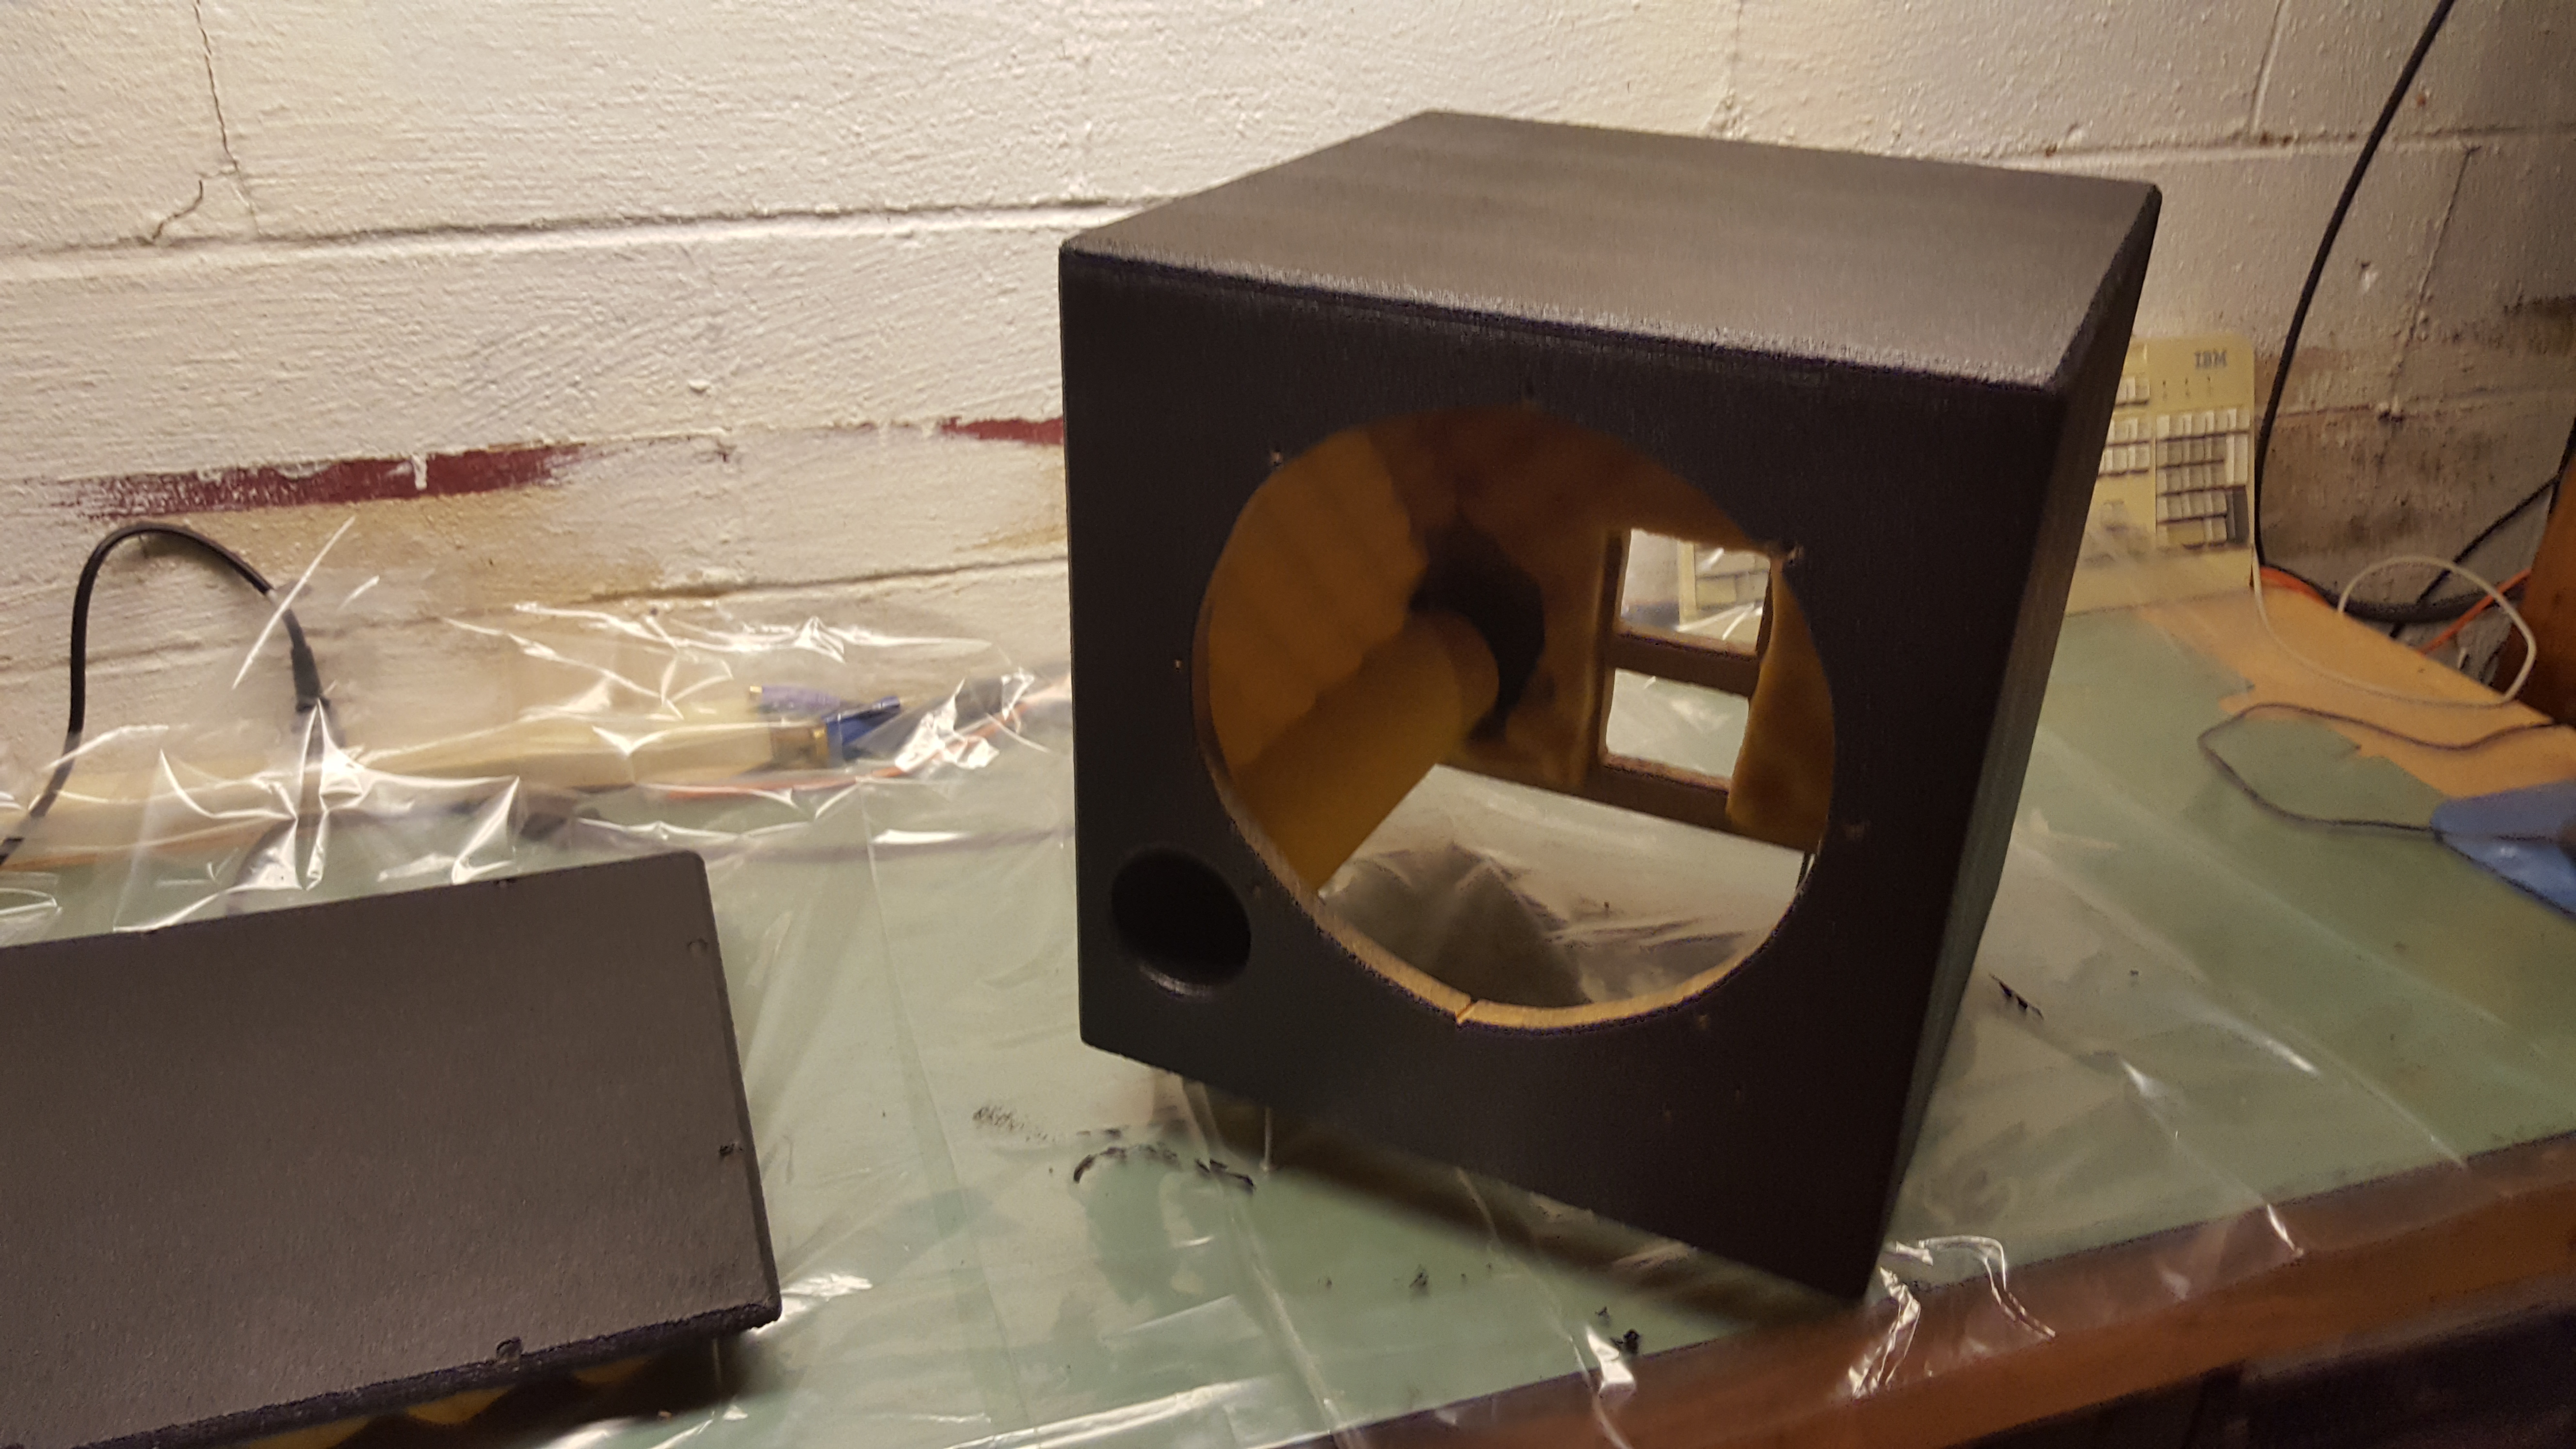
The existing enclosure is a simple cube 13 ¾” by 13” by 13” made from 5/8” MDF tuned to 33Hz with a 2 ½” by 11” port. The port is cut at an angle internally in order to reduce the air flow restriction, a compromise for the small cabinet.
Building a new cabinet would be recommended to increase the size and volume to 1.5 cubic feet using ¾” MDF and doubled up baffle that will recess the driver clamshell assembly and allow a 3” port cut to 15” long for reduced chuffing.

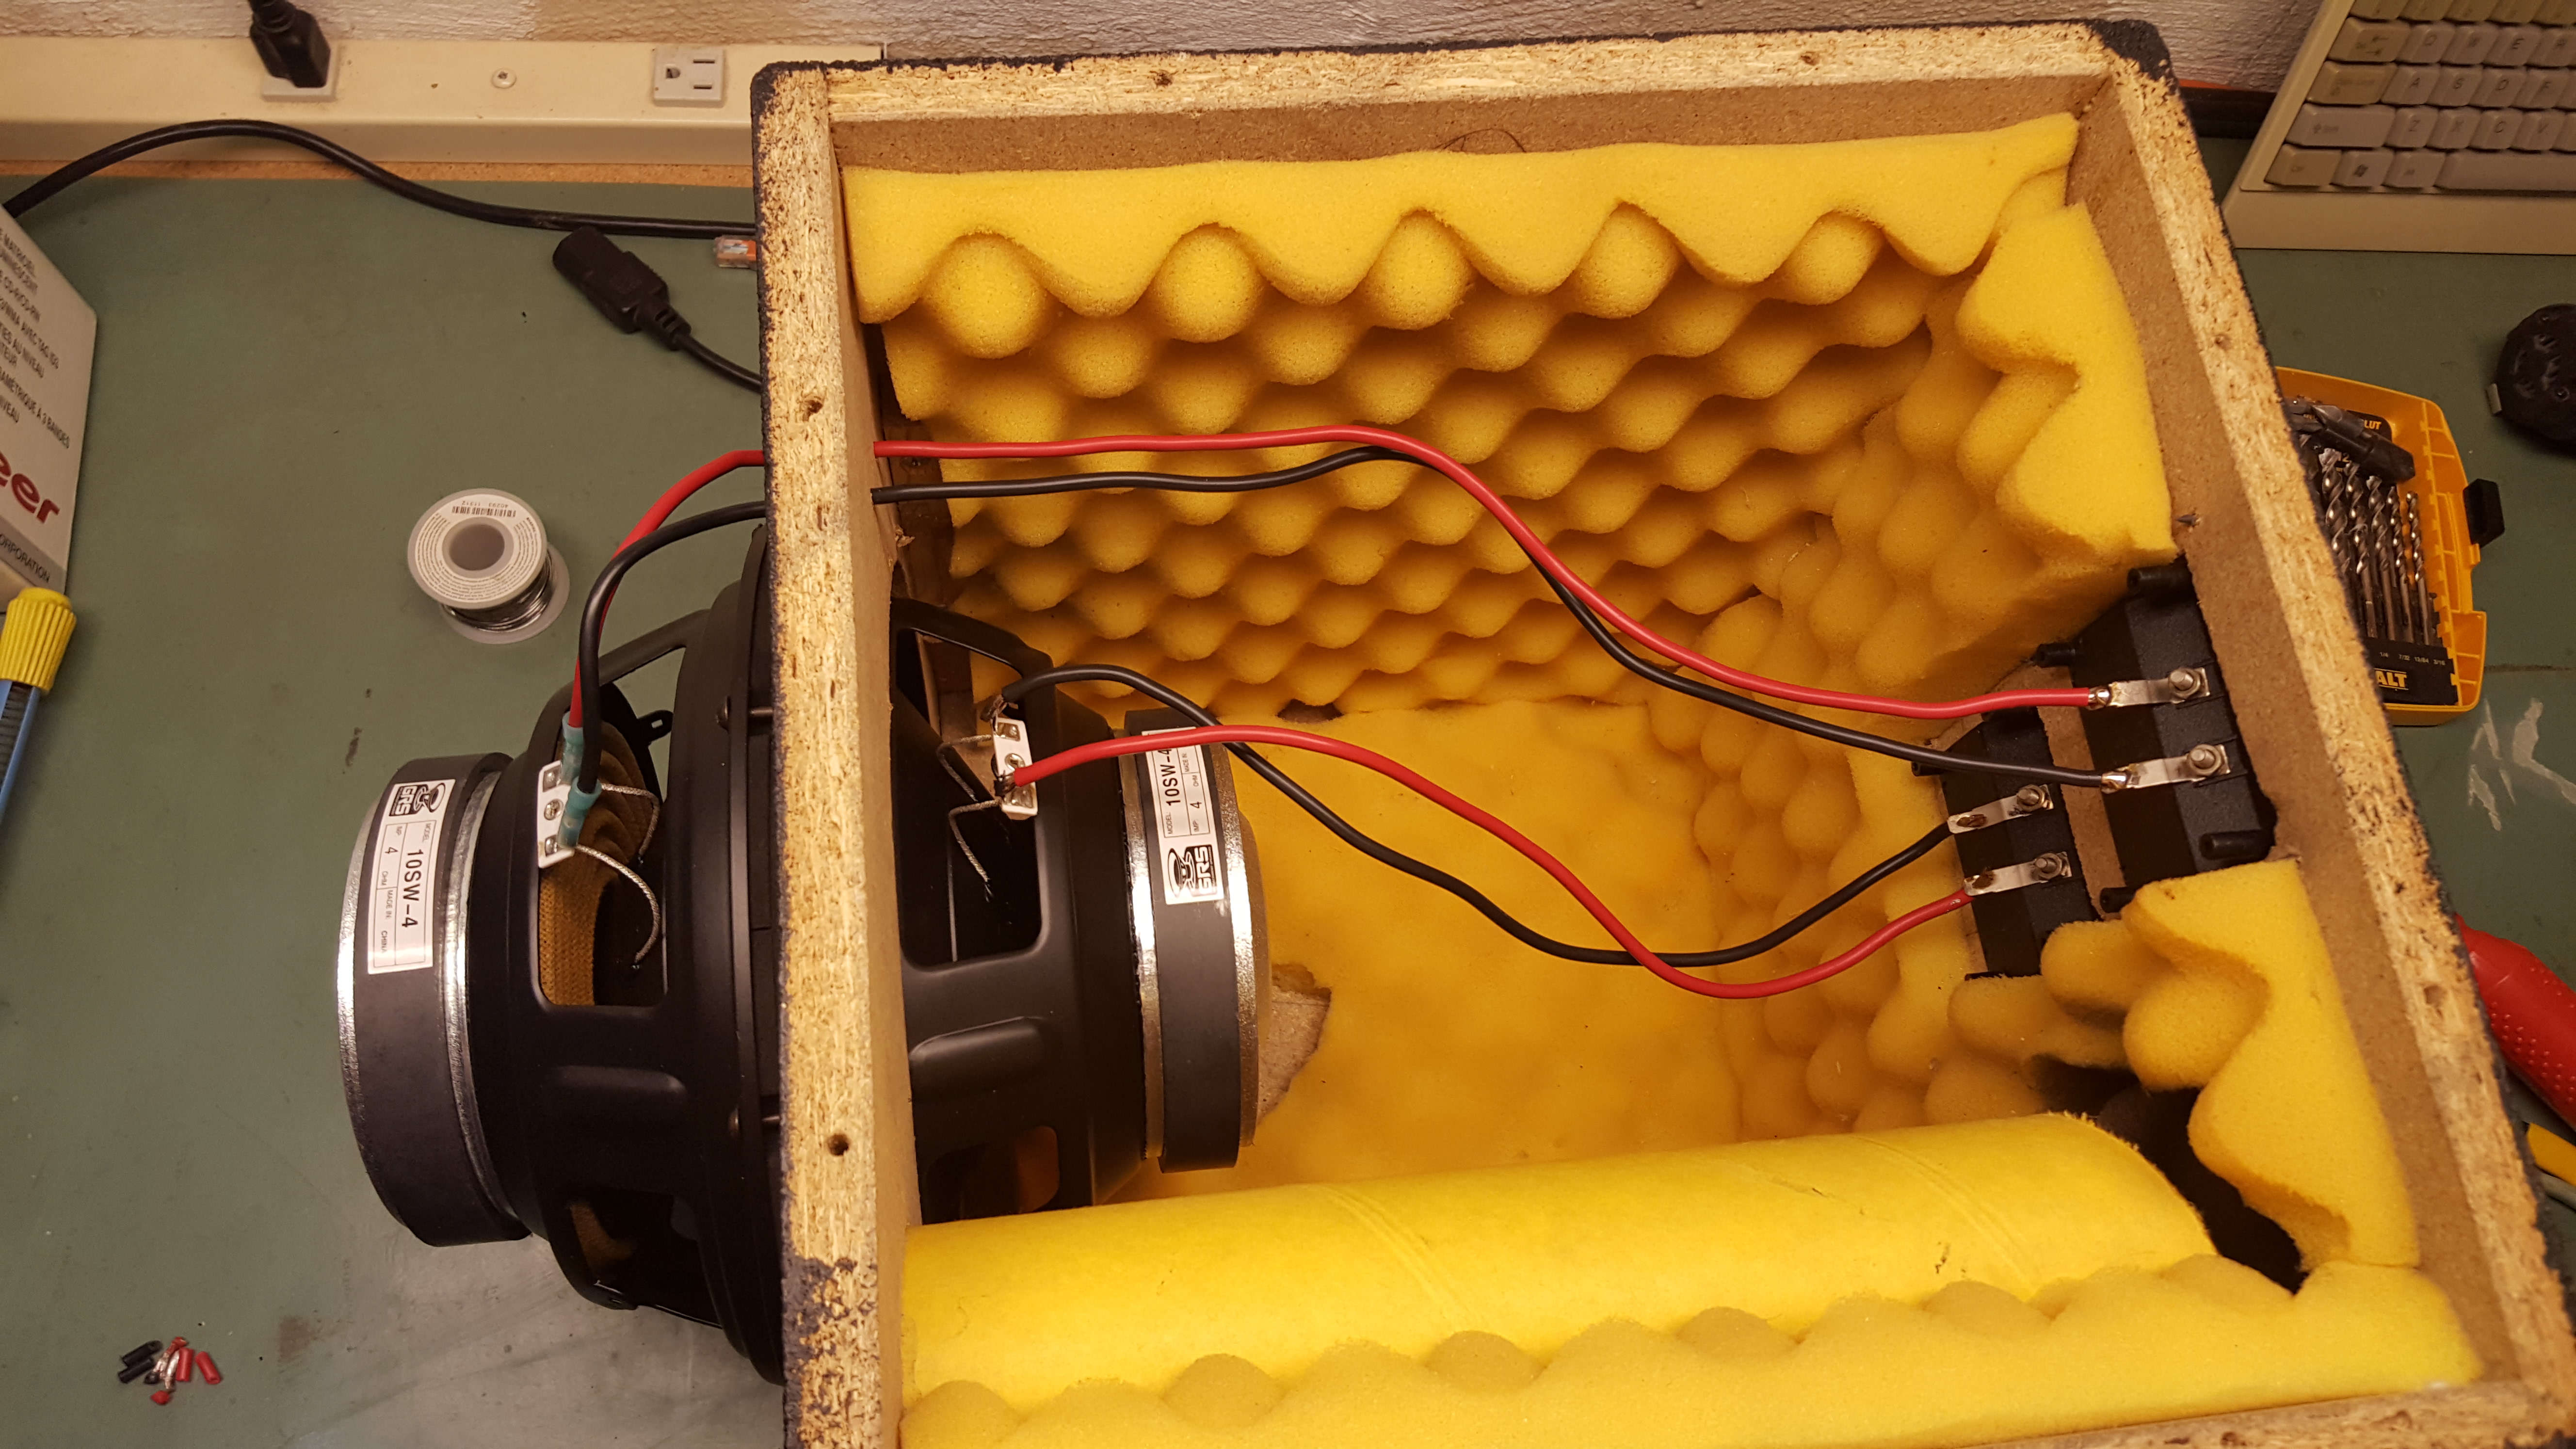
The baffle is doubled up ¾” MDF, with a 10.25” cut out on the outside piece, and a 9” cutout on the inside piece for the recess of the drivers. Apply cross bracing internally using a window brace or dowels or 1×2 lumber. The inside surfaces should be covered in egg shell foam or other thin damping material.
The resulting response in the 1 cubic foot box reaches 34Hz at -3dB with a peak between 60 and 70 Hz. This is improved with the increased volume, resulting in a 27Hz F3 and a reduced response peak around 50Hz.
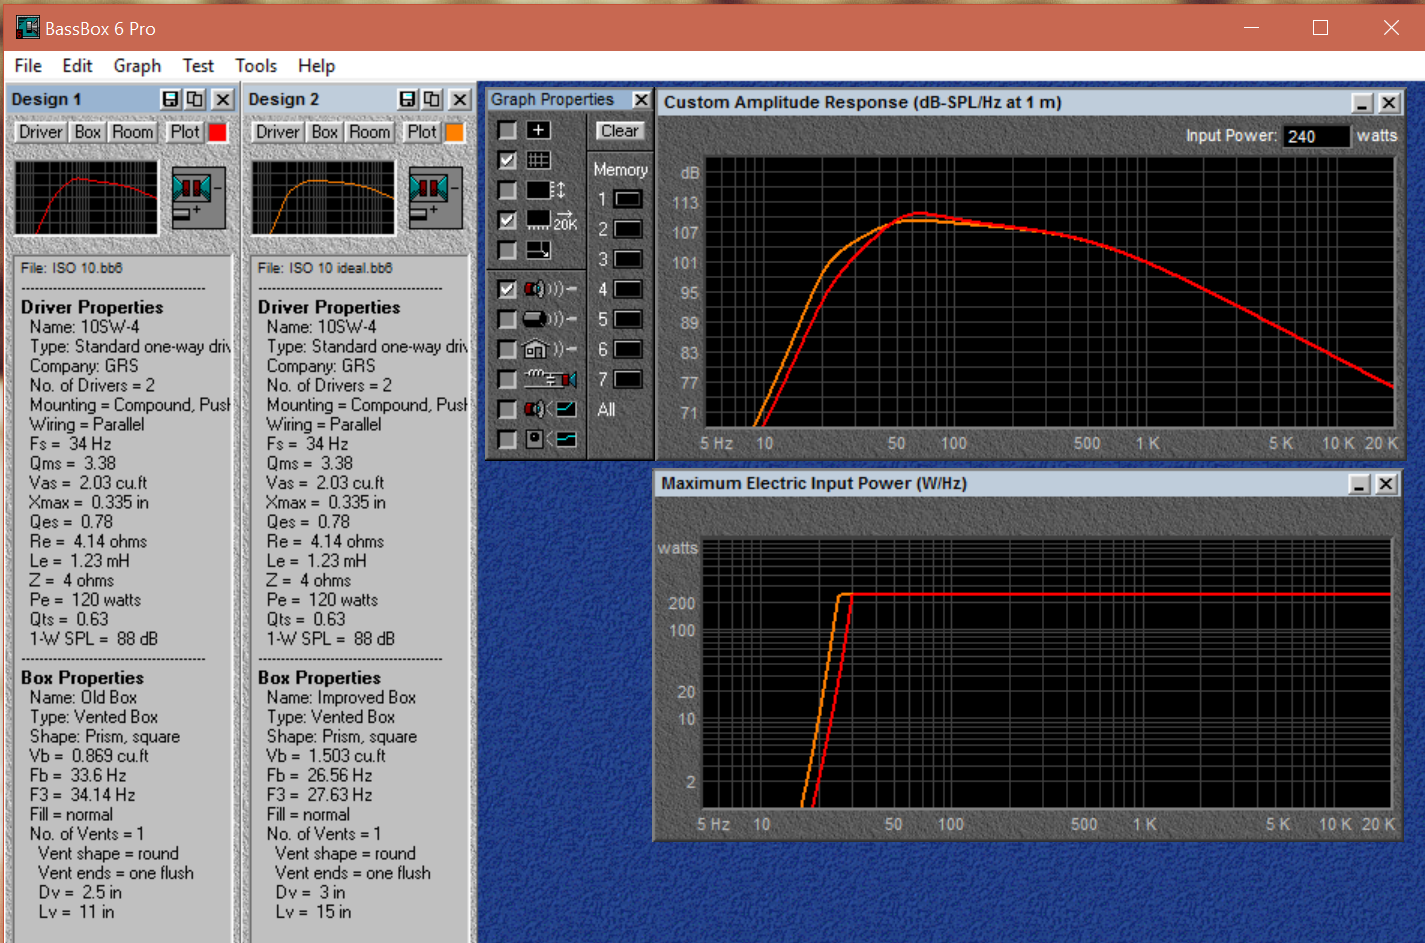
Both designs allow the drivers to use all 240W of input power without over excursion and approximately 107dB peak output.
Enclosure Assembly
Nothing special here. The original enclosure was assembled with external screws and dado joints, using wood putty to hide the screws. This was sanded a bit and cleaned up using some more putty and finished with Duratex.
Tips and Tricks
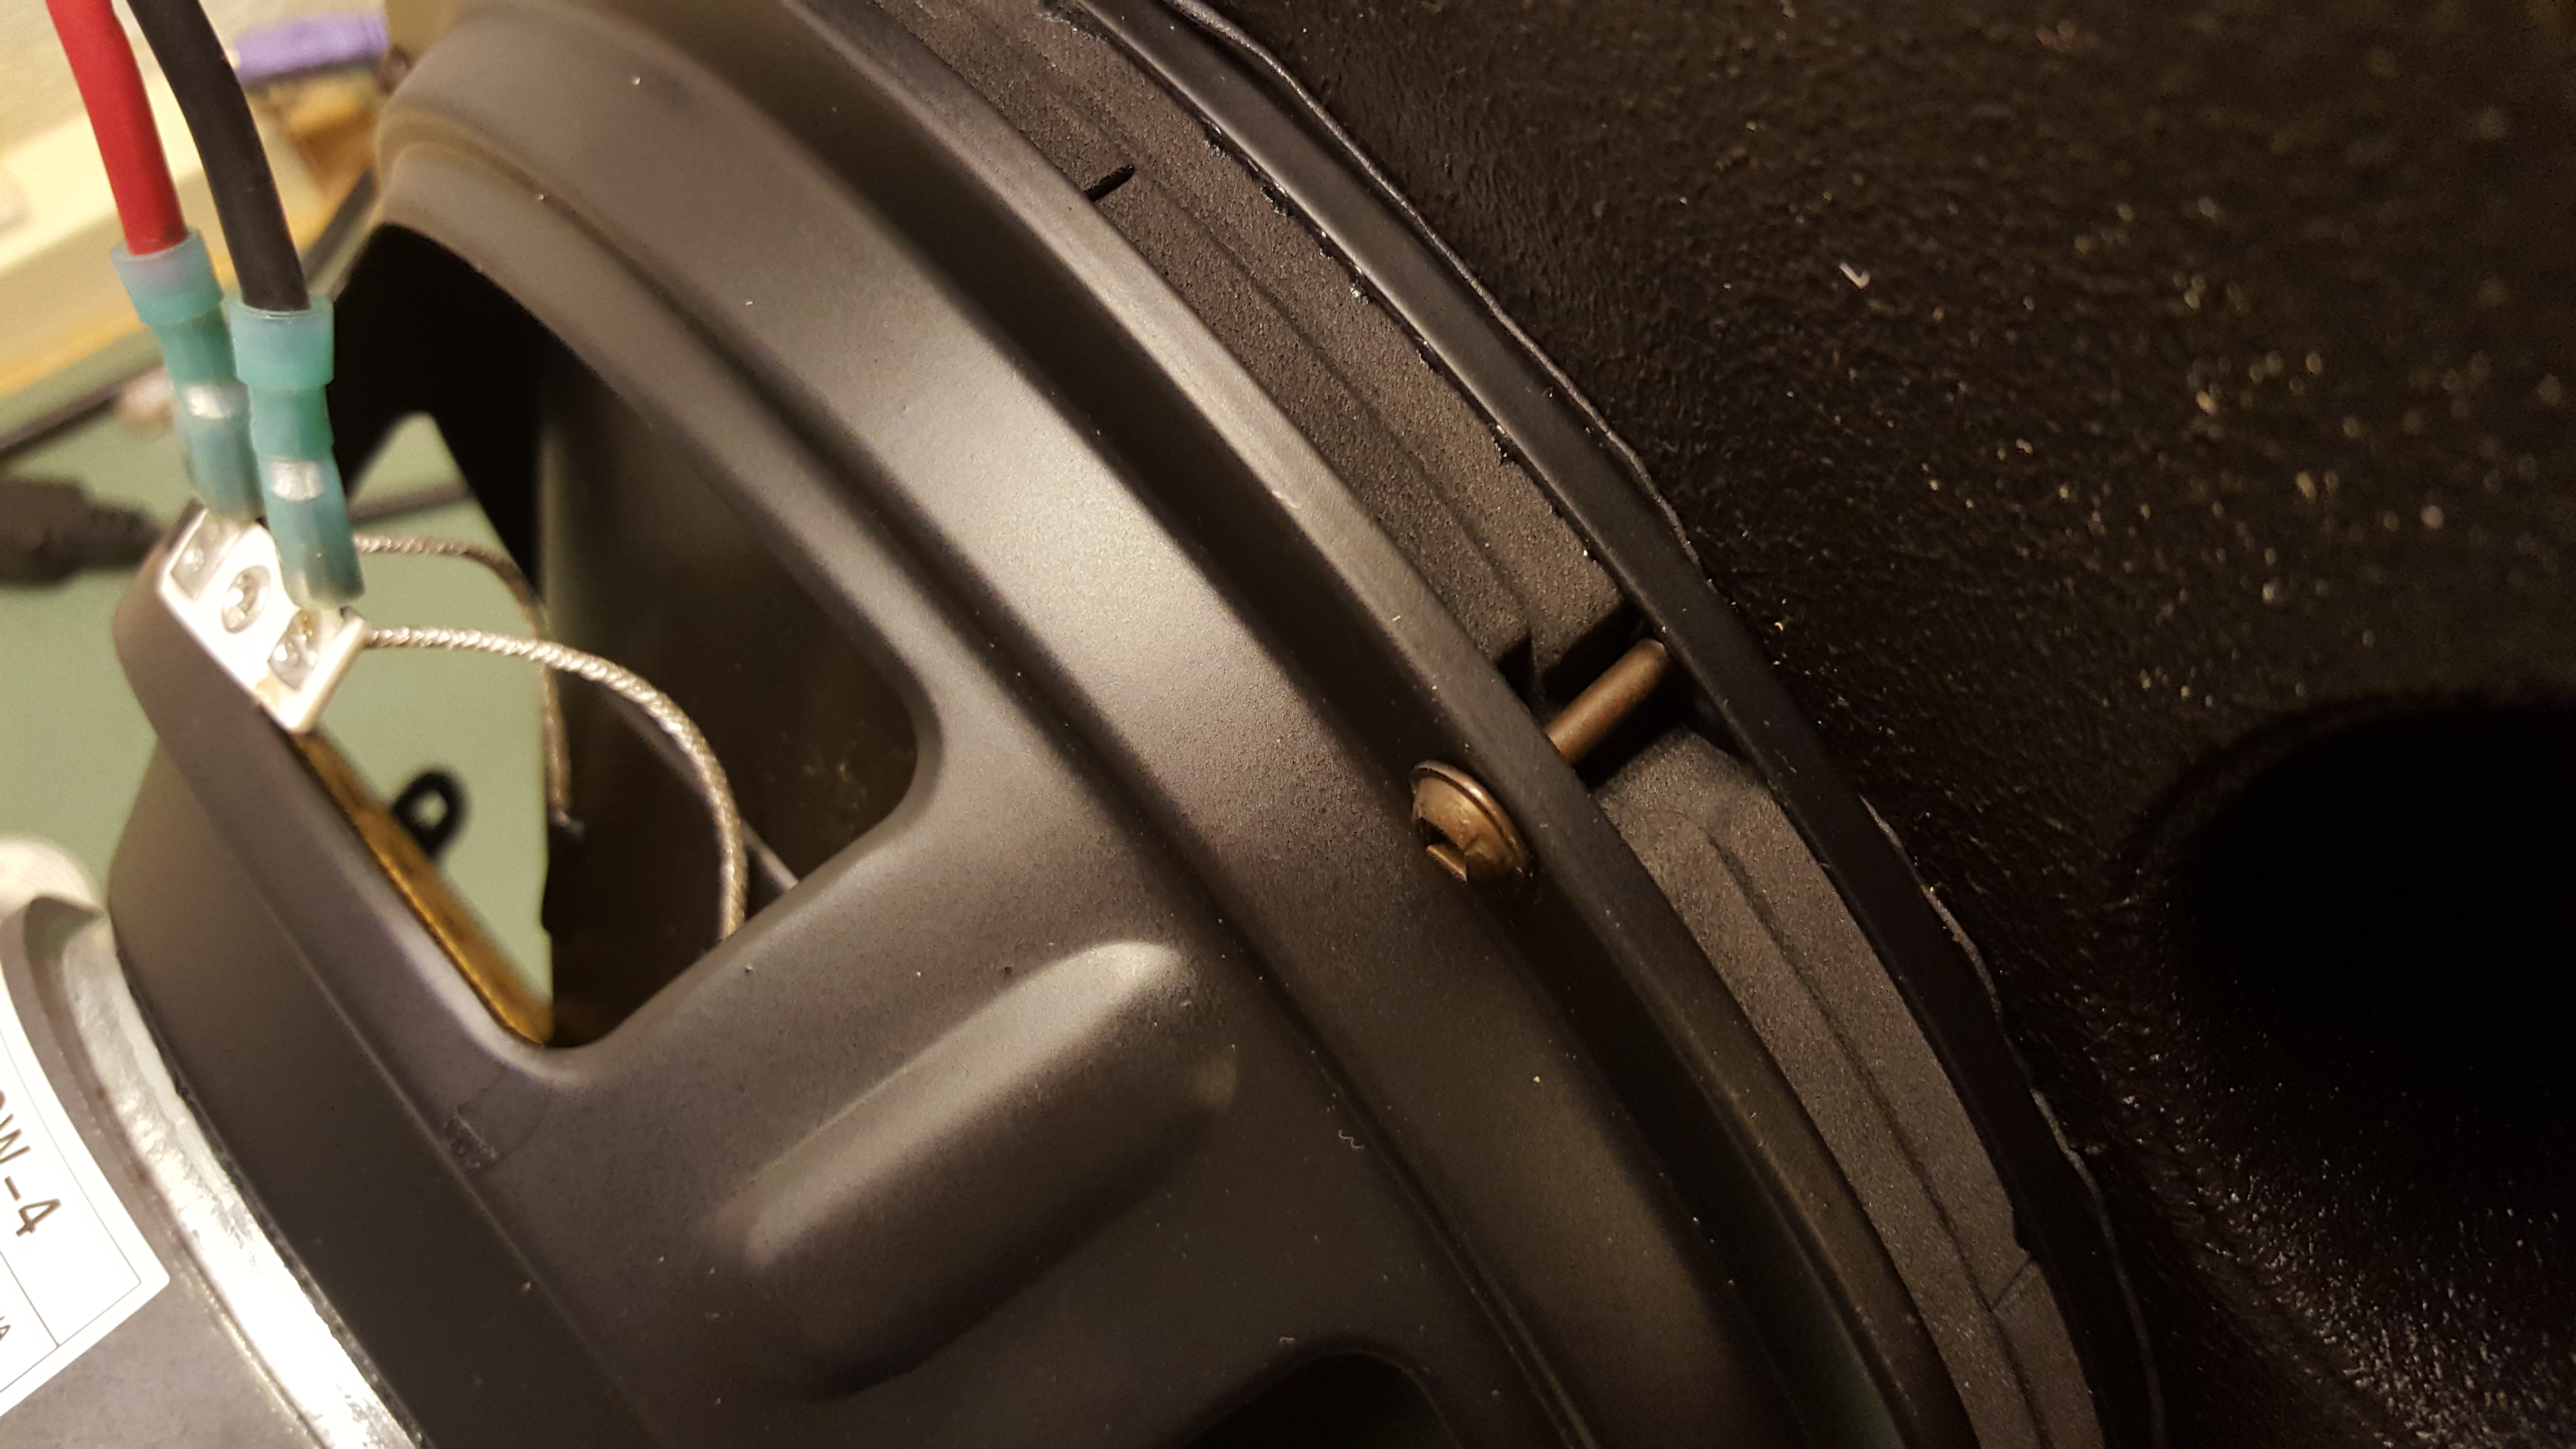
The drivers are mounted face to face directly against their gaskets. The gasketing was sufficiently thick to avoid the driver surrounds touching and ensures a clean seal with minimal air space between the cones for maximum isobaric efficiency. I used pocket screws for the mounting of the clamshell because they were the appropriate length, course thread, and color.
Conclusion
In the 1 cubic foot design, this subwoofer does really well in an automotive installation. The combination of cabin gain, and masking of noise by way of trunk mounting really covers up the less than ideal peak in response and the chuffing from the undersized and poor clearance port.
With the larger enclosure design, this woofer would be an excellent and inexpensive general purpose subwoofer. Stand it up on 5” legs and down-fire the woofer clamshell assembly to fit it in your living room décor, unless the wife is good with the industrial looking exposed baskets.