The Art of Do It Yourself Speaker Design

Even before I was a bass player, I’ve been obsessed with the bottom couple octaves of the audible spectrum. At some point, I decided that subwoofers were expensive and I should design and build my own. With a father that was both an excellent wood worker and an electronics technician with all the tools to go with the trade, I built myself a plethora of speaker boxes and put whatever drivers I could land my paws on into boxes of all shapes and sizes. Some of them were terrible, many were very good and I still use them today.
Building yourself is a bit of a hobby, it takes a lot of work and research to do it right, but in my opinion the pay-off is worth it. Here’s a little pro / con list for you to decide:
Pros
- Relatively inexpensive to build a potentially high quality speaker, if you have the tools
- Control over everything, so you get exactly what you need in size and performance
- Massive satisfaction from using something you crafted yourself, if you’re into that sort of thing
Cons
- Time consuming and a whole lot of work
- Research intensive, unless you like that sort of thing
- Cost saved in the build shifts over to tooling for your first build
If you’ve got some basic woodworking skills and the willingness to use them, this may be a good path for you to take.
My beef with the car audio market
Big speakers, little boxes
 Speakers need air to properly move air, when put into tiny enclosures they’re no longer very effective at very low frequencies. Car audio pros get around this by using massive high power speakers, and driving them with similarly huge amounts of power. This works, but isn’t very efficient. I’d much rather build an efficient speaker and drive it with a reasonable amount of power, saving my battery and alternator, and simplifying installation.
During my project I modeled available car subs from decent mid-range parts like Kicker and RE, down to cheapo brands like Lanzar and Boss. None of these speakers worked as well on paper as I wanted them to in my choice enclosure. They all relied on the acoustic boost of being in a car, and large amounts of power and EQ to extend the response. My goal was for the speaker to reach down to 30Hz easily, without any compensation from the interior of the car.
Flashy
 Making a car system with a lot of “look at me” business just attracts thieves. I’ve had my stuff stolen before, it’s no fun. The best security system is to not look like a target in the first place, and don’t advertise by cranking it up and bumping around your neighborhood. You won’t advertise your stuff, and your neighbors will thank you for not disturbing them.
Speakers 101
Speakers take the role in a system of transferring the electrical energy into acoustic energy by literally shaking the air and creating pressure waves that travel to your ears. There is a great deal of physics going on in getting the sound to transfer efficiently, and the ultimate goal is to have a speaker that does so uniformly across the entire human hearing spectrum. One of the parts most easily controlled is the low frequency response by way of the box design. For high frequencies, you’re more or less at the mercy of the driver manufacturer.
A box is critical for low frequencies, since as a speaker vibrates the sound pressure emanates from both sides, and in exactly opposite polarity. This means that the sound completely cancels at very low frequencies, making a woofer useless unless enclosed. The only reason you hear sound at all is because as the frequency goes up, the sound becomes more directional, so the cancellation doesn’t work as well. This is due to the relationship of the wavelength of the sound in the air, with the surface area of the radiator.
Speakers are essentially a motor driven, spring suspended mass. These have particular parameters that will determine how they will perform in an enclosure. This means that just popping any woofer in any box is rolling the dice on how well that speaker will work. If you’re going to take the time to build, you should take the time to design properly in the first place. In order to do a proper design, we’ll need some parameters for the speaker called Theil-Small parameters. Let’s take a look at a few key parameters:
Fs or Free Air Resonance
All suspended masses will have a particular frequency they like to shake. This is just plain physics, and the equivalent of a weight on a spring. This is the frequency, without a box, that the speaker will vibrate the most easily and is often an indicator of the lowest frequency a speaker will effectively produce.
Vas or Equivalent Volume
This parameter measures how “stiff” the suspension of the speaker is based on a comparison of a volume of air. Imagine a sealed box with a piston on one side. The larger the volume of air in that box, the easier it will be to move the piston in and out. For the speaker, this will measure how much restriction the box itself will impose on the movement of the speaker. A large Vas will require an equally large box to let the cone behave freely.
Qts or Total System Q
This parameter measures the intensity of the resonance. A high Q means a very large peak at the speaker resonance. This parameter will affect how well the speaker can be controlled with a box and will affect the size you need, and the tuning frequencies. This is often broken down into mechanical and electrical components Qes and Qms for detailed analysis.
Xmax
The total linear travel a speaker can move while the coil remains in the magnet structure. This determines just how much air a speaker of a given size can move. The more air movement, the more bass output. Note that a speaker can often keep going past this spec, but when that happens the cone is no longer controlled by the motor, meaning the distortion will be higher. And once the coil hits the mechanical limit, or bottoms out, it sounds terrible and does damage.
Nominal Impedance
This is a rough measure of the coil resistance in Ohms of the speaker. All amplifiers have a range they’re designed to work, and this is what you match up to. The actual resistance of a speaker varies a lot across different frequencies. For example at resonance, the speaker moves far more easily, causing the impedance to go way up like a free spinning motor.
Power Handling
This is the maximum power the speaker can take before the coil overheats. Like amplifiers, this specification is pretty loose. Look for continuous power handling, not peak or PMPO or any other made up specs. If it’s not specified, then it’s probably BS. For example, 100 Watts is a huge amount of heat to deal with, if a cheap speaker claims hundreds of watts of power capacity without “continuous” or “RMS” in the spec, it likely means that power is only sustainable for a very short period of time.
These specs mean very little, without some formulas and better yet, software. There are a plethora of books available out there, and for free I have a crude analysis tool built that may still work on modern Windows computers. For serious analysis, I use a product called Bass Box 6 available from Parts Express.
Box Types
Sealed
Classic nothing but a driver in a sealed up box design, nothing gets easier. These have generally tight controlled bass output, and an early but slow roll off as the frequency goes down. Using a good driver and a good amount of power, it’s really quite possible to get some impressive low end out of a sealed box, particularly if you use a bit of compensation for the roll off via a little carefully placed bass boost.
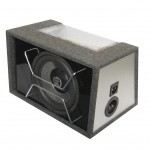
Bass reflex / ported
These are also extremely popular. Basically, they can extend the low frequency response and boost some efficiency by using the back side of the speaker to drive a resonating bit, typically a tube with carefully chosen dimensions. The tube is calculated to resonate just below the woofer, where it is starting to get weak, thus extending the speakers response. There are a few things to consider here:
- The roll off below the tuned frequency will be sharper than a sealed box
- The port must be large enough to not have massive air velocity in and out, resulting in a bunch of air noise. Flaring the ends reduces this effect at the cost of a little extra length
- The speaker must be chosen and matched carefully, since there’s a lack of cone control that may allow the speaker to bottom out easily at a particular frequency
Passive Radiator
Here a dummy speaker cone is used as a resonating surface, exactly like a port. The upside is that the radiating surface is large, creating even more efficiency. The downside is tuning, you have no adjustments but the mass and the calculations are not as clean as they are with a port.
Bandpass
These are the funky boxes with nothing but a port, or multiple ports radiating to the outside, made popular by Bose Acoustimass systems in the 90’s. These can achieve some really decent sensitivity, but will have limited frequency ranges since ports inherently only cover about an octave of frequency space. Software is required to pull this off, there’s no easy way to tune these accurately without some help.
Isobaric / multiple drivers
Multiple speakers can be used in a single enclosure and in different configurations. Isobaric refers to coupling the drivers together as a single moving mass. The easiest way to do this is to mount face to face, and wire out of phase. Doing this basically tricks the speaker into behaving twice as stiff as it was before (cutting the Vas spec in half), which allows a smaller box with similar response. The downside is that you’ll be spending half your power on the speaker that isn’t radiating, so your efficiency is reduced. Putting a couple speakers in the same enclosure side by side and in phase is also possible, and adds an immediate 6dB to your output sensitivity due to coupling. You should only do this with identical speakers, and preferably wired in parallel.
Designing with Bass Box
This part will be a case of trial and error. Generally, you have a good idea of what your box should be like in order to fit where you want to put it. For a car you have limited space, for your home your significant other may impose limited space. This will allow you to start with a box, then trial some drivers to see what will work best.
The extra bonus for using the Bass Box software is the built in database of drivers and their parameters. Generally, you can view the stock at Parts Express online, then pick them from the database and see how they work in your box. For my project, I wanted a small cabinet for my car, with a clean output to about 30Hz and a couple hundred watts of capacity. I settled on about 1 cubic foot of internal volume, and started selecting 10” woofers.
In the charts below, the red plot is the Dayton Audio Reference Series HF 10″ woofer. The yellow is a RE audio woofer, typical mid price woofer. Finally the orange is a Lanzar “1000W” 10″ subwoofer that looks like a beast but undercuts the othes in price representing the budget solution you may see at the flea market.
Normalized Response
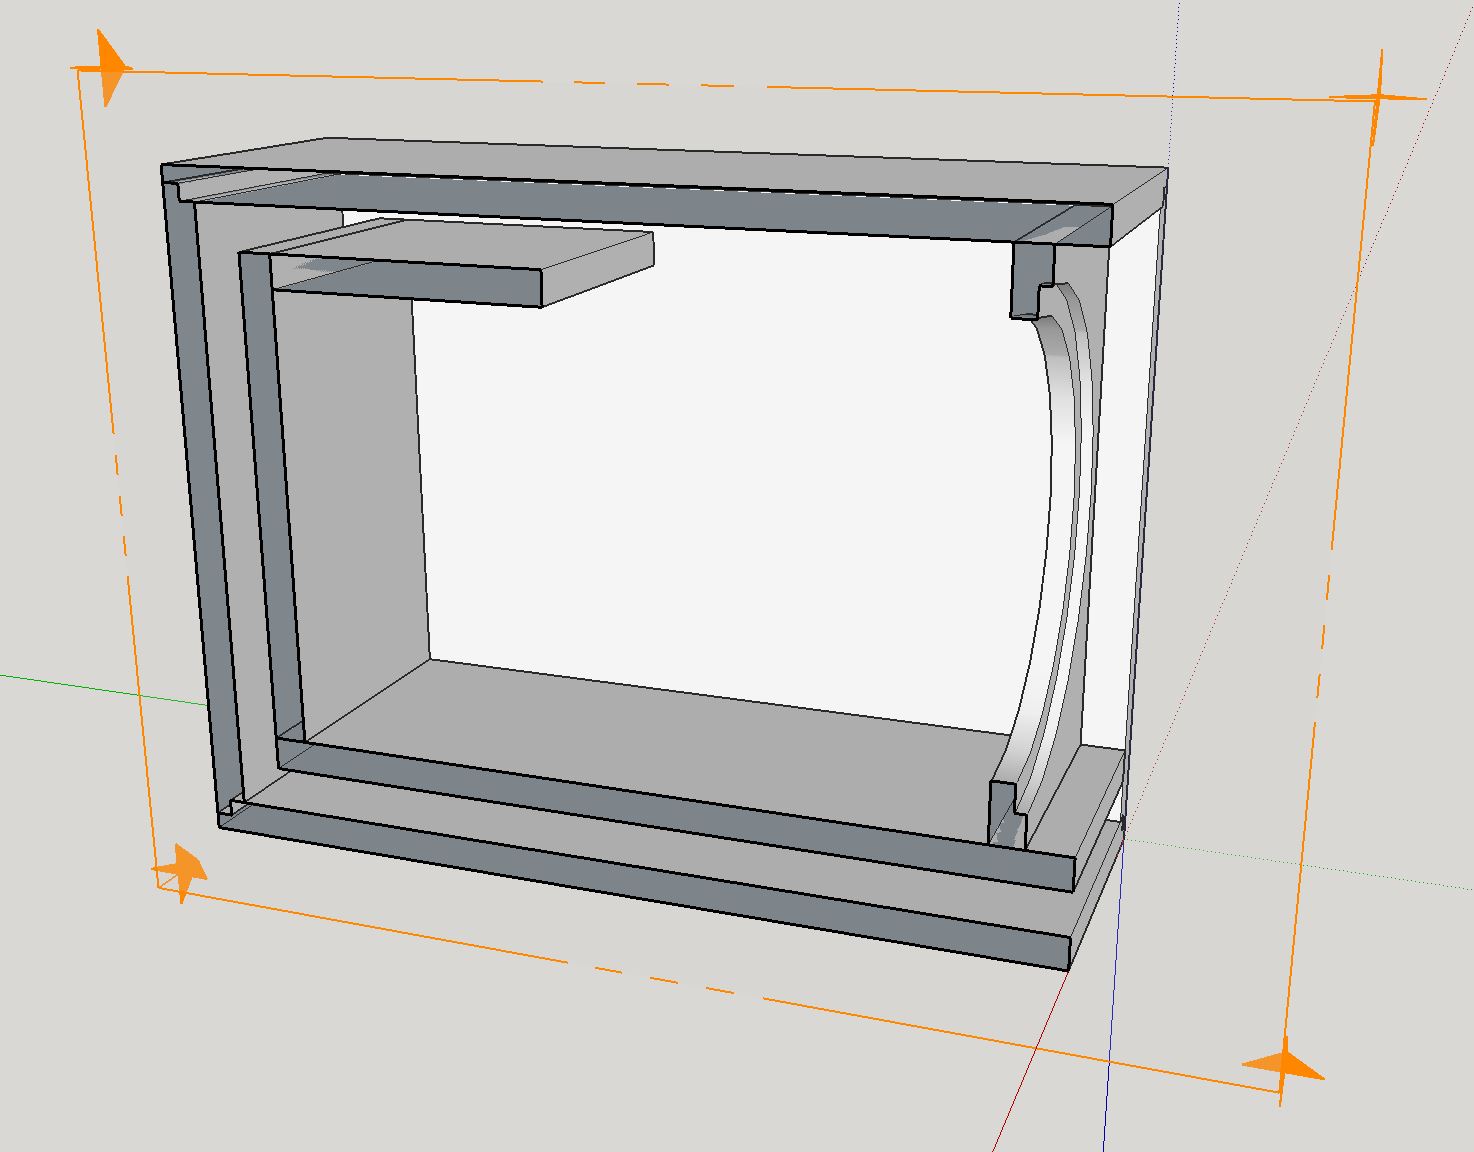
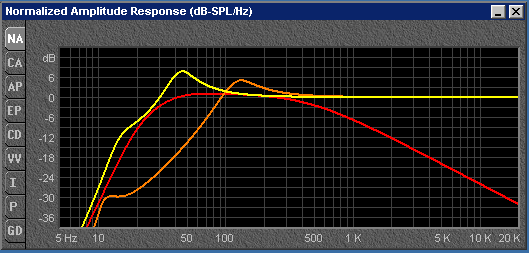 These charts show the expected low frequency response of a given speaker / box combination. The goal is to avoid peaks, and get as low as possible. After playing with all kinds of drivers, cheap to expensive, I decided on the relatively high end Dayton Reference series for my design. This left me with a tuning frequency in the low 30Hz range. Given the large amount of air the speaker could move, that meant I had to use a large port area to avoid making noise. With a round port, that would mean a way too long tube that simply wouldn’t fit in the box. So I decided to use a rectangular slot, and wrap it around the back of the enclosure to get the equivalent length I needed.
The graph compares the 3 woofers in the box, granted the tuning frequency should be adjusted a bit for the different woofers, but even with those adjustments the response of the RE and Lanzar woofers will never be as consistent as the Dayton woofer. The Lanzar woofer is terrible, giving up and dropping off before it even gets into subwoofer territory below 100Hz. The RE woofer is better, providing lots of output, with the issue of a resonant peak around 45Hz.
Custom Response
 This is the frequency response, using a set power input, the sensitivity of the driver, and the excursion limits in the box to give you actual available sound output from the speaker. This is handy for comparison, when you can pick drivers of different sensitivities and power handling to see which will actually be louder.
Here we can see the Lanzar woofer is really loud, predicting 120dB of output above 100Hz, but quickly falls under the other below that. With the exception of a little peak at 45Hz, the Dayton woofer will provide the highest output, and do so more consistently across the band.
Acoustic Power
 This chart shows you the maximum power a speaker can handle, accounting for the Xmax limit in the box. A speaker with a huge dip where it’s tuned will cause you to lose out on power as the cone smashes against its mechanical limit.
The specifications for the Lanzar woofer were not complete, so this is a chart comparing the RE woofer to the Dayton. The faded lines are the woofer excursion limit, both of these would be able to handle full power down to the mid 20Hz range before the woofer runs out of space to move. If a box is a bad match, that dip in the line will interfere with the maximum power, causing the woofer to bottom out before it runs out of power capacity.
Cone displacement
 This chart shows you how much movement the speaker cone will have to perform under maximum power. It will highlight exactly where your physical limit will occur. If that happens before the electrical limit, you’re wasting potential output and the box / speaker combination isn’t a really good match.
The Dayton woofer is the only one that had sufficient specifications to predict this, and this shows the expected woofer cone movement peaks at 40 something, then drops again as the port resonates. Here we show no risk of bottoming out up to 400 watts all the way down to 20Hz.
Vent Velocity
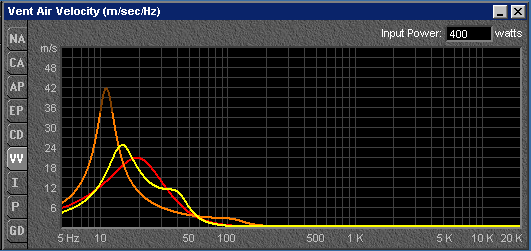 This chart shows the predicted air speed in a vented enclosure. The higher the velocity, the more likely you’ll hear vent noise. It’s a good idea to increase the vent dimensions to keep this low, doing so will keep your vent quiet and your bass clean.
This chart shows the Lanzar woofer moving a lot of air down near 10Hz, even while it makes no sound. The RE woofer has a couple peaks where the vent gets a little excited, and ultimately the Dayton woofer keeps the vent well under control and below the maximum recommended velocity.
Planning the box with Sketch Up
Back in the day, I used to do this part on paper. But now I can whip up a complete 3D rendering using free software. Technology is awesome! This software Sketch Up was started by Google and is available for free home use. If you want to get all commercial with this and use some advanced functionality, you’ll need a license, but for this purpose the free tool is perfect.
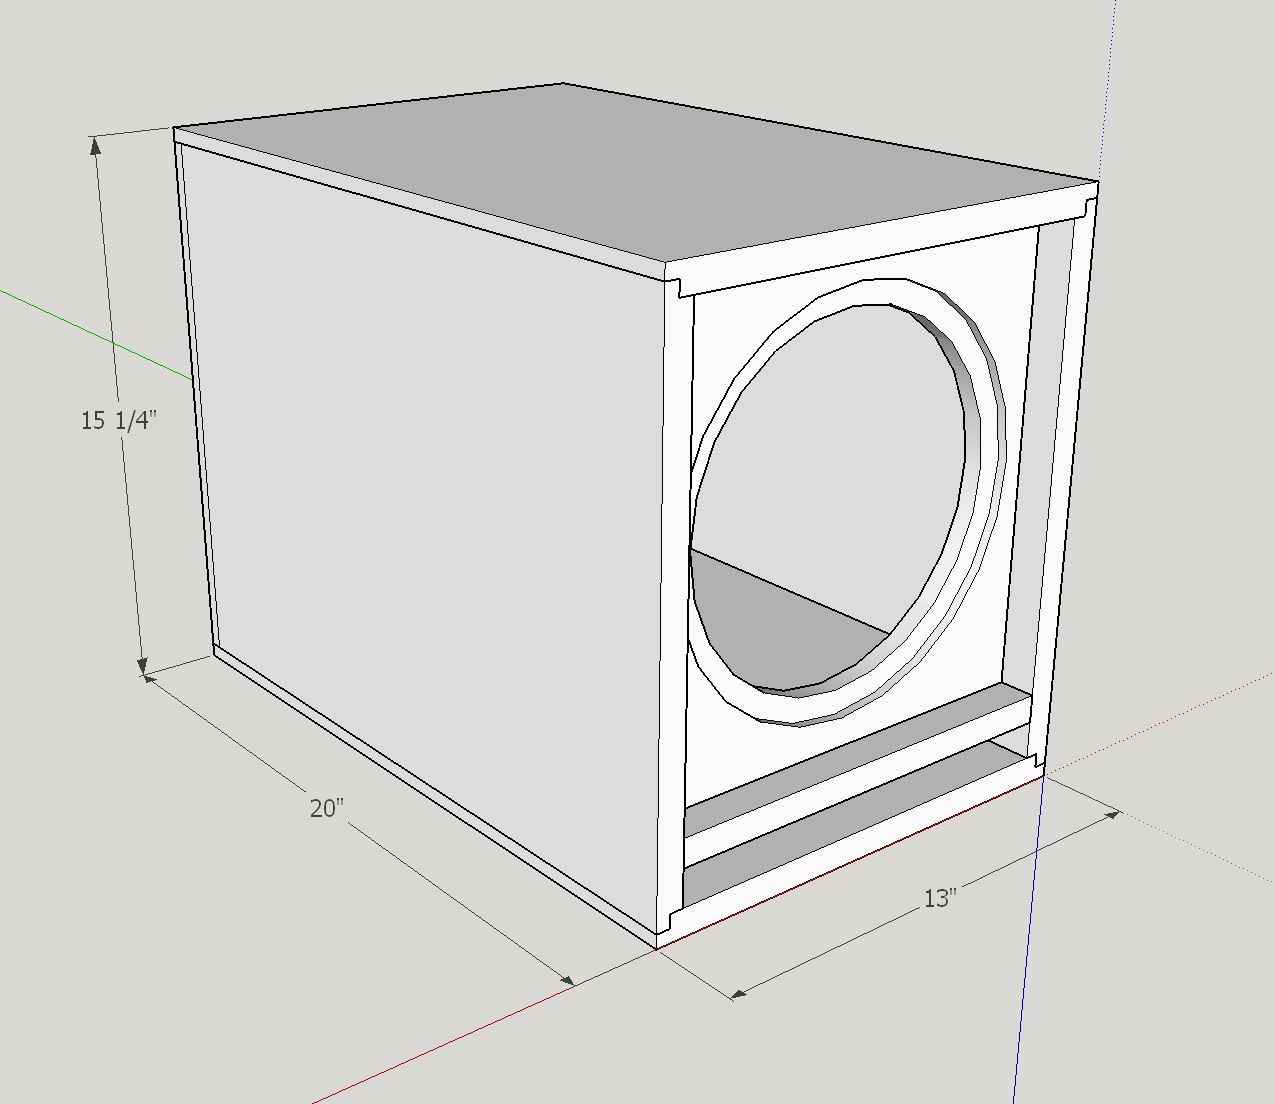
Here I was able to tweak dimensions and get a good calculation of internal volume and port dimensions to feed back into Bass Box and see how the final product should work. Each board was dimensioned exactly and built in 3D, then moved around and assembled to picture the finished product.
Once I was satisfied with my selections, it was time to plan out some purchases.
Planning the Build
Generally, you want some thick wood for a speaker. Plywood is generally more durable, but MDF is more acoustically sound. For this build, it will be in a trunk not moving much, so MDF it is. Sheets of 3/4” are readily available locally so that’s what we’ll use.
Parts Express has some excellent resources and a dedicated community for do it yourself speaker building. Many of the guys on there are far more detailed and dedicated to the craft and build higher quality products than I’m capable of. A couple recommendations that I’m not typically following due to material and tool constraints:
- 1” thick baffle – first, this is hard to find wood. Second, MDF is expensive so a whole other sheet for just the baffle is a large cost addition. To compromise I’ll brace and mount the baffle as solid as possible.
- Internal cross bracing – the larger the volume, the more this becomes important. The idea is that the only thing moving should be the speaker cone itself. The best way to do this is to glue shelves in the box, connecting the sides together with a solid piece, with the exception of some holes for air flow. My current application is pretty small, and braced with the internal port slot channel, so I’ve skipped this part too.
 Moving the Sketch Up pieces around, I was able to dimension all pieces of wood going into the box for build. Then they were laid out flat on a 4’ by 8’ sheet to see what I needed to buy and where the cuts would go. Few people have a truck capable of hauling a full sheet, so I planned on using the in house rip saw to make as many cuts as possible and get it down to fit into the car.
For the parts, I needed the woofer, a terminal connector, and mounting hardware all from Parts Express. For the box finish, while any paint would technically do, I chose to use Duratex due to its heavy moisture protection and simple application.
Once the wood was bought and cut, I had to adjust the plans slightly based on the actual cut dimensions. Sadly, those store rip saws will miss your mark, by 1/16” typically and up to 1/8” in my case. So I went back to sketch up to make sure everything was dimensioned to fit.
Woodworking, without the shop
At minimum, you’ll need the following tools to execute a build
- Circular Saw
- Router
- Jig / reciprocating saw for small cuts
- Drill and bit set
- Portable belt sander for finishing
- Saw guide and clamps
- Carpenter square
- Small square
- Router Bit – 3/8” rabbet for edges
- Jasper Circle Jig for hole cuts
- ¼” straight router bit for use with the circle jig
- ¾” straight router bit for recessing the speaker
- 3/8” edge round over bit for making the port flared and / or finishing the edges
- Scrap 2X4 or other wood for makeshift saw horses
- Bar Clamps for assembly
With these tools in hand, I went to town making cuts. I cut on the ground, to avoid dropping the wood from any height since the MDF will chip very easily. Adjusting the saw guide locations using the small square was a cinch by adjusting and locking the square location to match the edge of the saw blade. From there it was measure, mark, clamp guide, and cut.
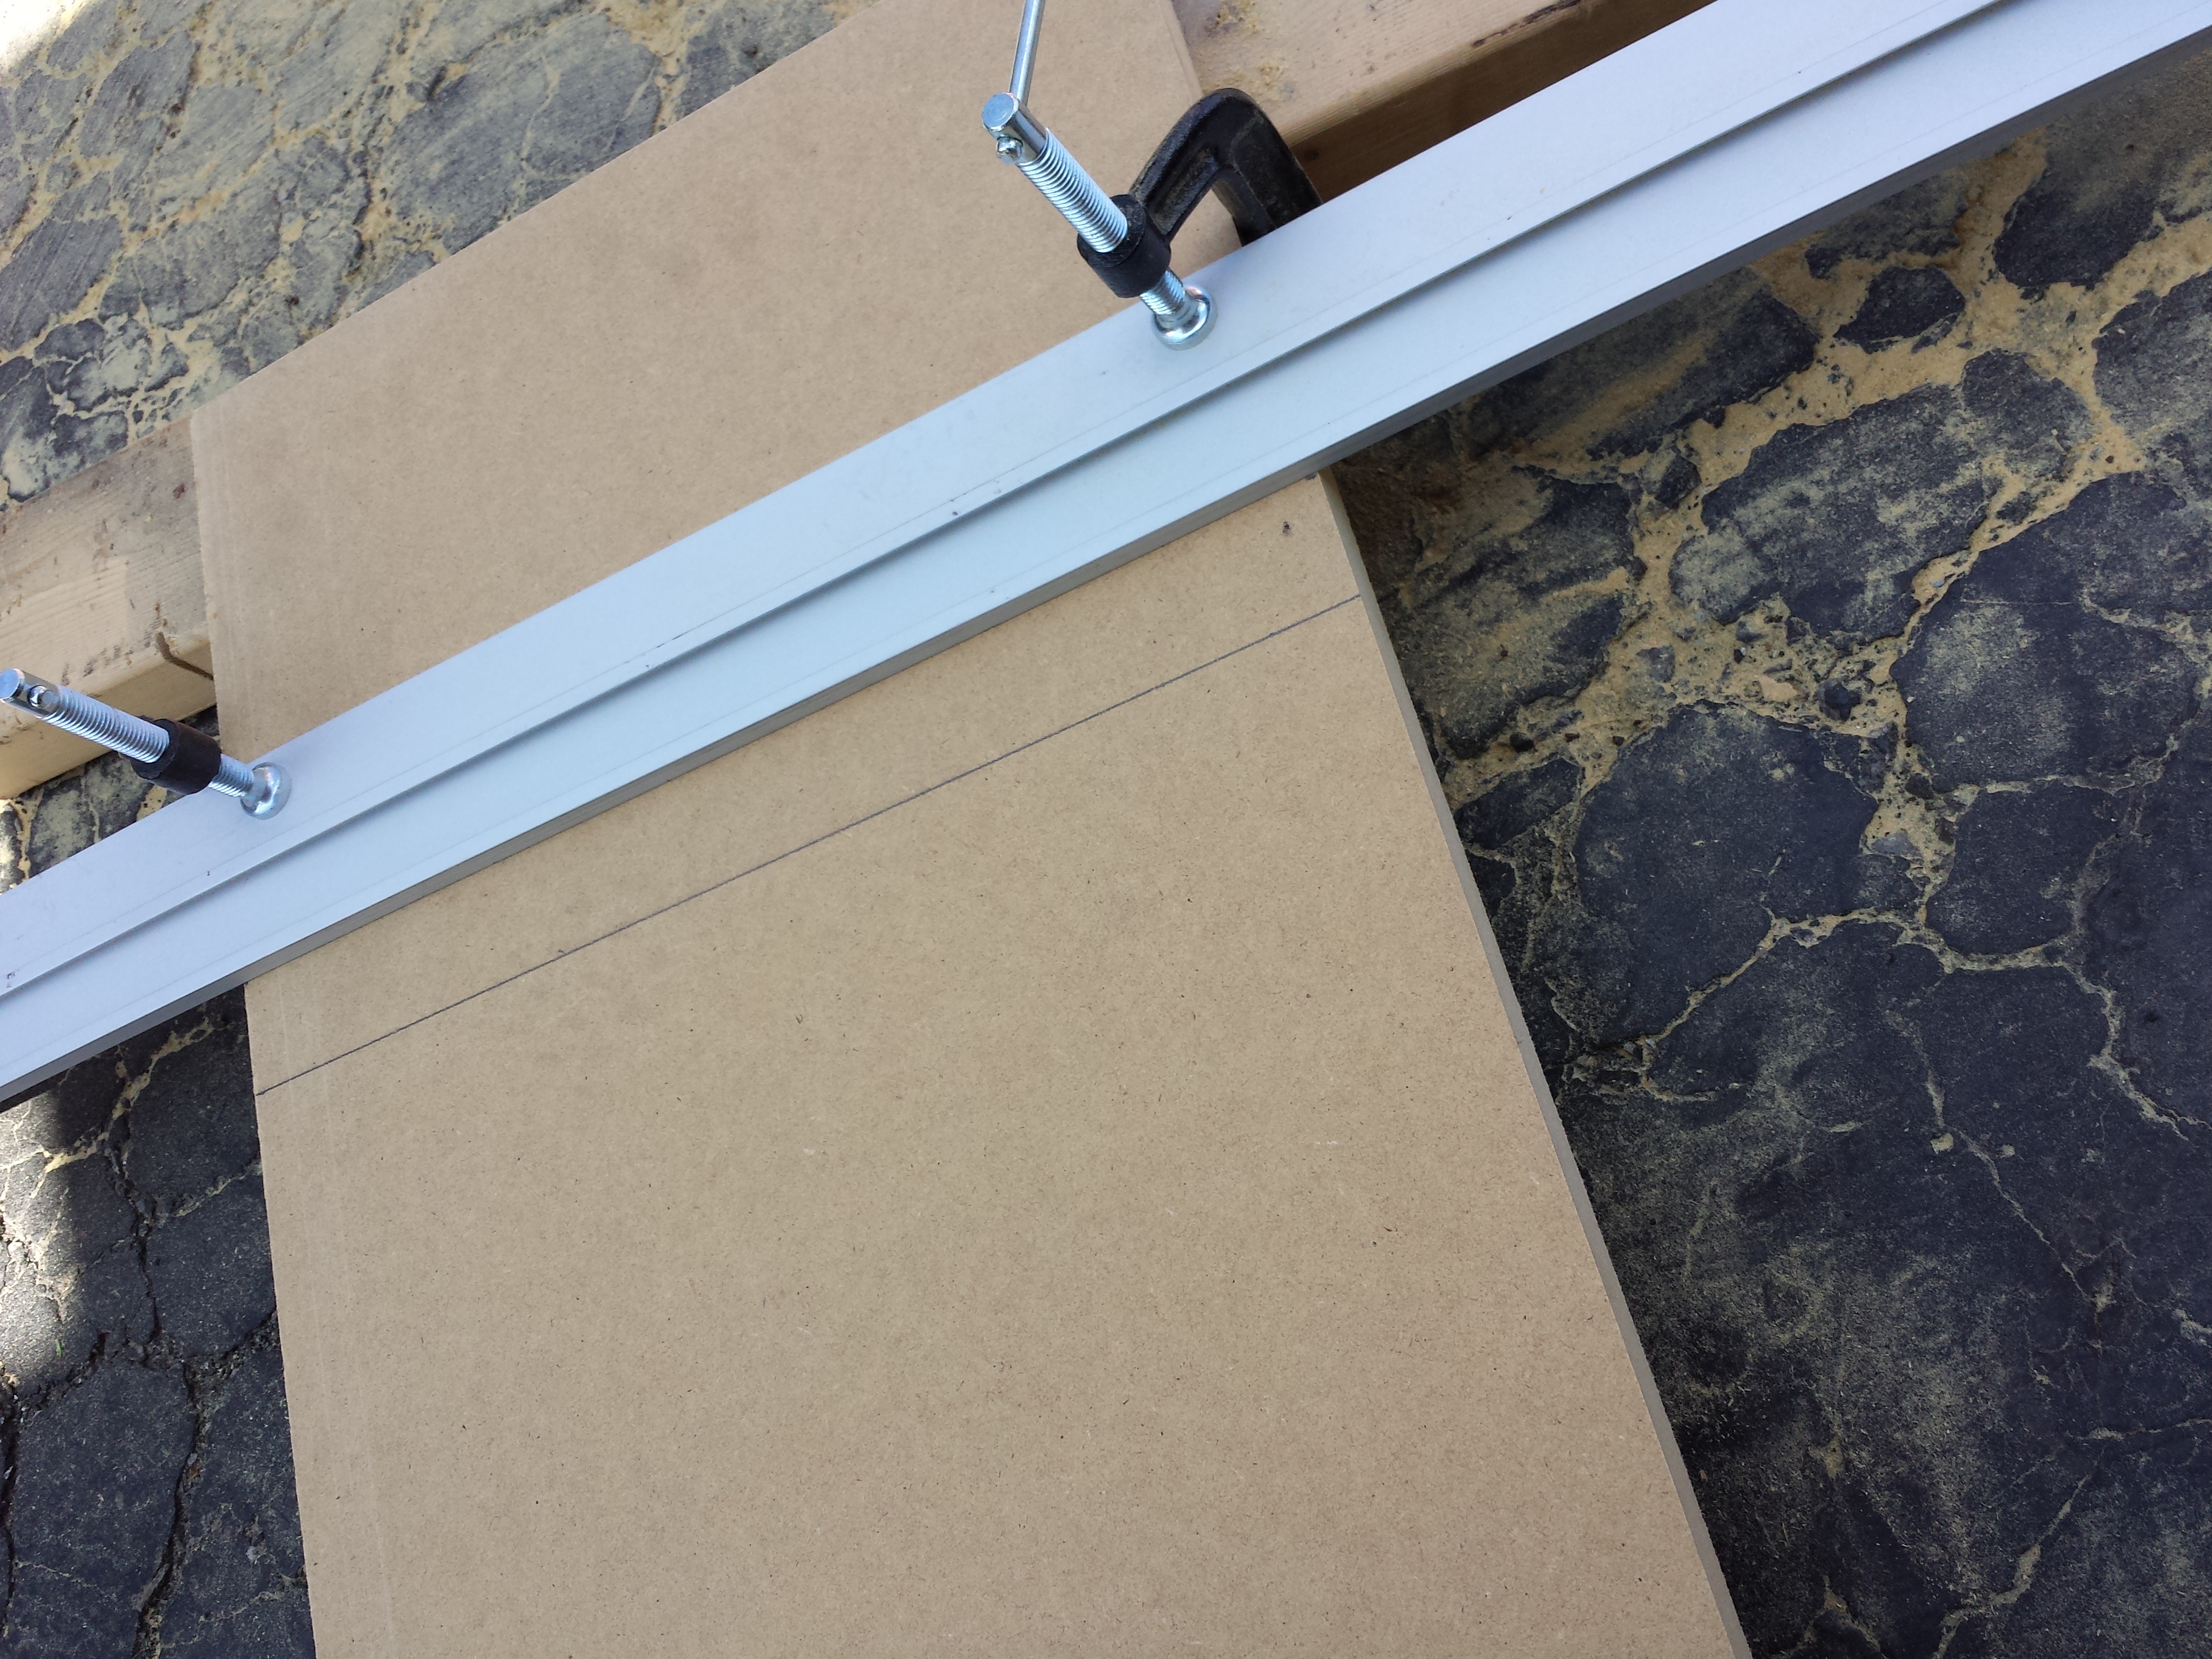
The small square was really handy for the guide marking. I used it to adjust and match the edge of the saw plate to the edge of the cutting blade. Be careful to measure the correct side of the blade depending on which direction you’re pushing the saw, otherwise you’ll be off by the width of the blade, a good 1/8″.

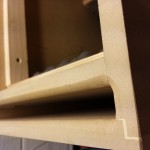
With the dimensions verified, the edges were notched using the 3/8” rabbet bit and the router according to the plans. The rabbet edges mate the boards together with increased strength, since you’re effectively increasing the mating edge by 150%. Then using the Jasper Circle Jig, the baffle was first recessed with the ¾” bit, then cut out with the ¼” bit. A grill was planned using another board just a touch smaller than the baffle with a bit larger hole cut to leave clearance for the woofer to move.


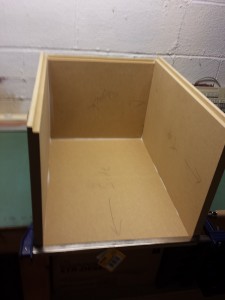
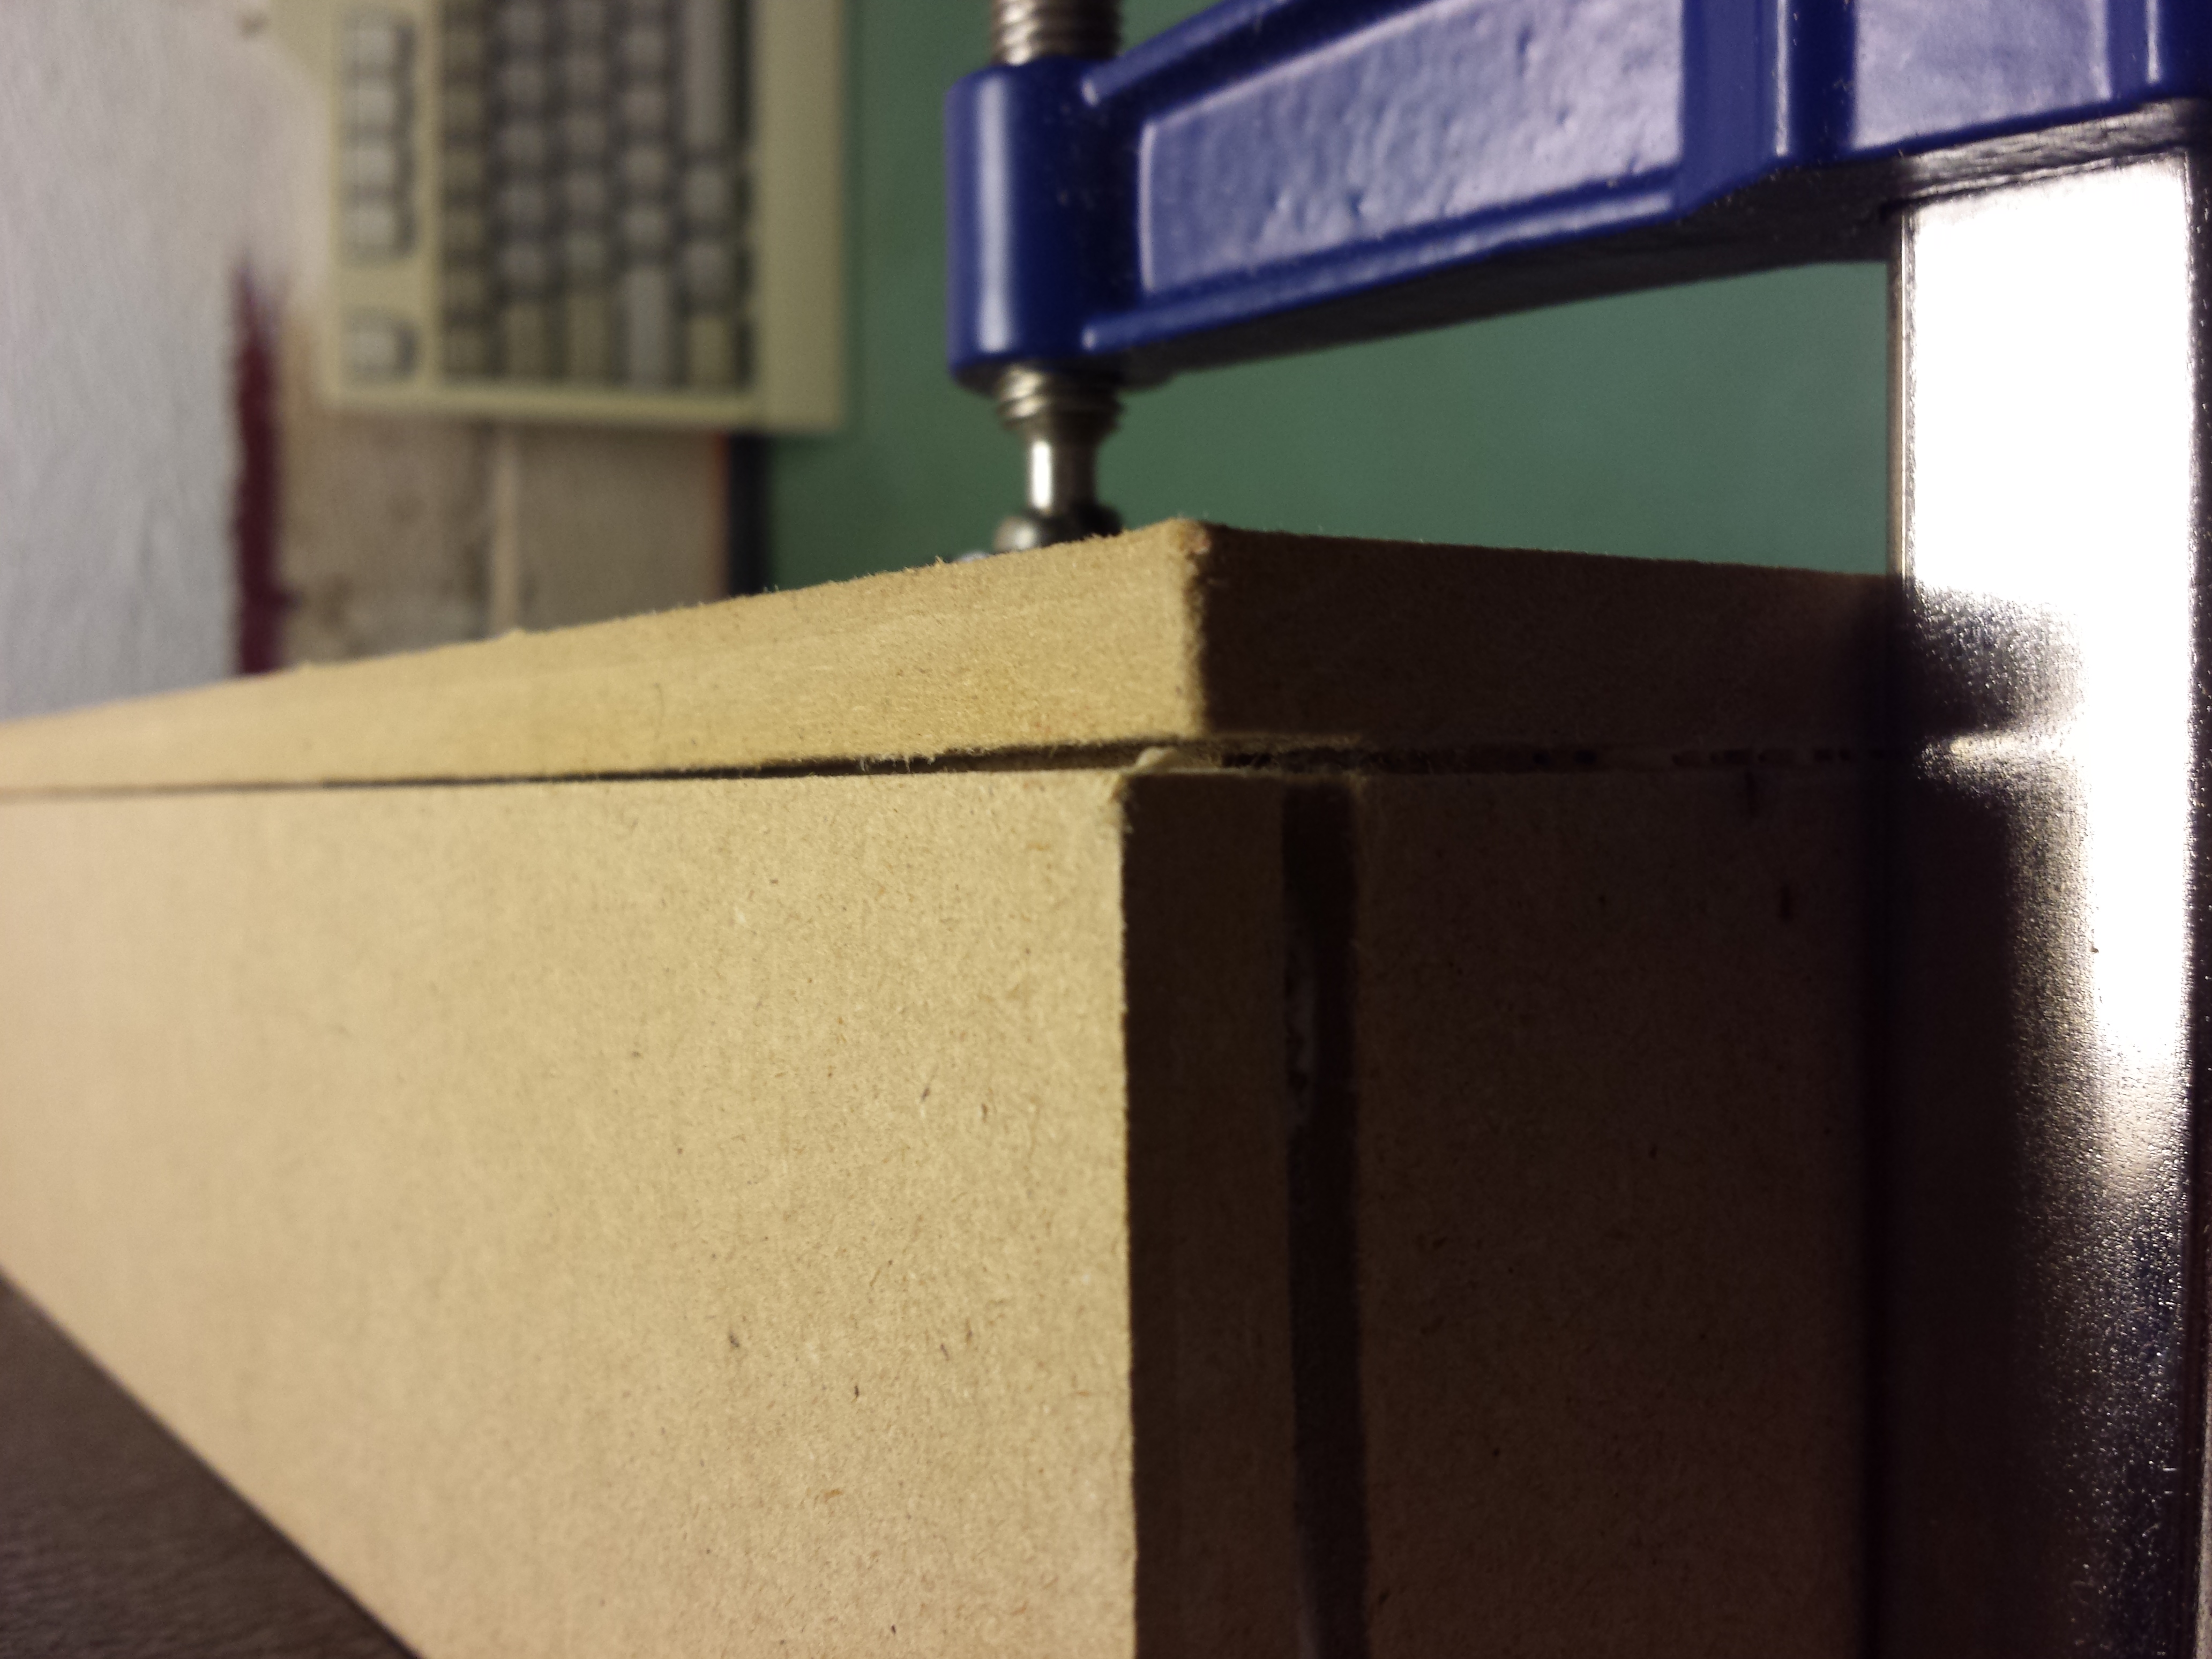
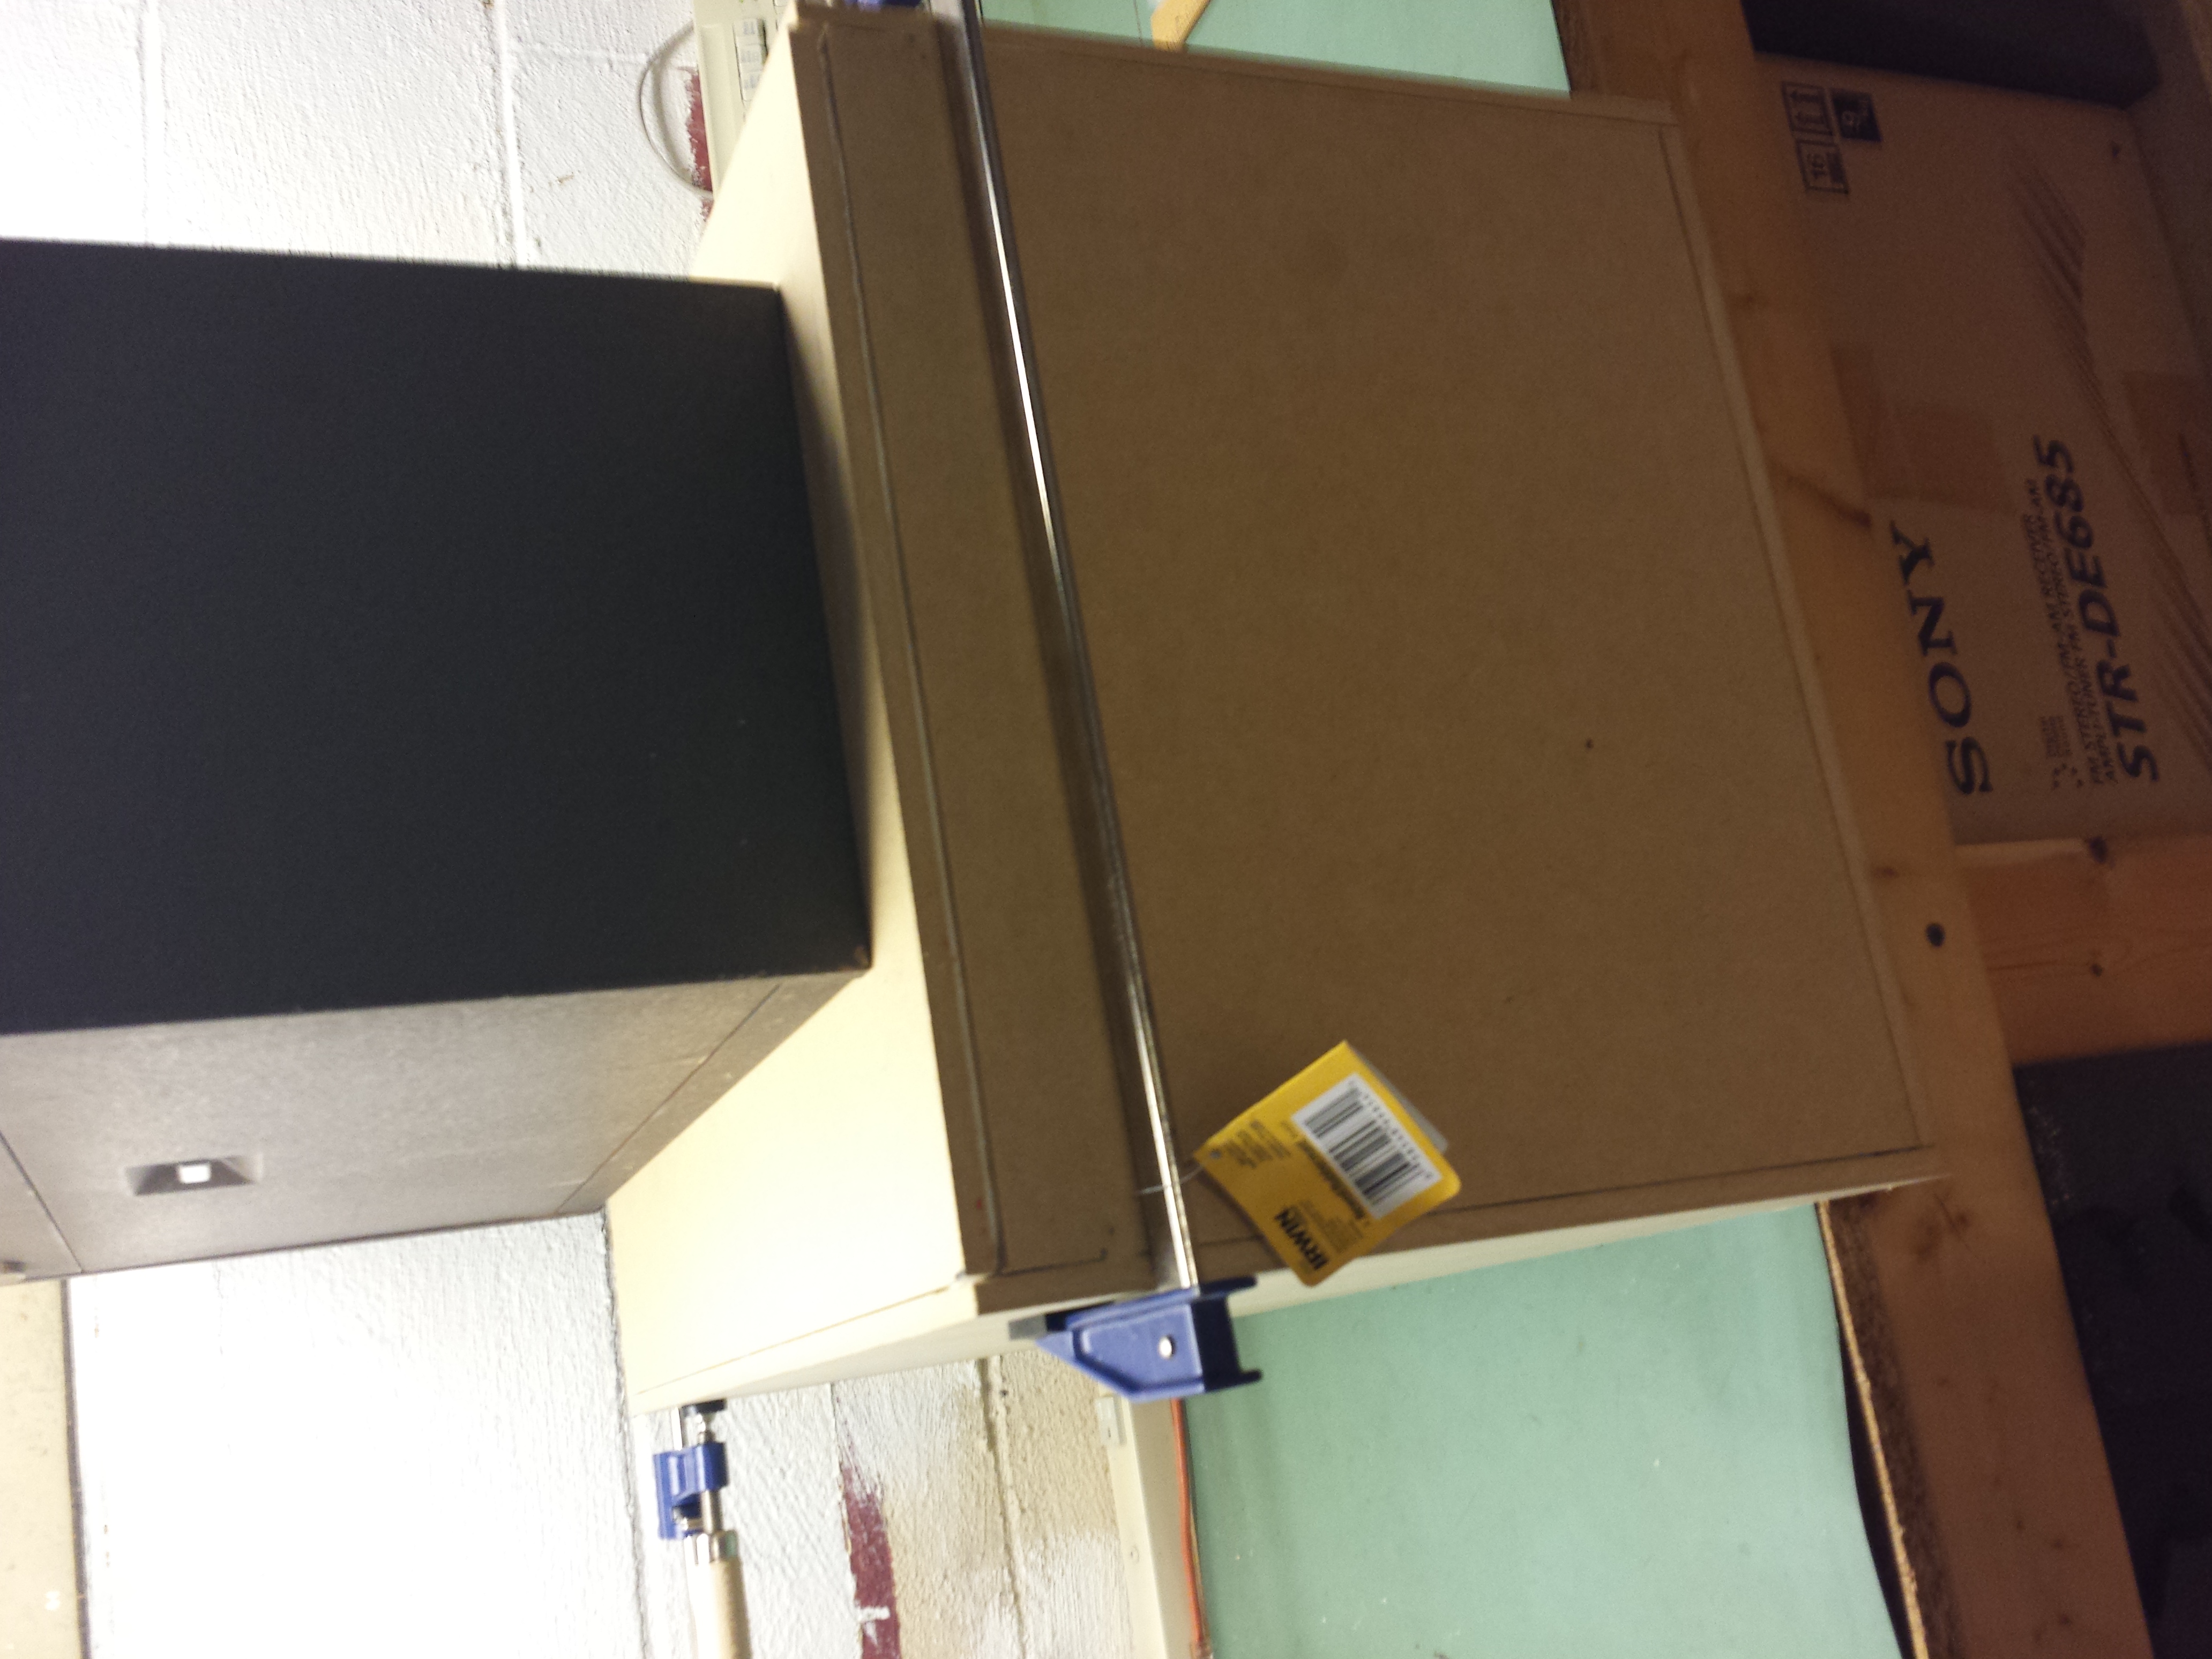
After some fit testing, re-cutting, and verifying, the parts all fit together. I used heavy duty Liquid Nails for this one, since it is thick enough to fill gaps, cures quickly, and holds pretty strong. Titebond is an excellent choice if you’ve made your cuts accurately, since it has a stronger hold when dried, but will run and not fill gaps. Using the bar clamps I locked 4 sides together for the glue to dry, top, bottom, one side and the back.
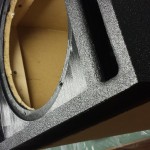
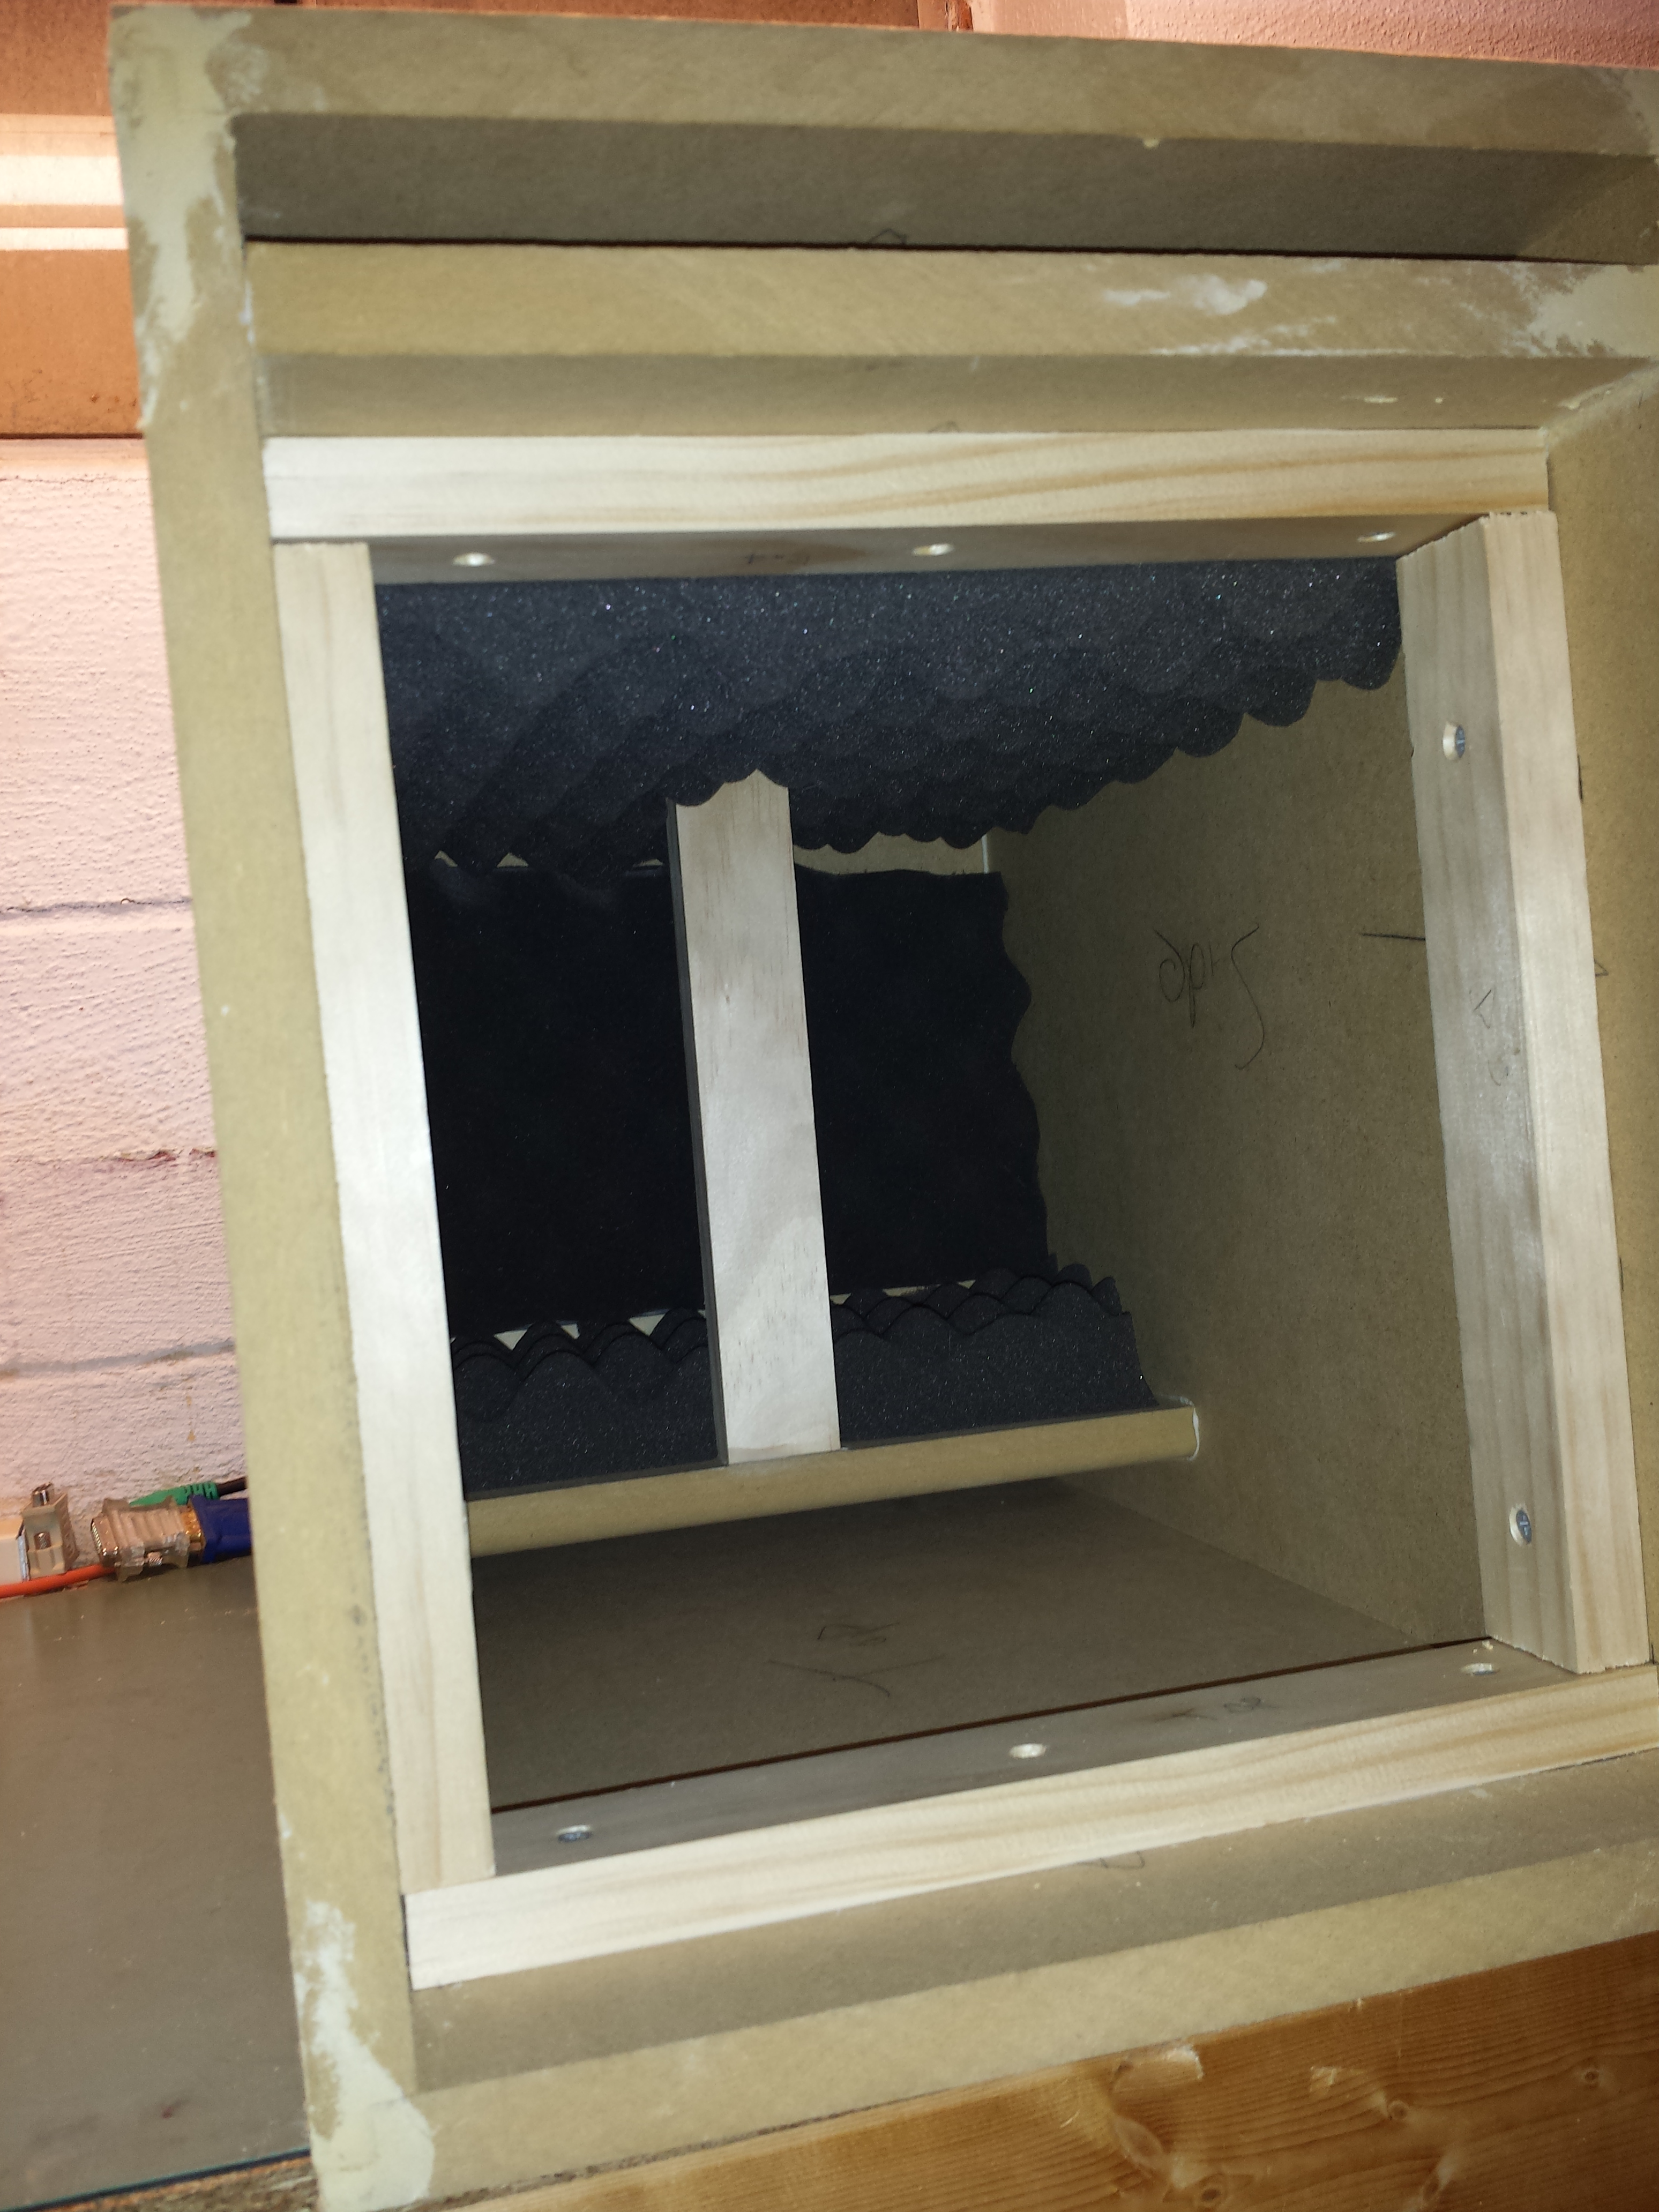
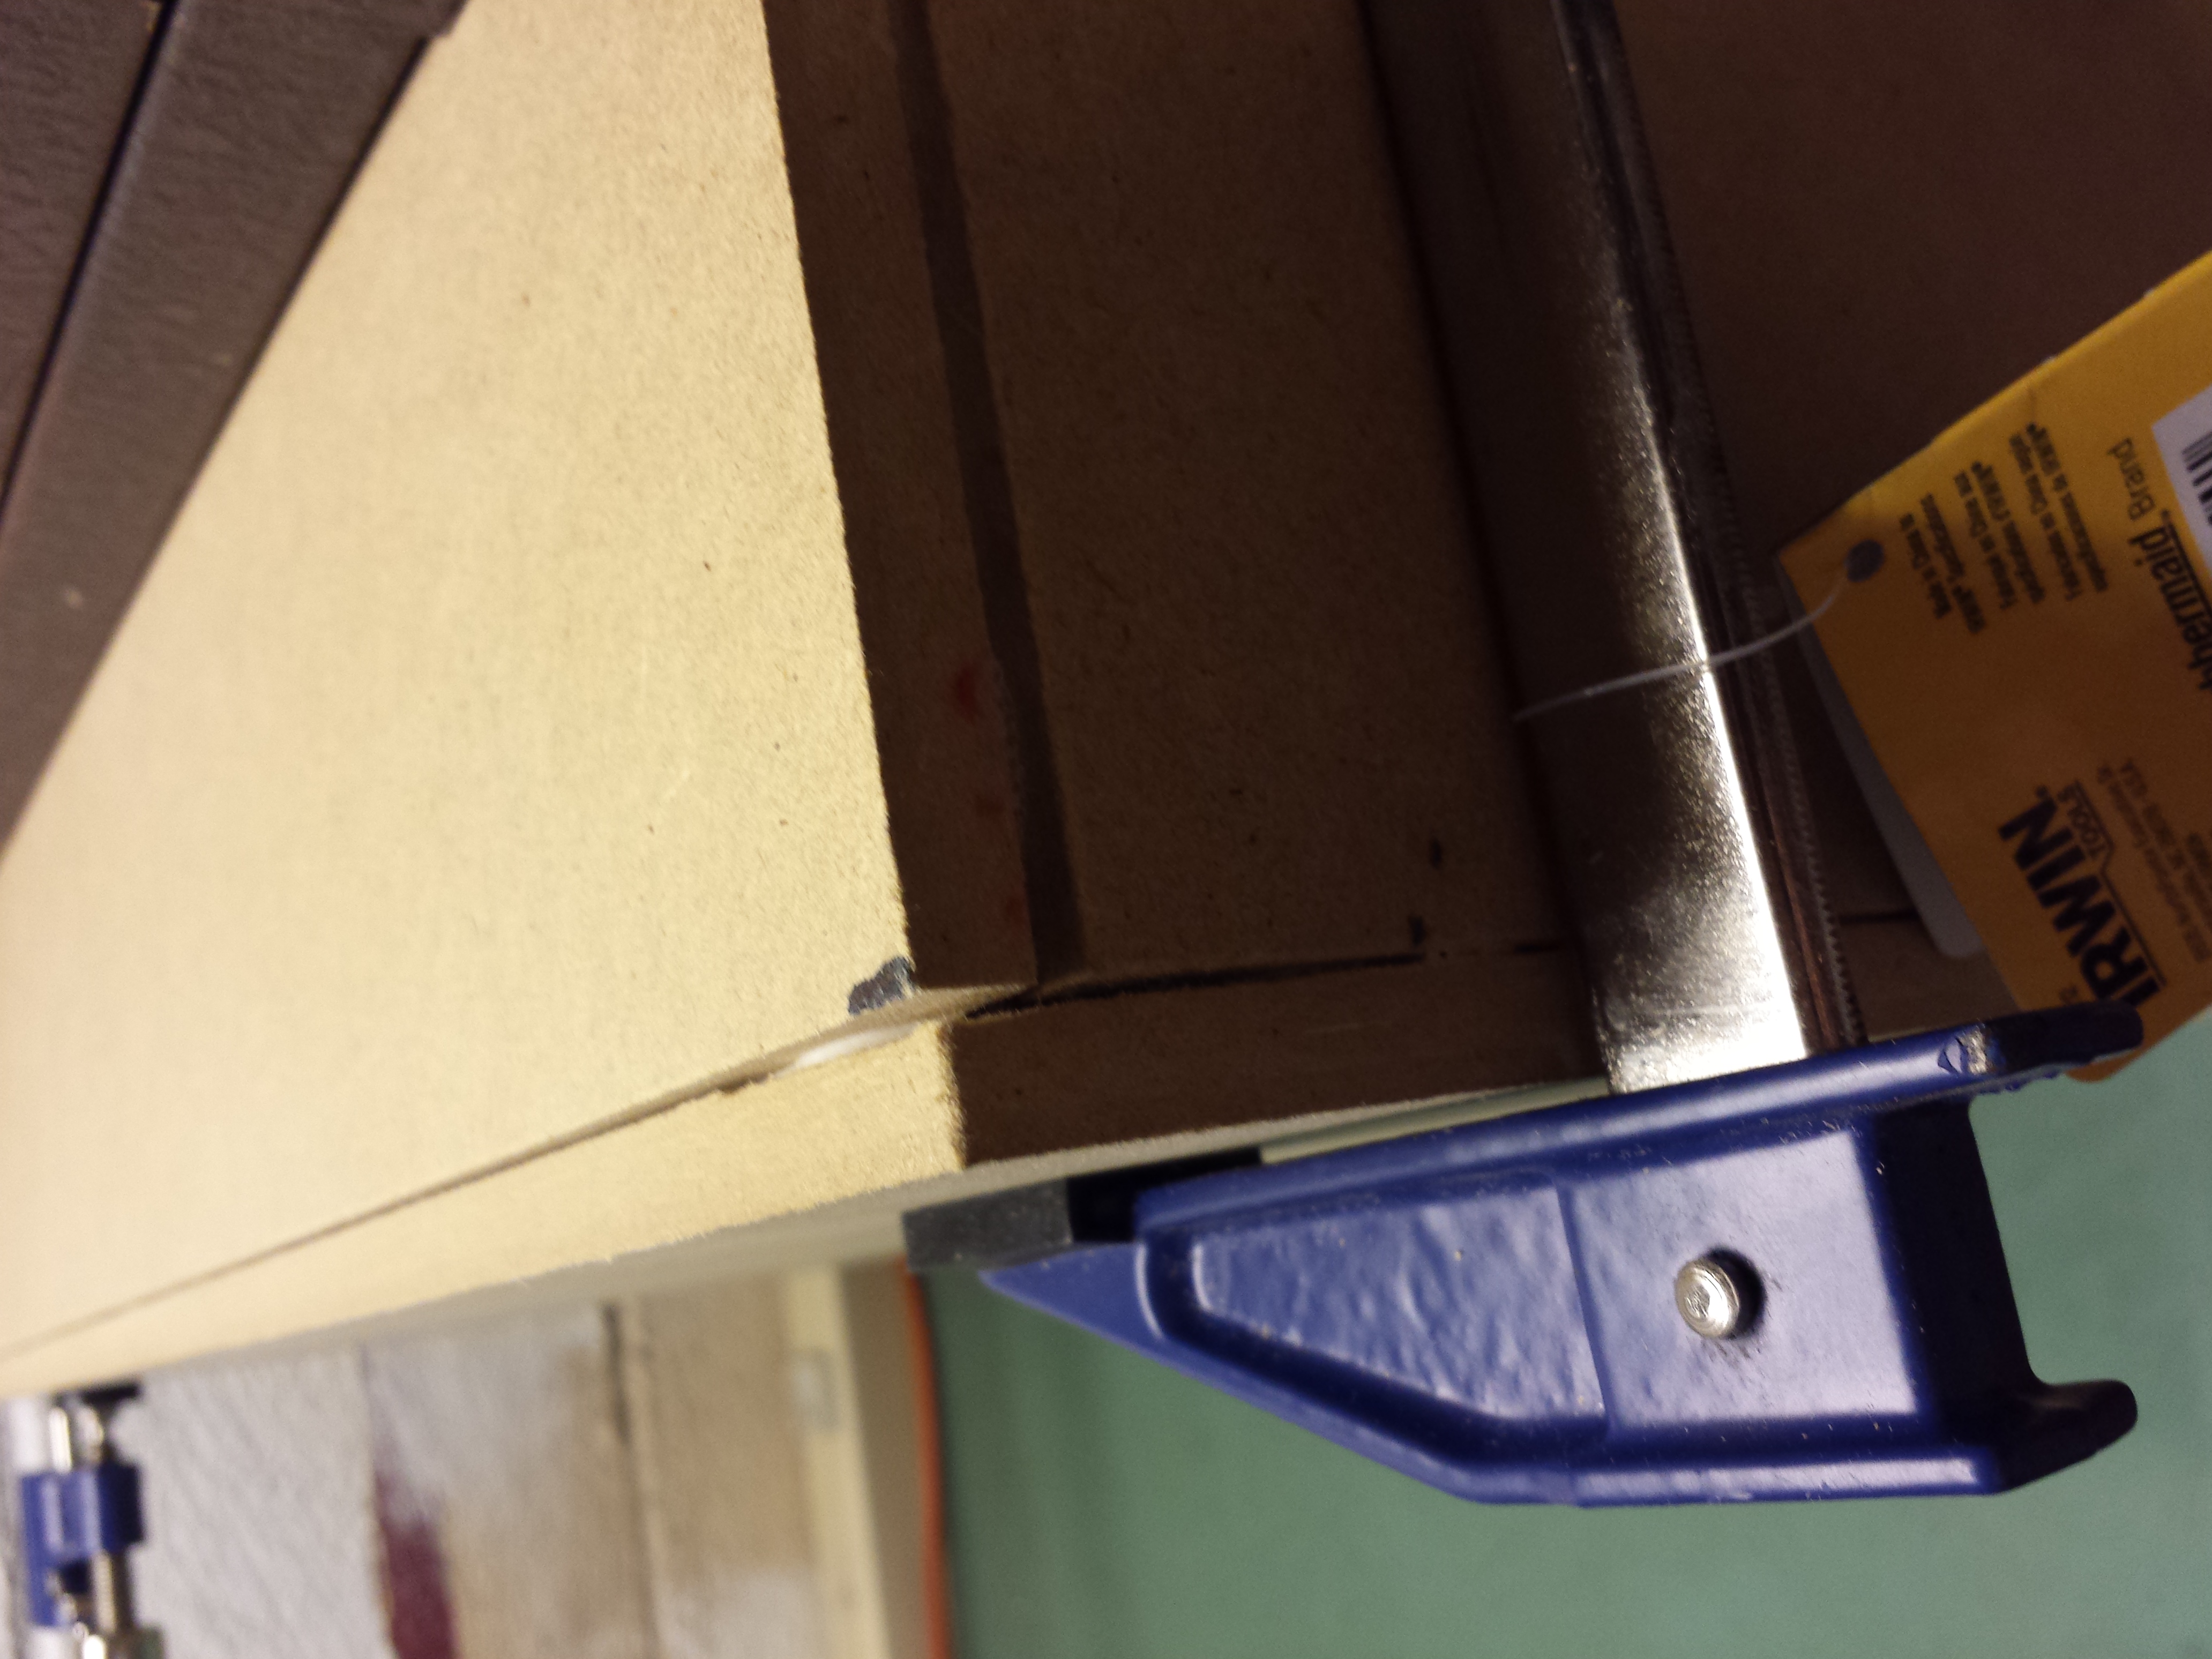
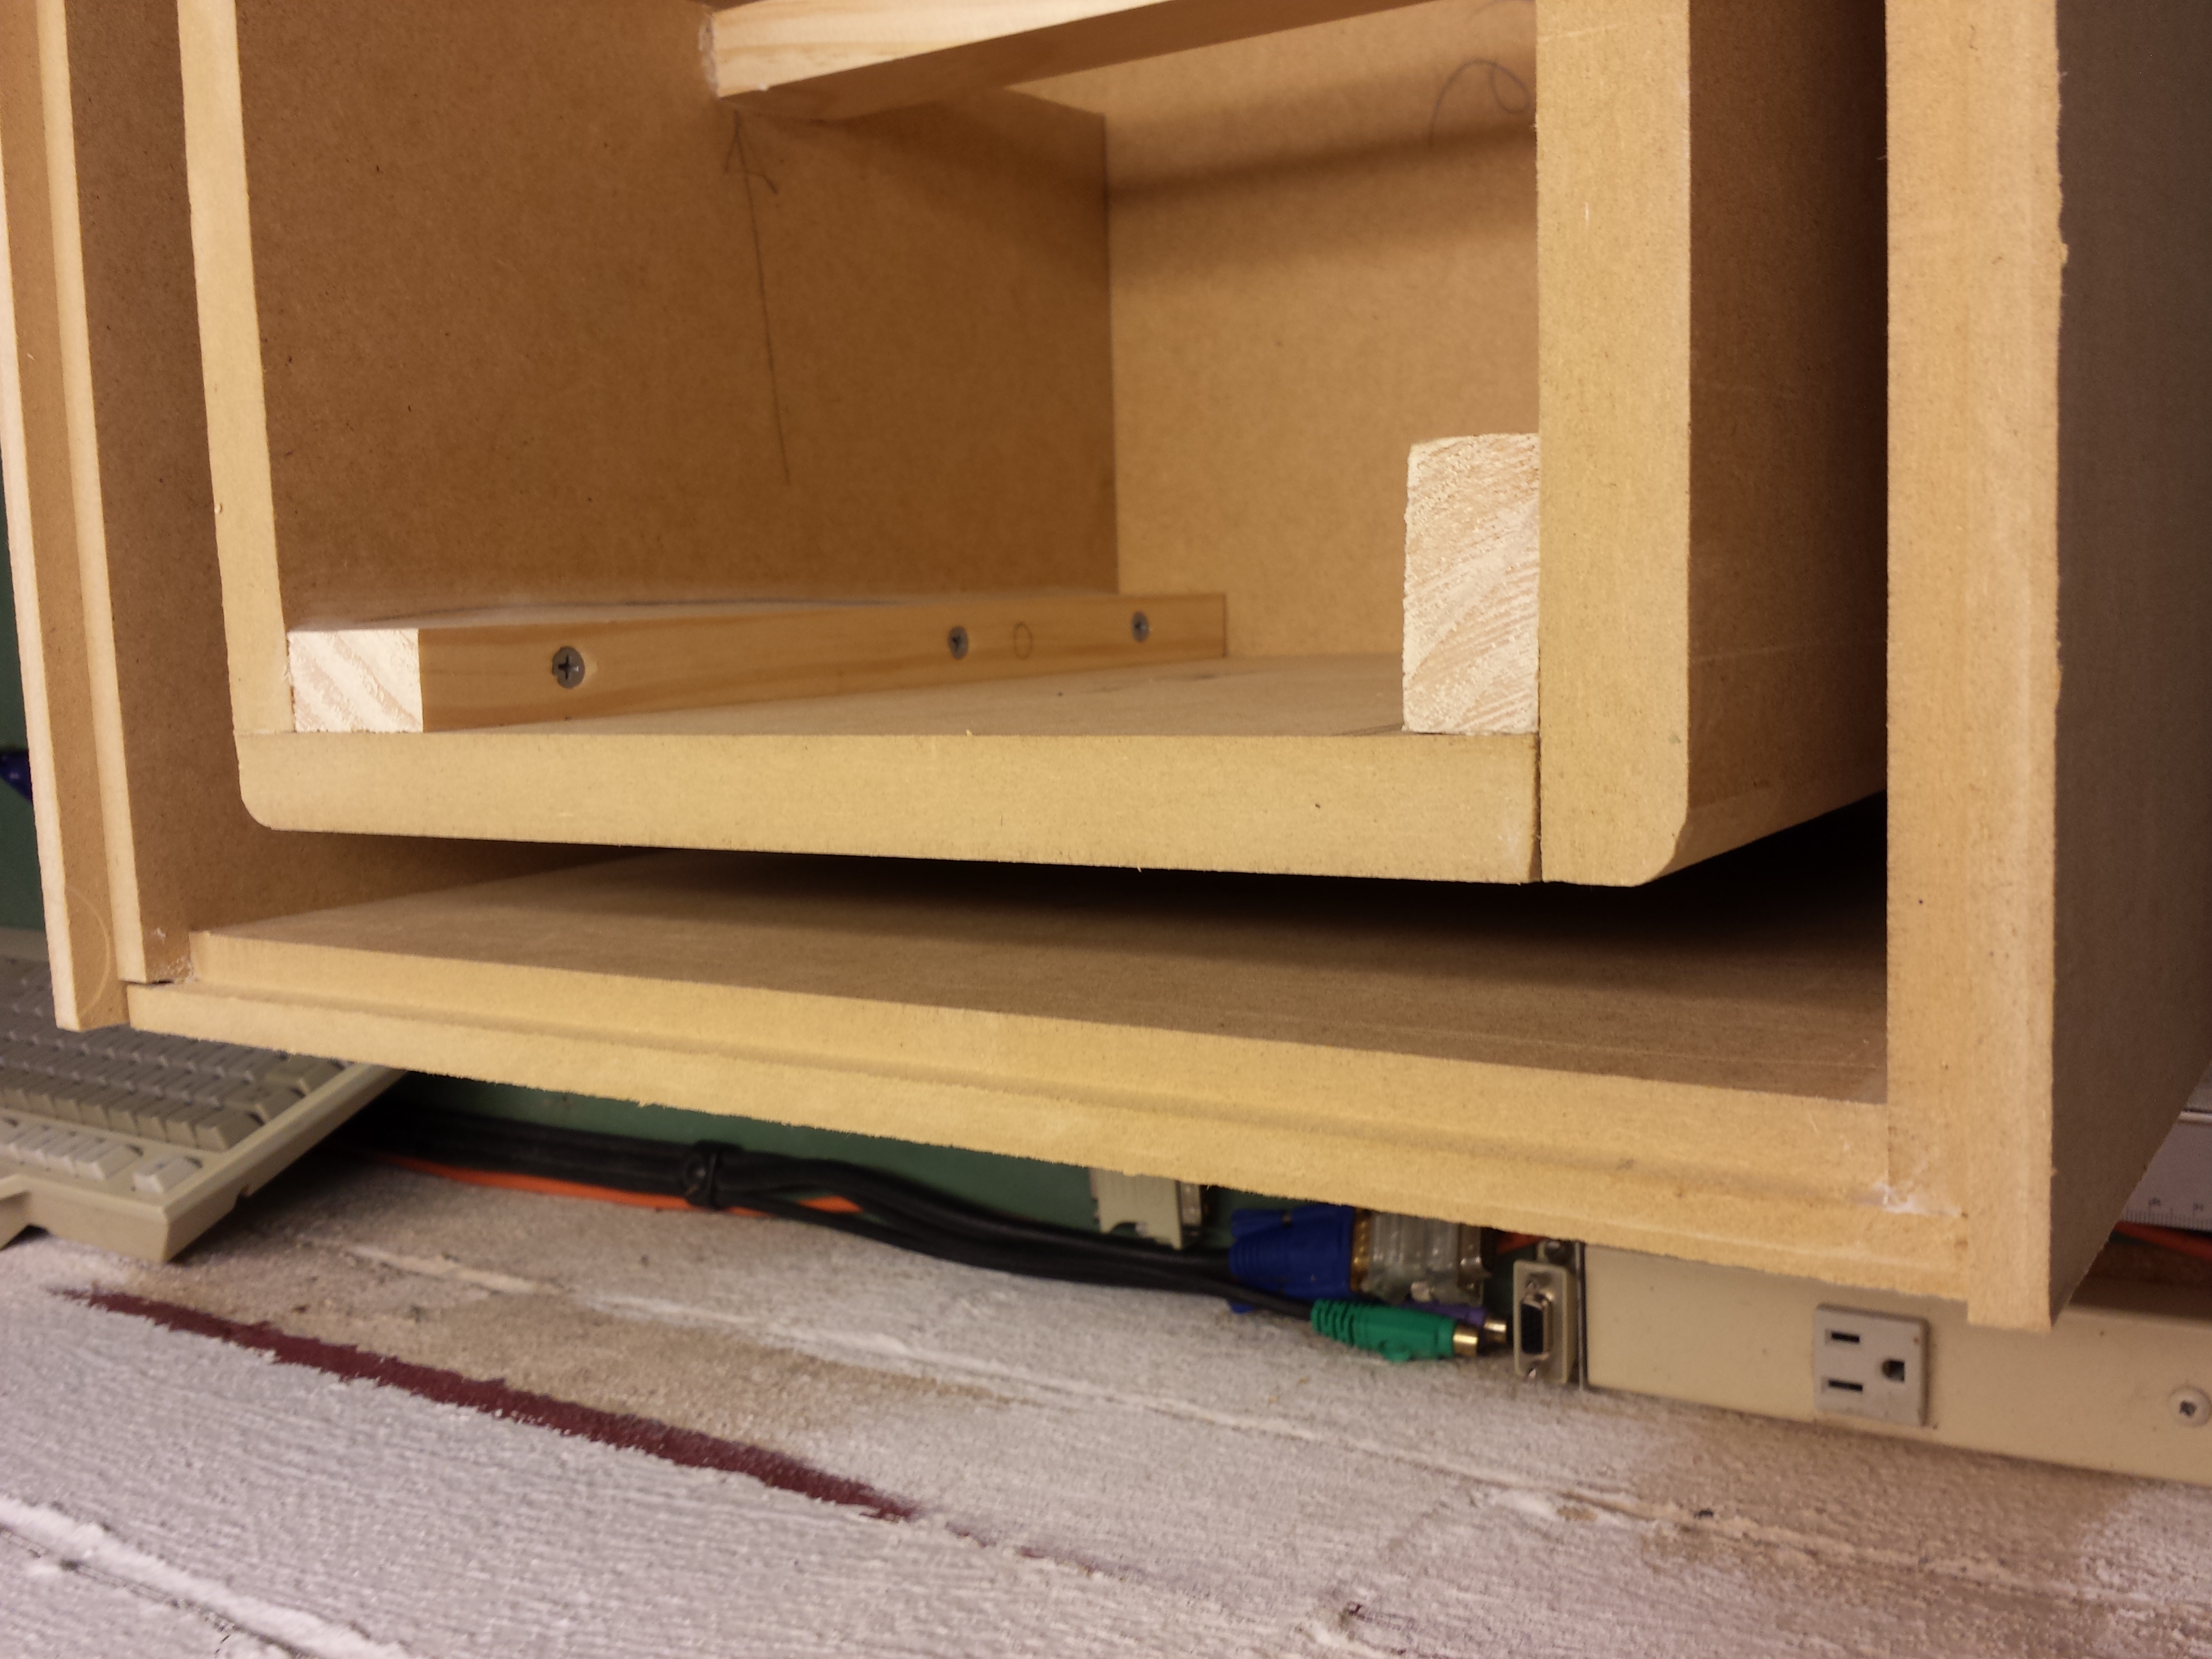
I then assembled the port internal walls using 1X2 wood pieces as screw mounts, since these pieces were not notched. A brace was added to keep the thing square since the corners didn’t end up as flush as I thought they would in the process. Some more 1X2 was added around to mark the 1 ¾” depth of the baffle mount and add a layer of stability to the baffle, plus a place to glue and seal.
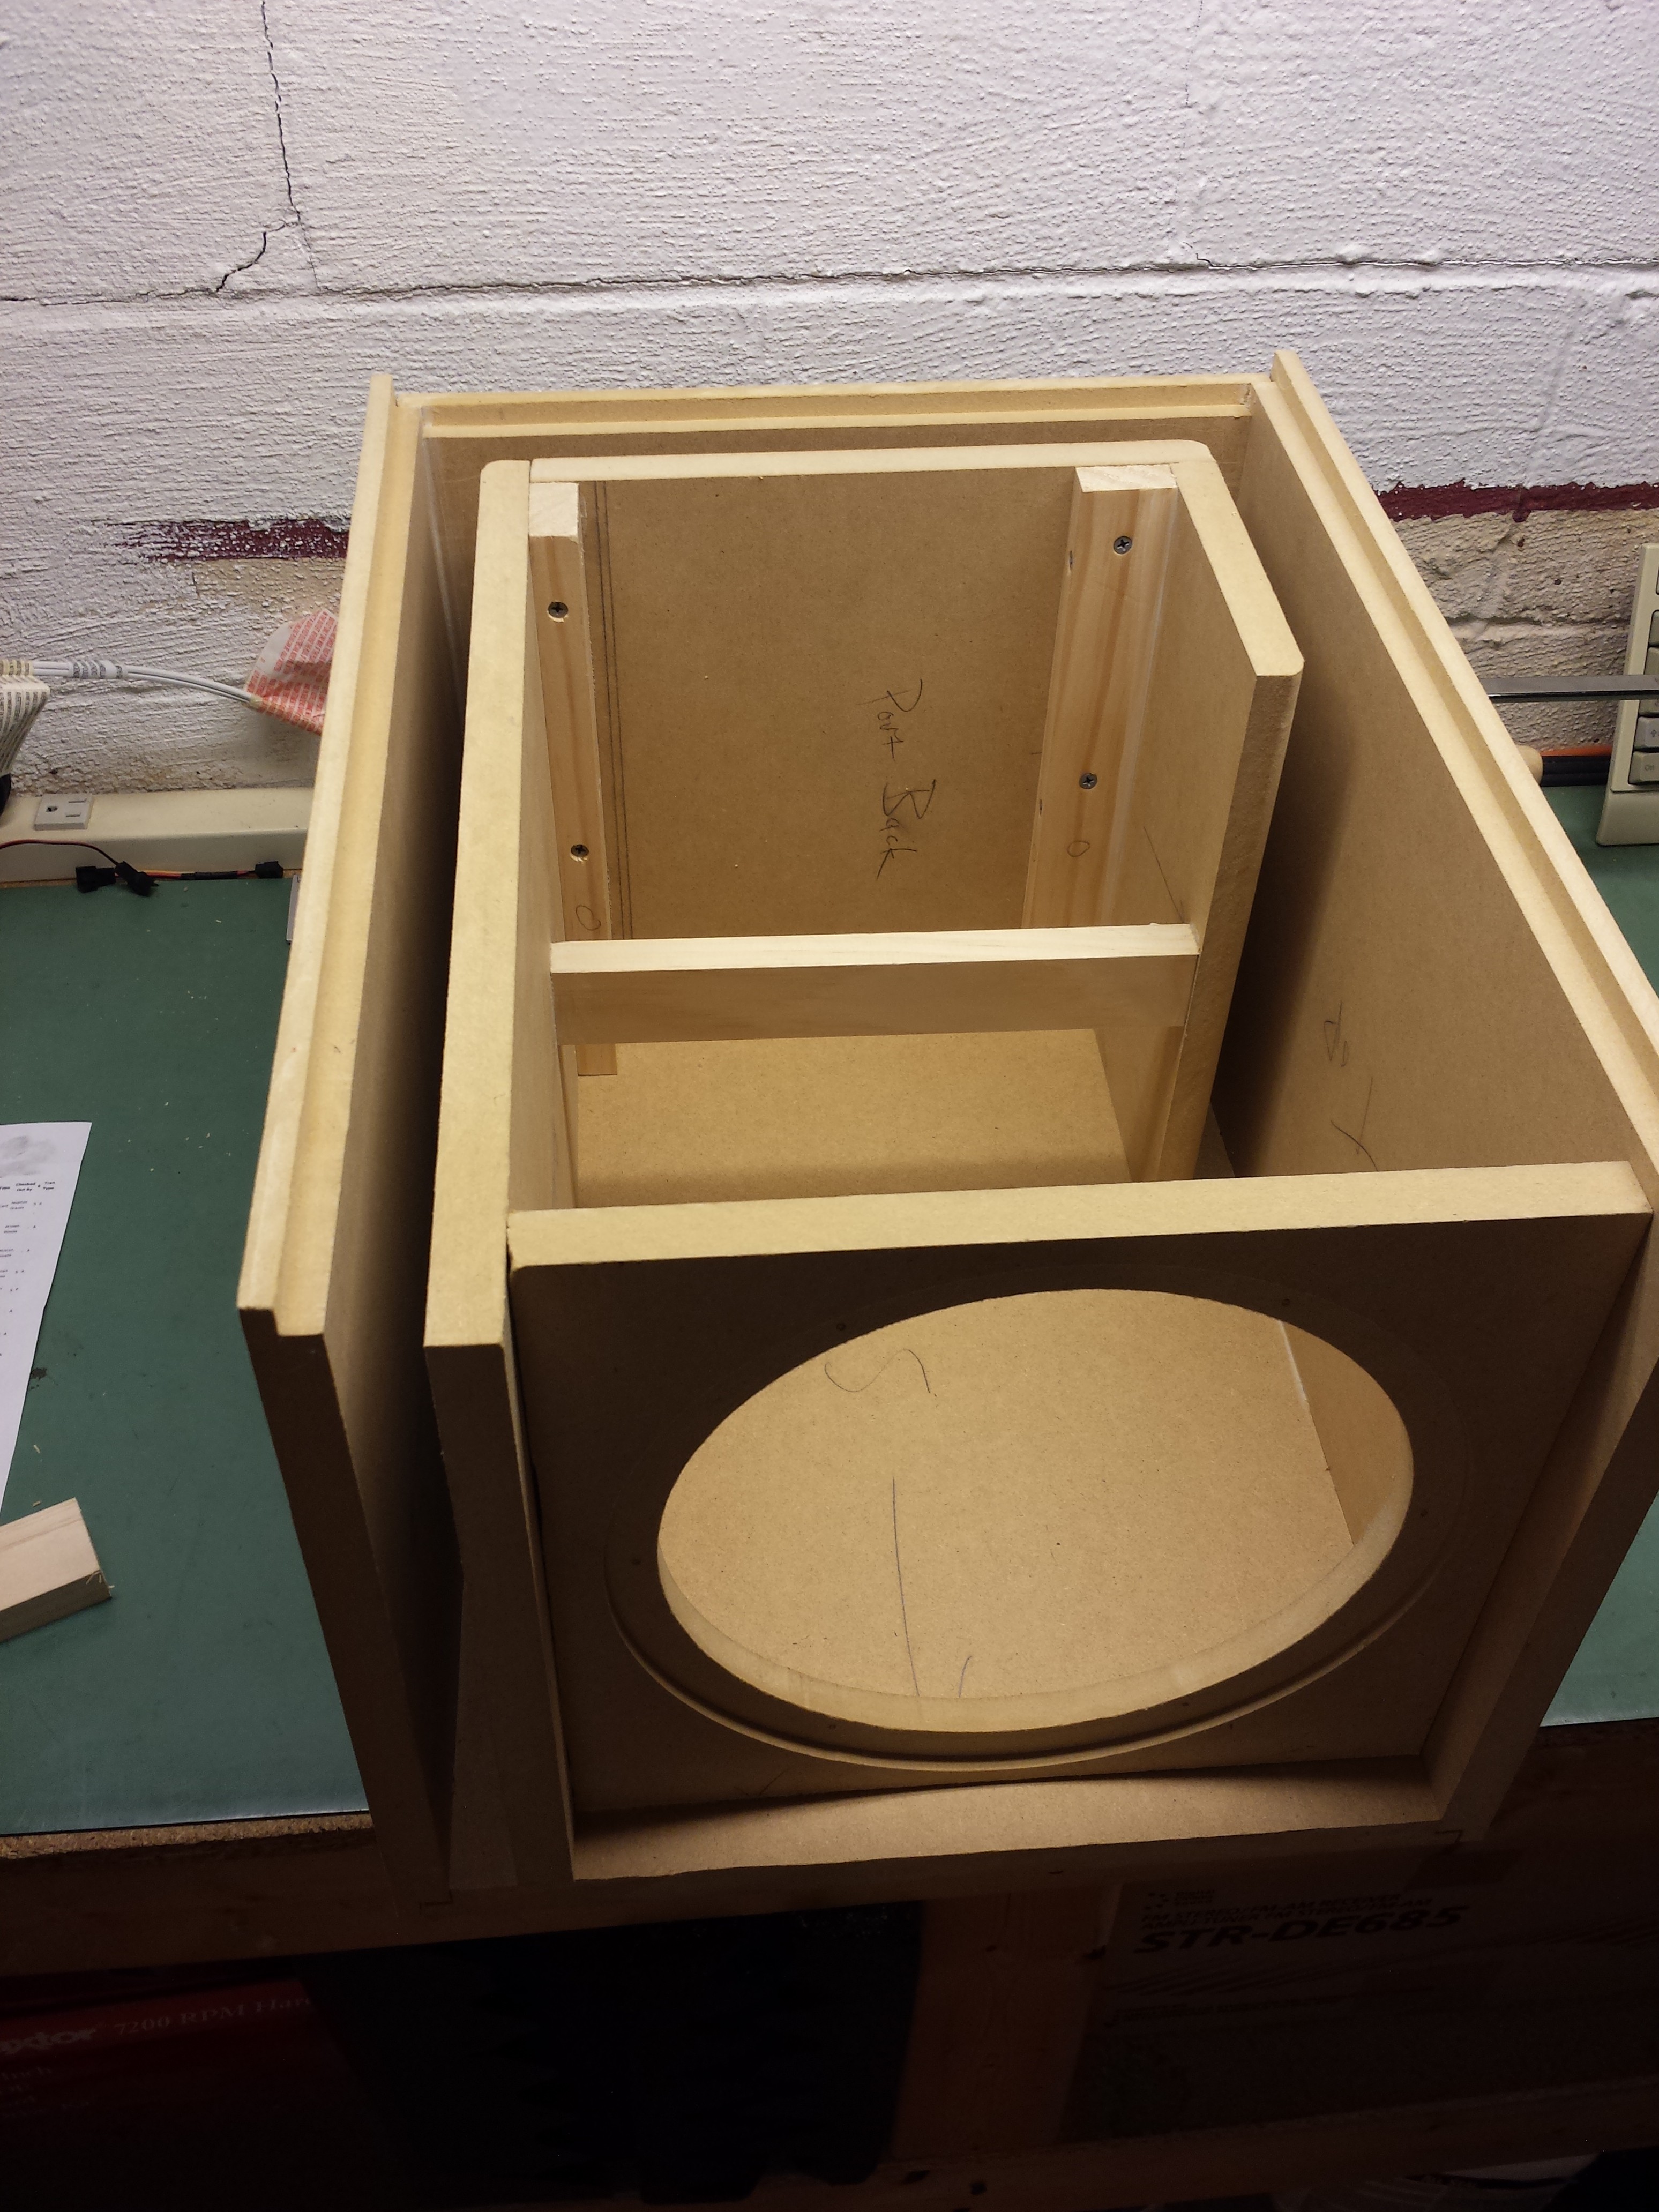
The port wall assembly was then lined up and marked, then glued and clamped in with the opposite side using a heavy tool box to hold everything tight along with a strategic bar clamp. After letting it sit for a while to cure, there were plenty of little 1/16” gaps here and there to fill in. Some standard carpenter’s putty took care of those, and a belt sander took everything flat the next day.

The router came in again to flare the exit of the port slot and the baffle was prepared with tee nuts and glued down into place.

Initial Test
Before finishing, I wired up the driver and hooked it up to an amp for testing. Running some low frequency sine wave sweeps I looked for any air leaks, rattles, or other problems with the cabinet. No such luck, the sucker handled some pretty serious levels at 20 to 30Hz without a problem. Some informal mic testing confirmed plenty of output into the 30Hz range, but I didn’t do accurate testing yet to get a real frequency response.
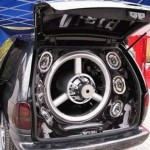
Mounting Points
In my trunk, I decided to use a pair of hinges to mount the box to the floor and allow removal when necessary. The hinges will be attached to the box with a pair of hand knobs and fold out of the way when the box is removed. Before finishing the box, the mounting spots were marked, drilled, and the tee nuts installed.
Custom Grill
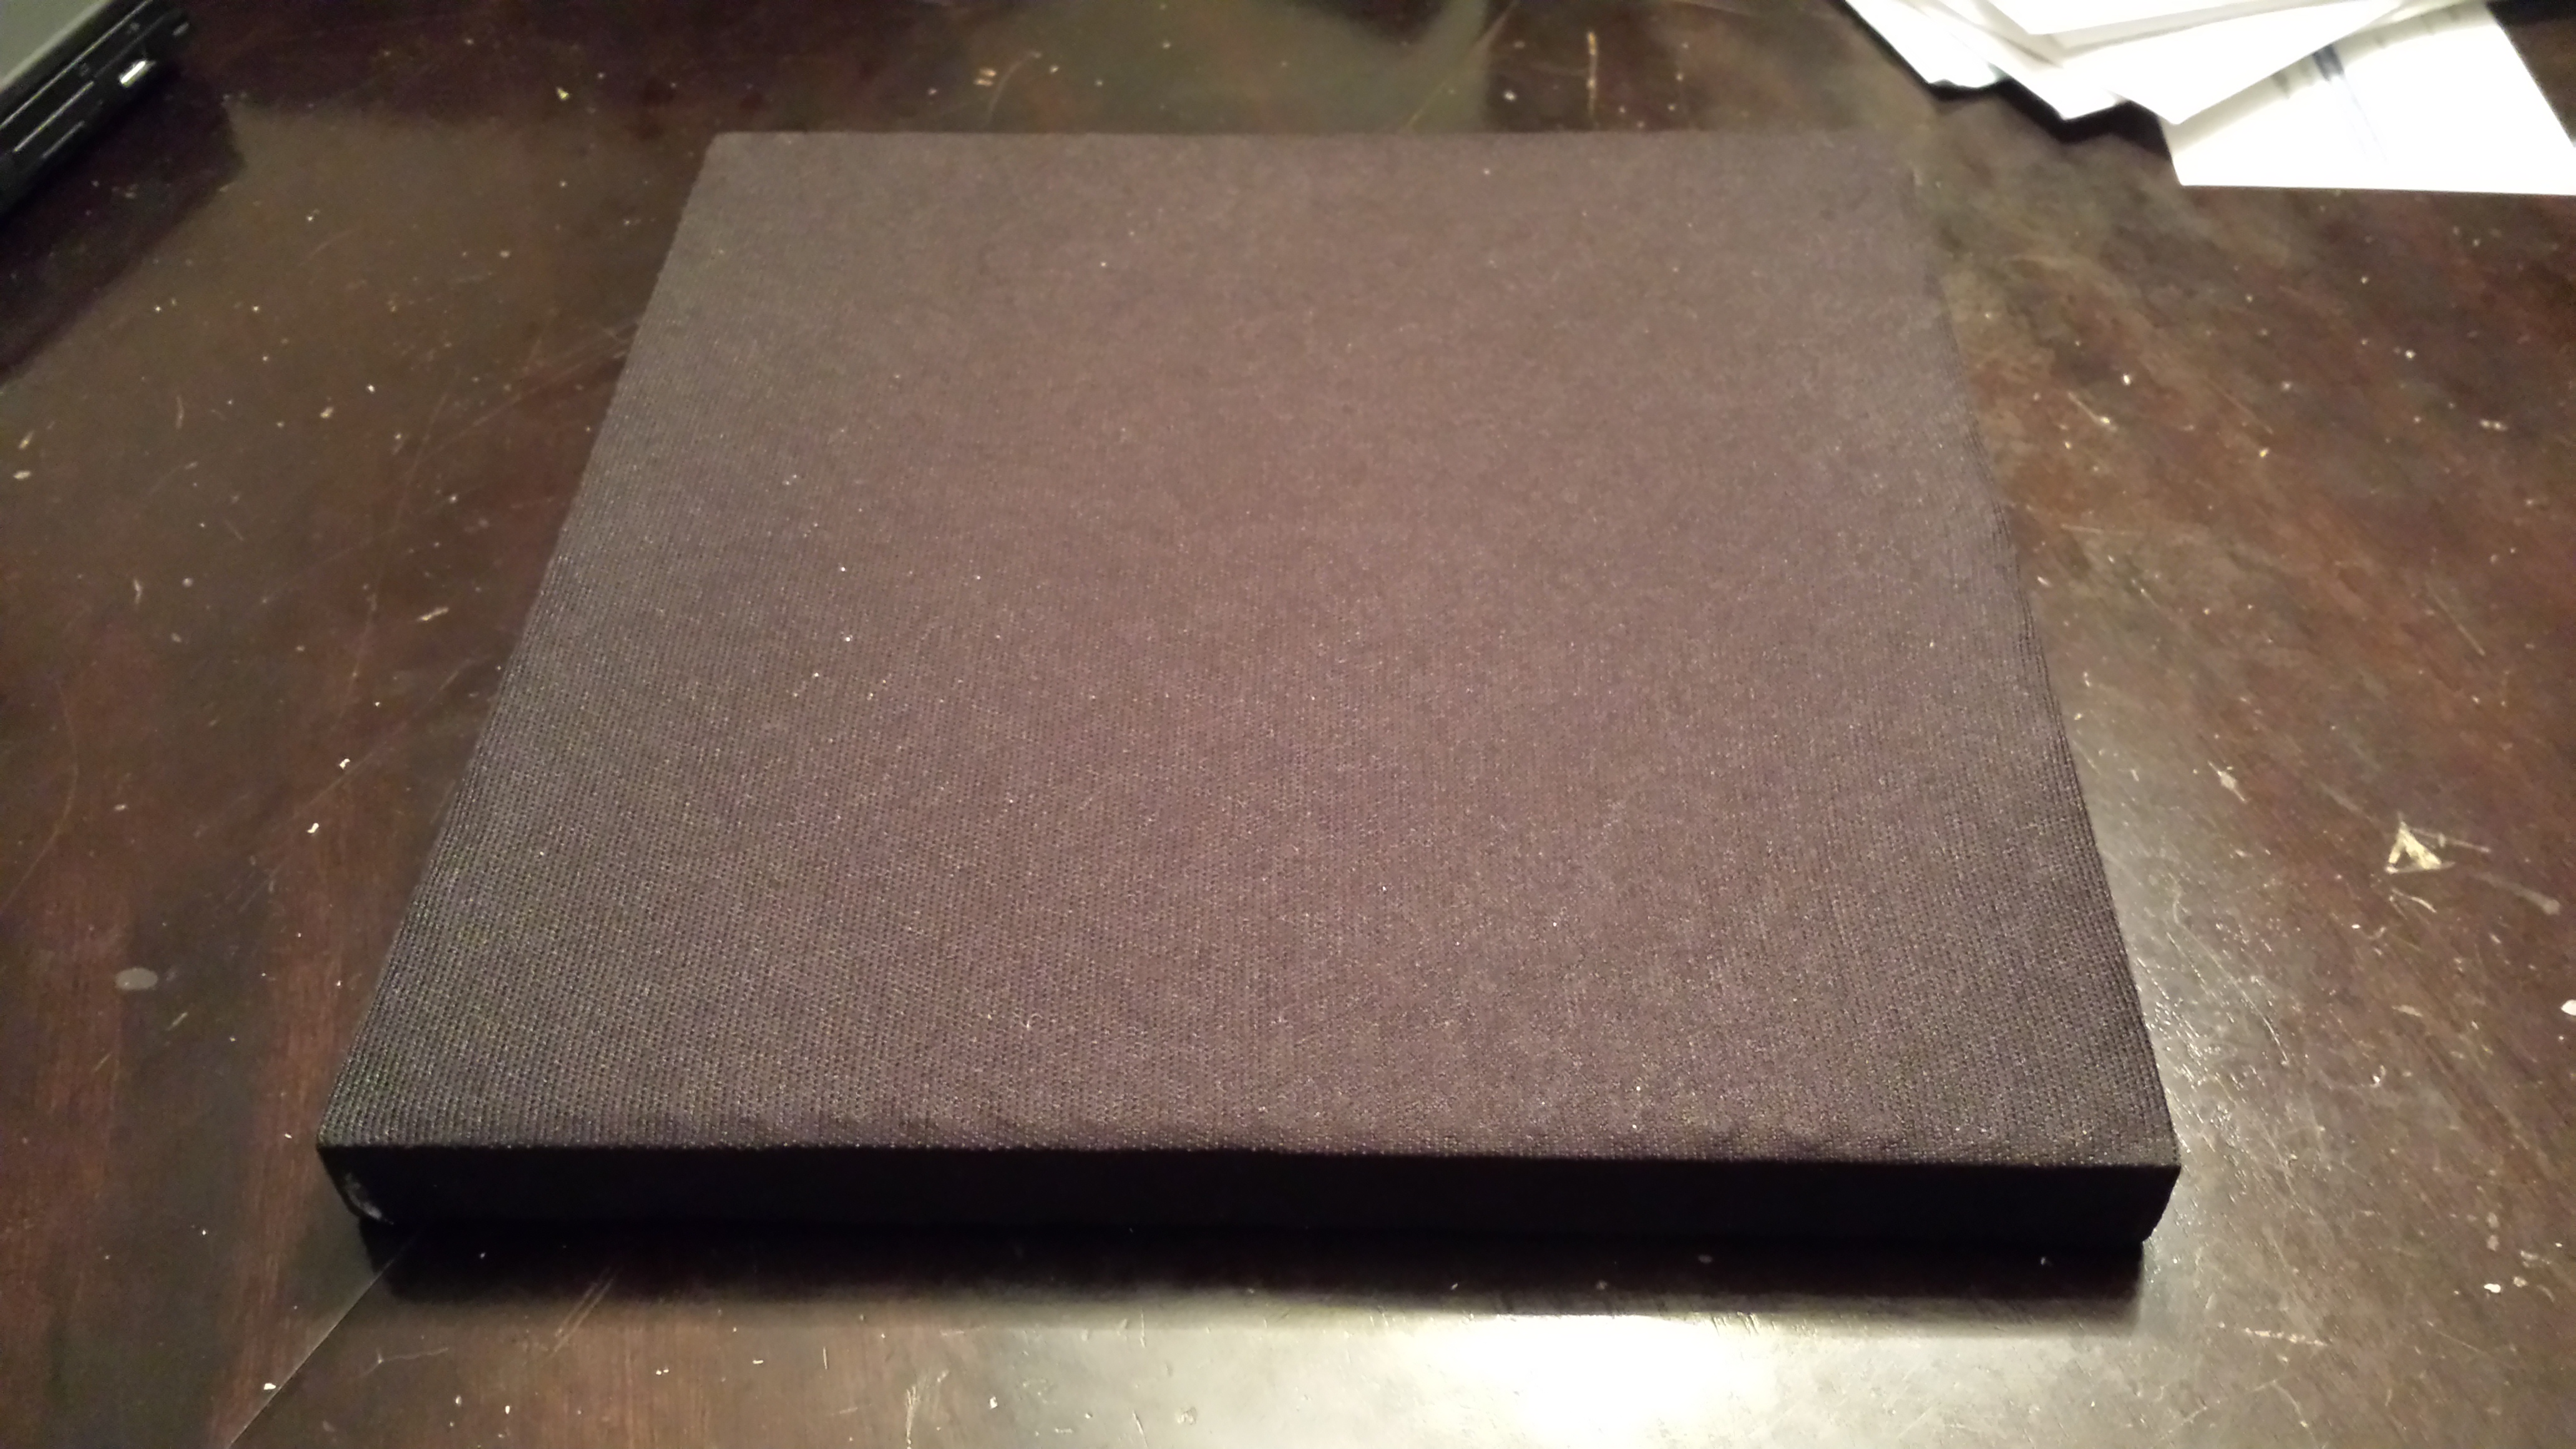
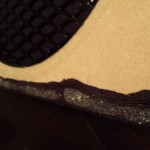
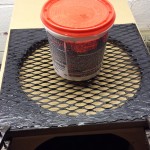
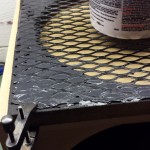
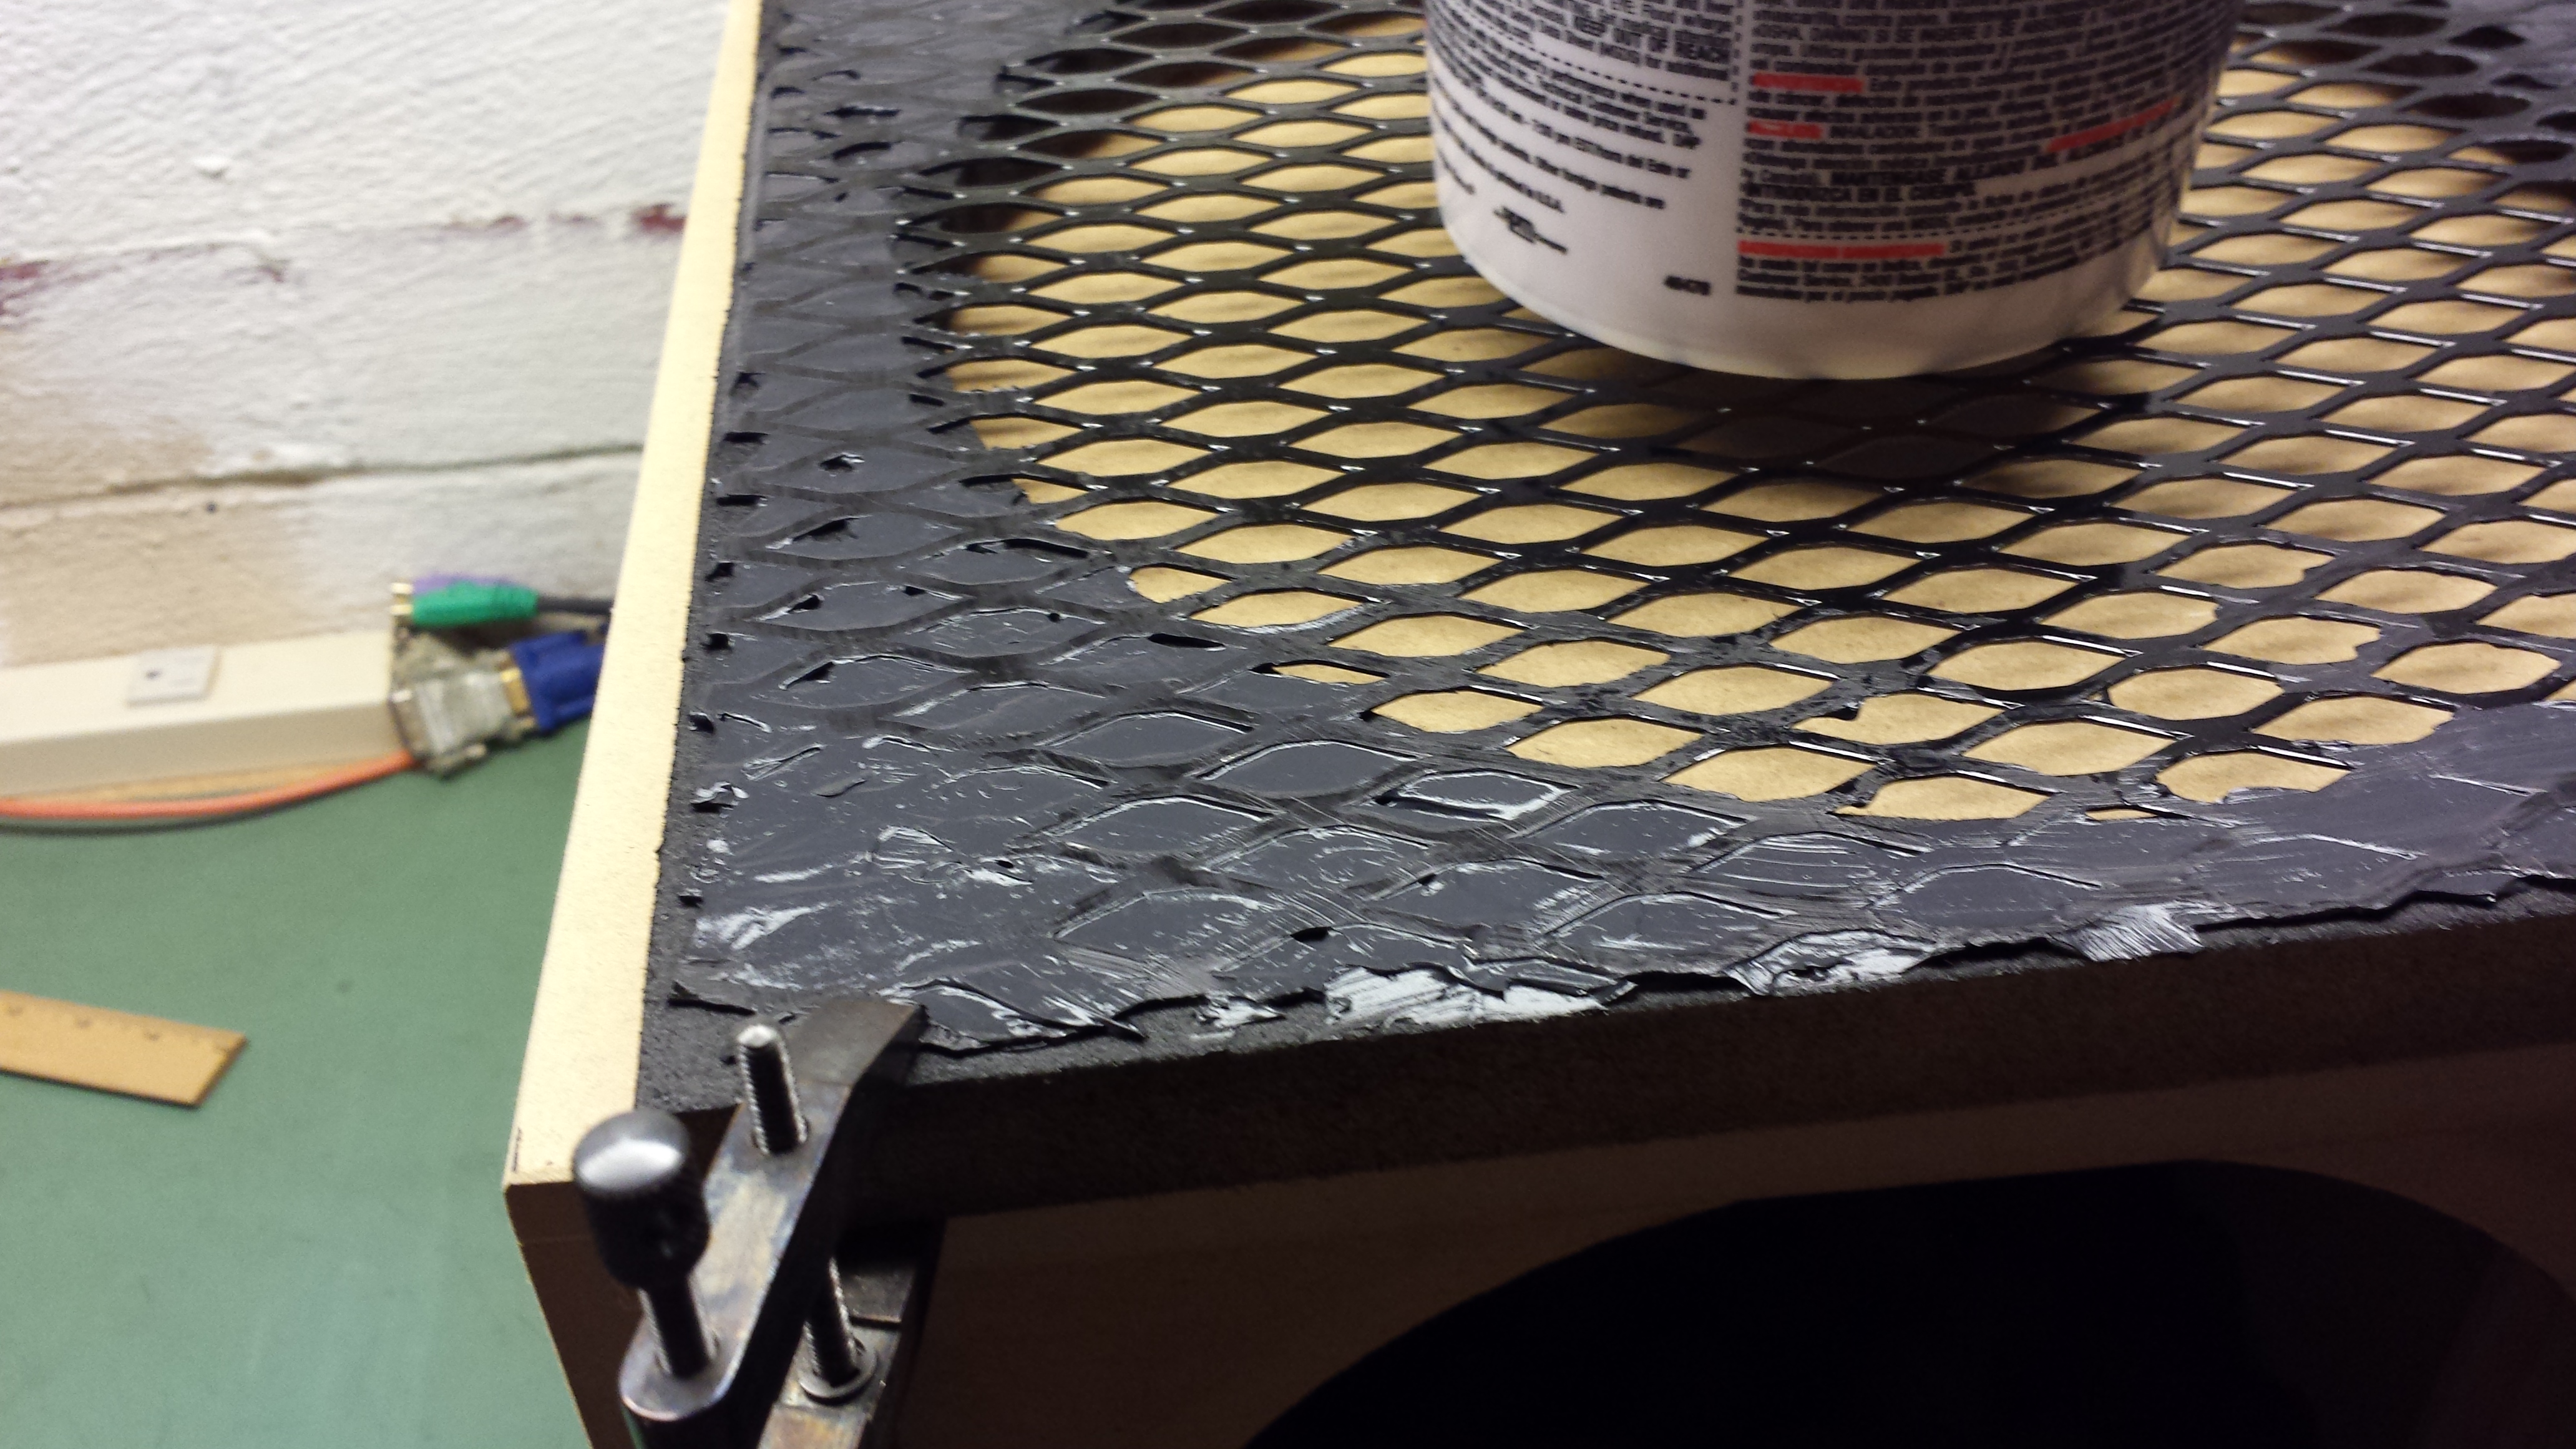
This speaker is intended to mount firing straight back against my hatch, which will leave the cone exposed when loading stuff in and out of the trunk. So to avoid damaging my $120 speaker cone, I wanted a solid protecting grille, and I also wanted to keep the box stealthy, not flashy. I wasn’t thrilled with the pre-built grill options, most of which are of the flashy show off your speaker variety. Using some inexpensive expanded metal sheet from the hardware store, I simply attached the metal (painted to avoid rust) to the wood grille with black silicone.

This was pretty ugly, but once covered with speaker grill cloth ended up really clean looking, and able to take an accidental hit without damage. The grill cloth was attached with hot melt glue, allowing me to simply work around the outside and push it into place with only minor hot finger discomfort.
Finishing
Before applying the Duratex, the port area got a layer of black spray paint to hide the wood color from the inside. Then it was time to roll on the Duratex. The application is really simple, though they don’t provide a re-sealable container. So grab a cheap plastic leftover container and squeeze the bag in. Tricky to reach areas can be covered with a brush, but the main surfaces work best with a roller. The “tex” part of Duratex comes from the roller itself, giving you a nice rough texture that will be really durable once dry. The coating dries to touch in just a couple hours indoors, where the humidity is low. At that point you can roll on another coat.

I coated the front end first, then flipped and coated the rest the next day. After another overnight sit, it was time to put in place.
Assembly and Installation
With the finish dry, the connection terminal and woofer were dropped into place and screwed in. The tolerances were tight for the woofer screws, and a 10X32 tap come in handy to fix any cross-threading from the insertion angles. The next morning the sucker was slapped in the truck, hooked up to the installed amplifier, and fired up.
The In Car Test
Initially, without setting up the levels properly, the woofer was really hot. That gave me the opportunity to experience just how much output this sucker had in a car with a good 300 Watts behind it… Incredible! Not only did I arrive to work with a numb head, I learned just how many things rattle inside my interior. A little later in the day I was able to use a calibrated mic and spectrum analyzer to set things up properly.
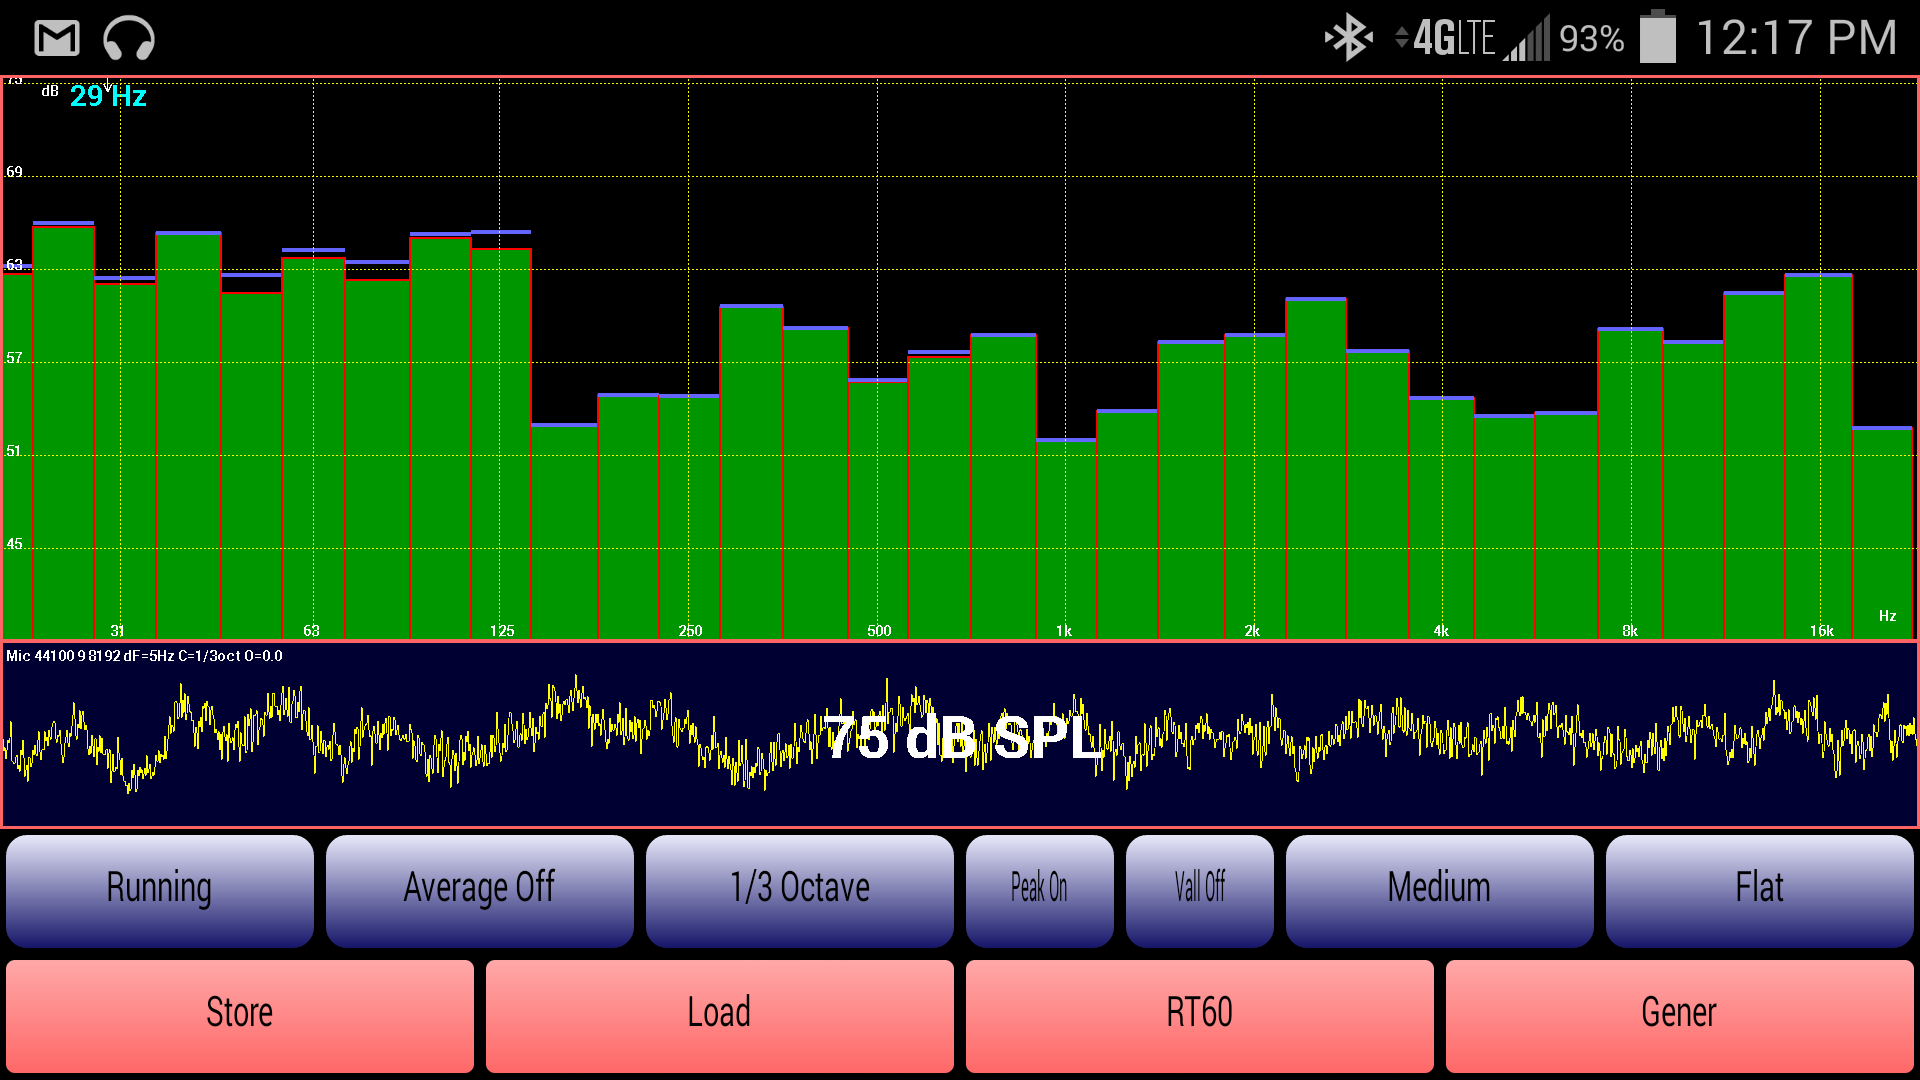
At 1/3 octave analysis and with some EQ and level adjustments, the interior is capable of hitting +- 5dB from 20 to 20kHz. Not bad for factory speakers and the built in Pioneer head unit EQ. I also ran a sine wave sweep from 20 to 200Hz and watch the SPL meter. Not going for maximum SPL, just for extension testing, I set the output for about 70dB and watch the meter as the frequency swept. Amazingly, at 20Hz the meter started out at 70dB and ended up at 60dB at 200Hz. There’s a bit of a rise around 40Hz, and a bit of a dip around 80Hz. Those are likely car acoustic issues, and I lack the EQ resolution to correct for them, so it is what it is. Just for kicks, I cranked it up and watched the SPL meter for level and distortion. The woofer easily pounded out 110dB at 35 Hz and 45Hz without distortion, and even managed 100dB at 25Hz before the waveform started to distort.
I personally prefer stronger bass than flat in my systems, especially in the car where you’re competing with road noise and vibration. So after I established that I was capable of being flat, I kicked the loudness contour back on and cranked the sub level back up a few notches for my own enjoyment.
Conclusion
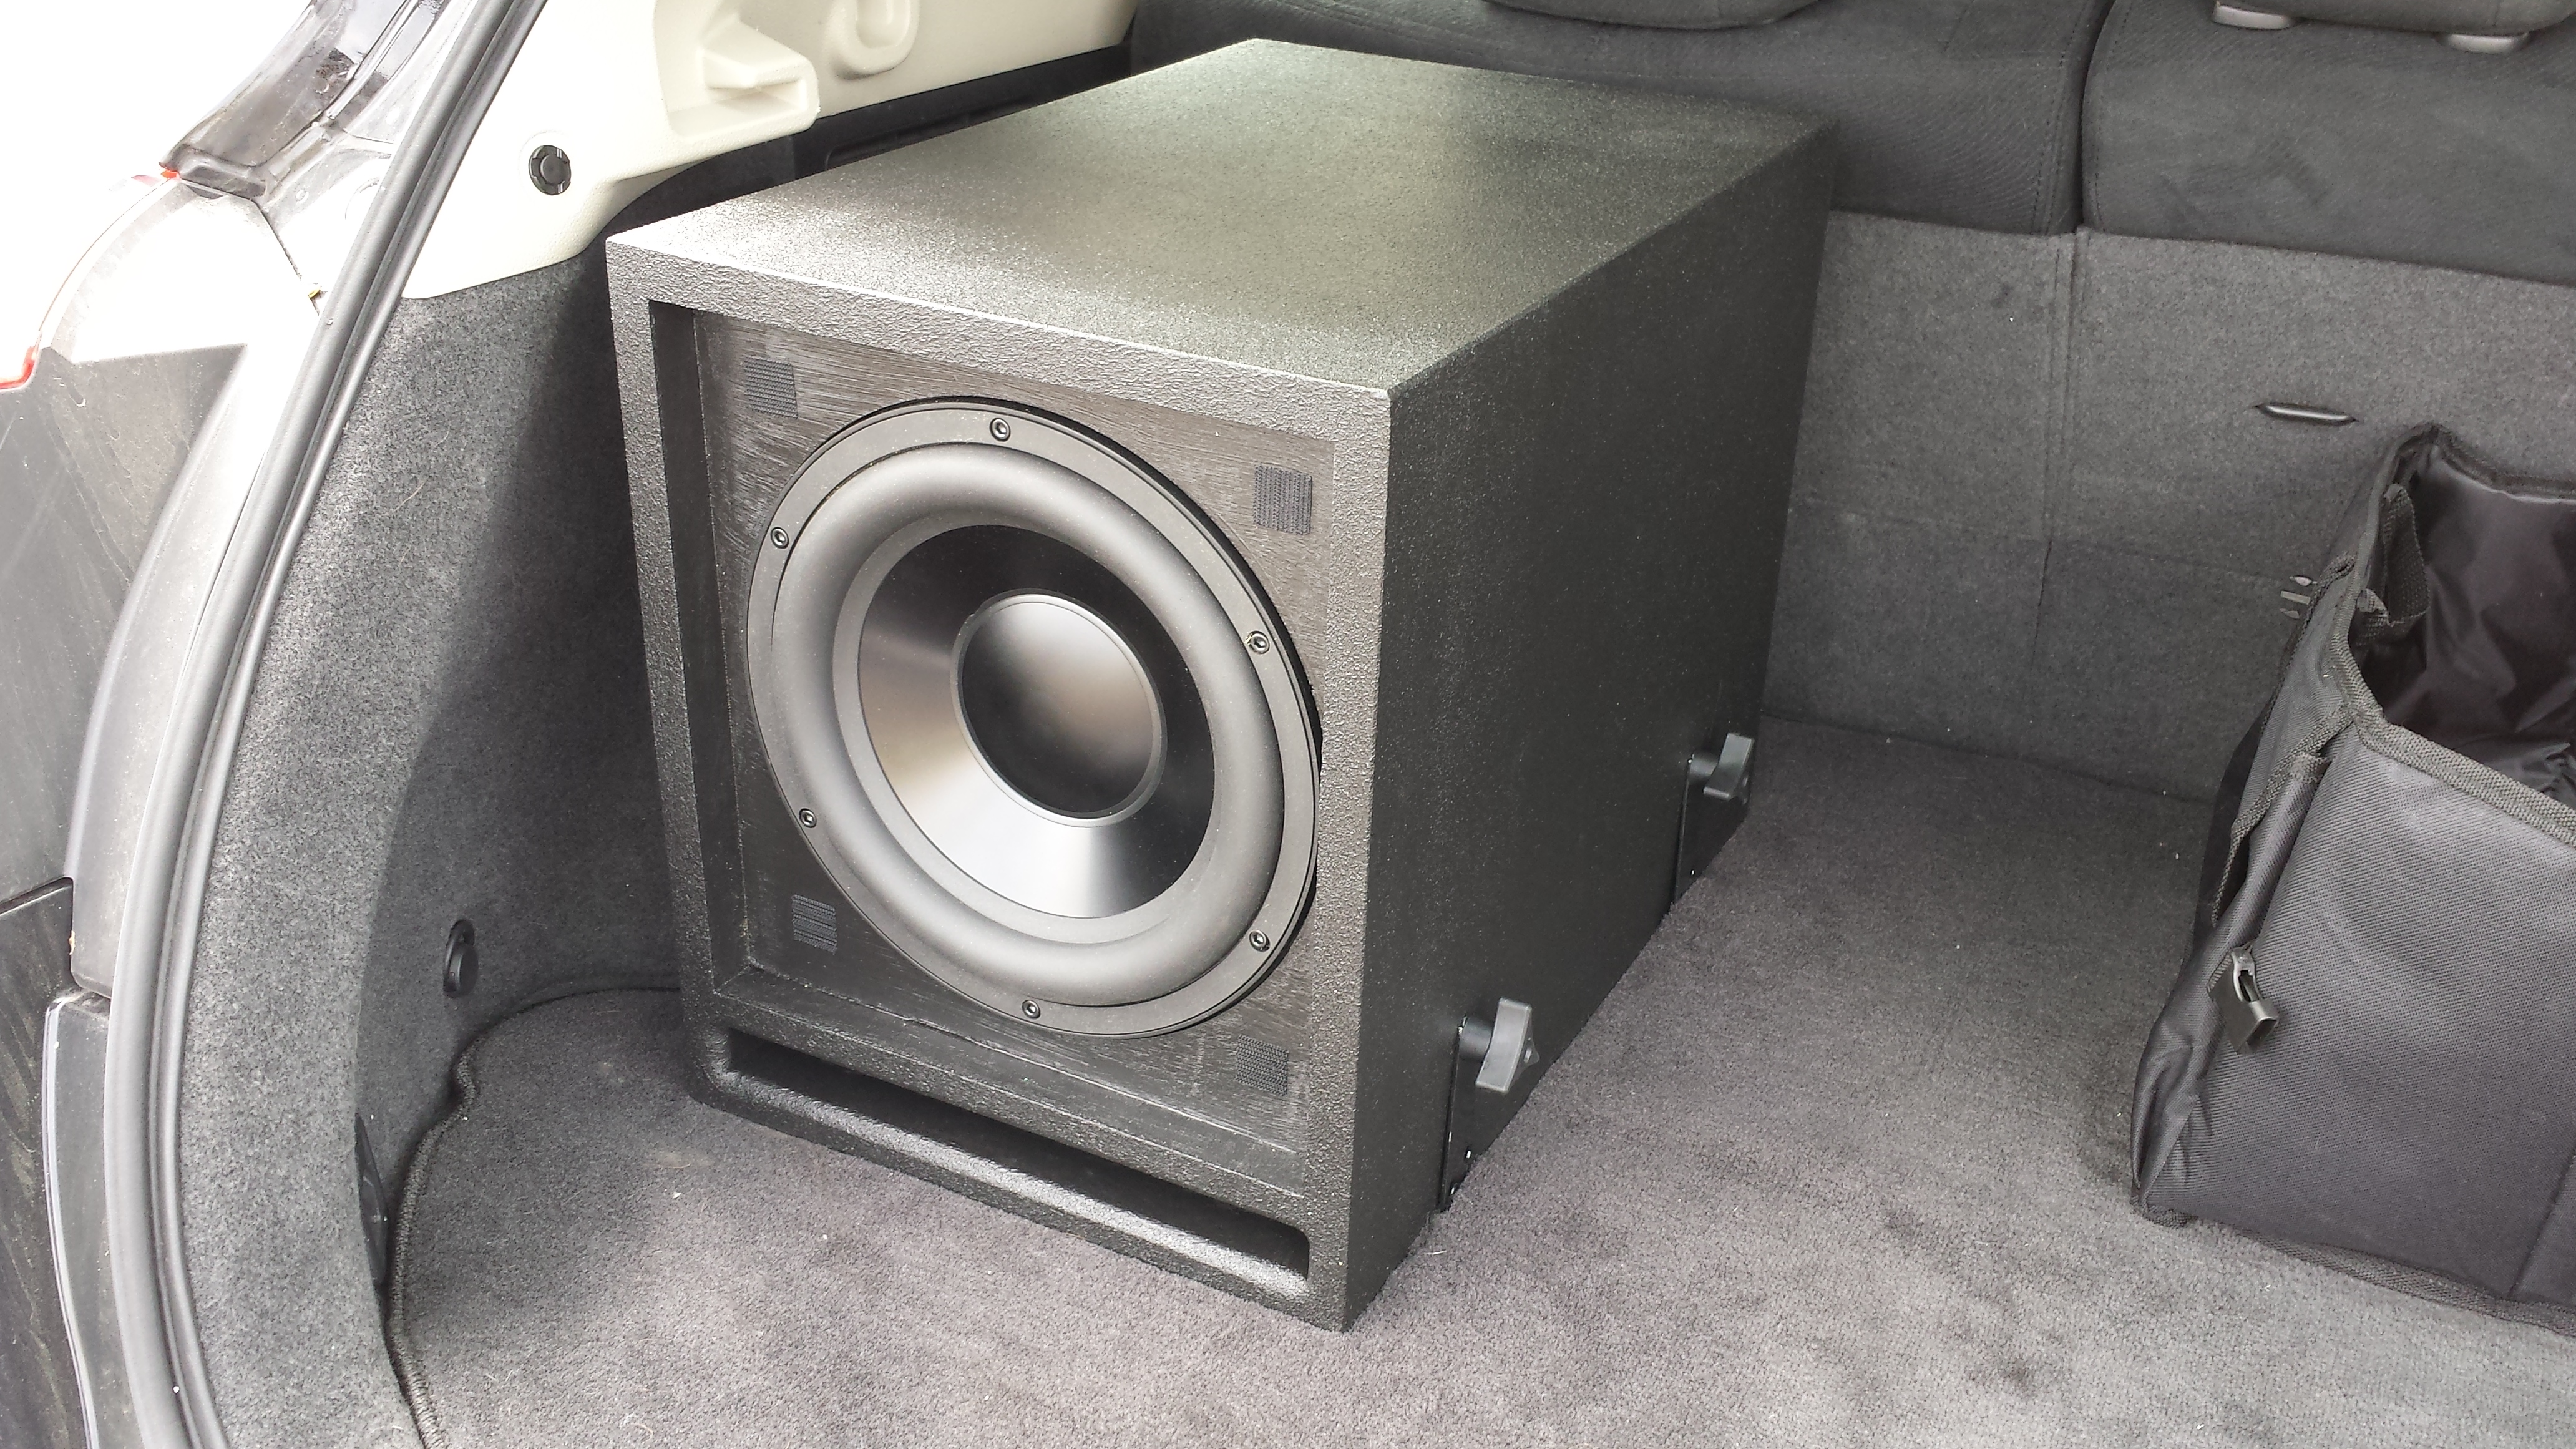
This is the first auto install woofer I’ve had in 24 years that was capable of responding down to 20Hz without losing any power or having any significant distortion. The last installation that could do that was a free air 12” woofer coupled directly through the back seat in a sedan. Accomplishing this in a 1 cubic foot box is really impressive. The output of this thing is by far the cleanest, deepest, and most powerful thing I’ve put in a car, and would be equally well suited in a house where the room doesn’t have the same low frequency boost as the small interior of a vehicle.
-
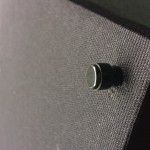
- Small knobs added to grill to let me actually remove it.
-
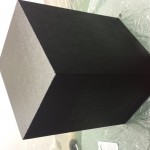
- The Obelisk

-
- Front side coating
-

- The non-descriptive grill
-
- Hot melt glue attachment of the cloth
-
- A whole lot of silicone.
-
- Waiting to dry
-
- Smooth routing the port exit.
-

- Sanded smooth
-
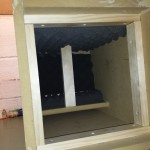
- Internal bracing and damping.
-
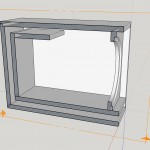
- Sketch Up cut-away
-

- Sketch Up complete
-

- Clamp and glue, little tolerance issues to deal with.
-
- Clamp and glue, little tolerance issues to deal with.
-

- Clamp and glue, little tolerance issues to deal with.
-
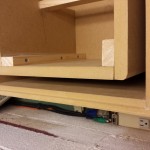
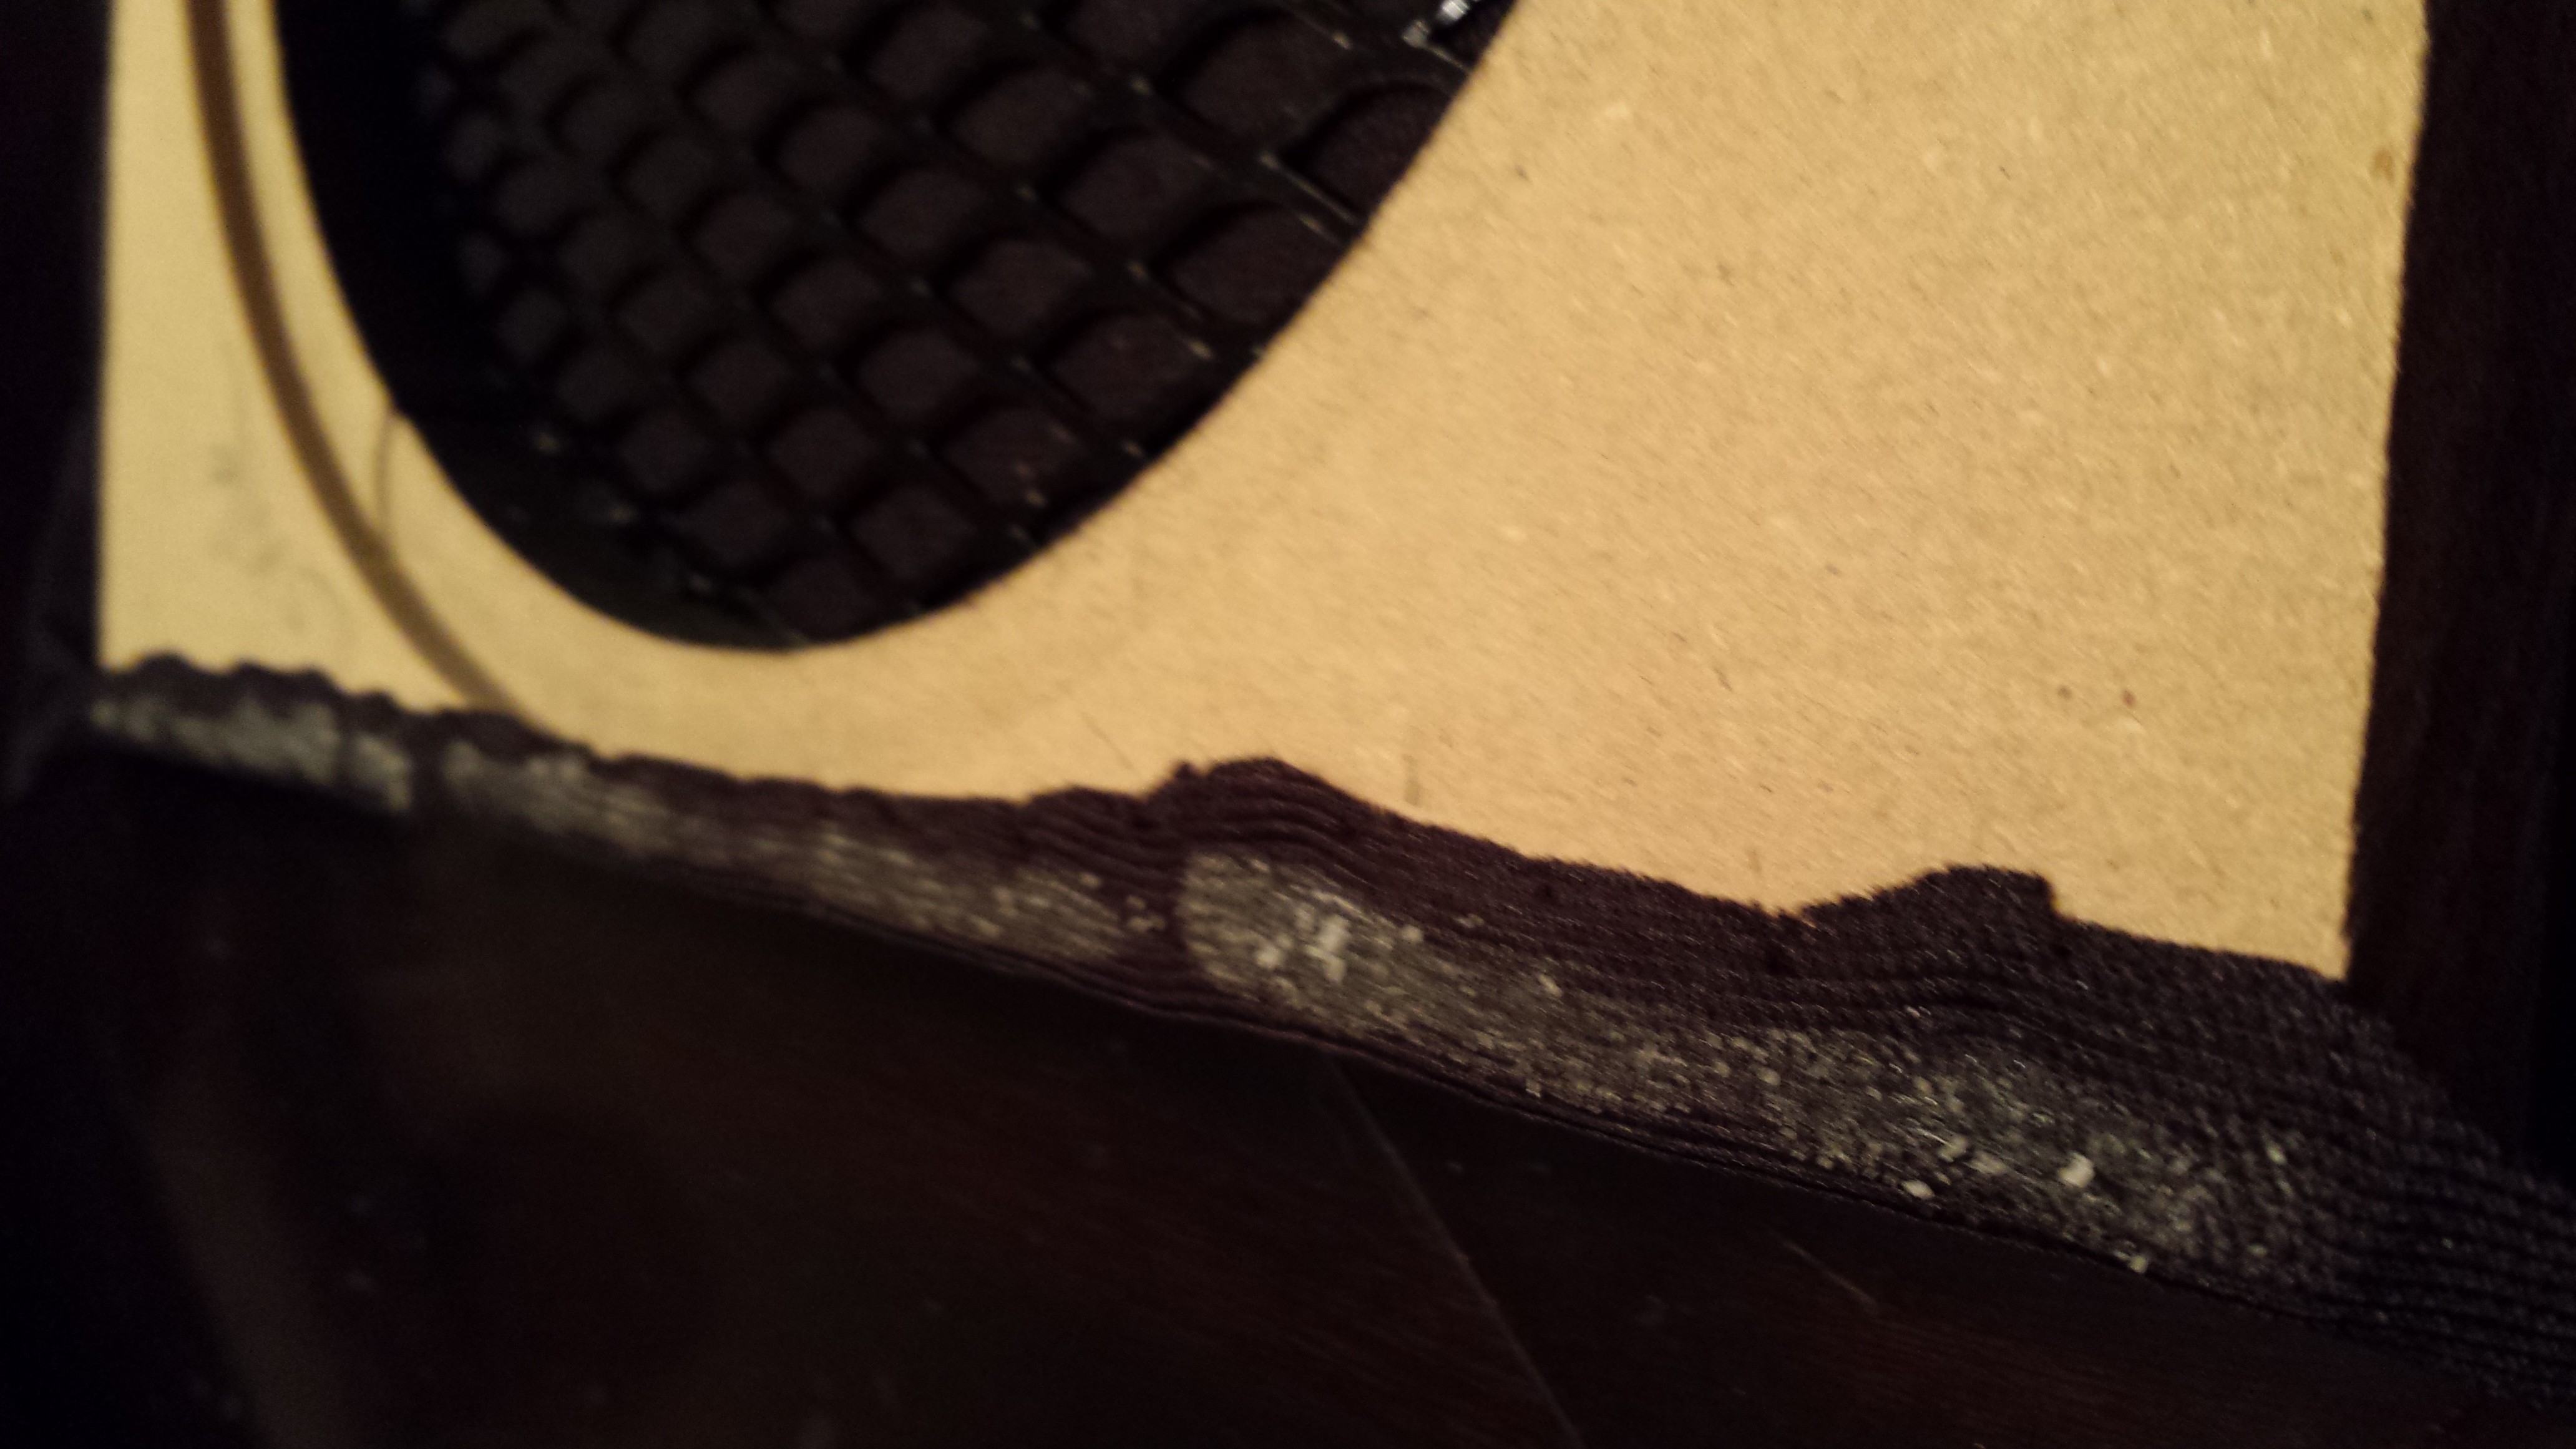
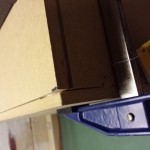
- Close up of back side of the port channel.
-
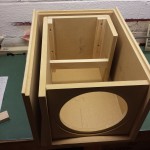
- Test fitting the port channel assembly.
-
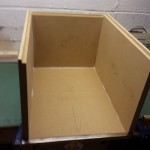
- First 4 walls assembled.

-
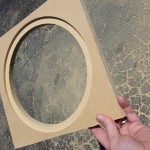
- The beauty of the circle jig.
-
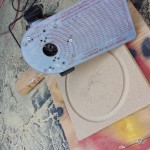
- Jasper circle jig.
-
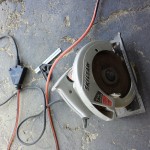
- Good old Skill Saw

-
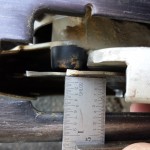
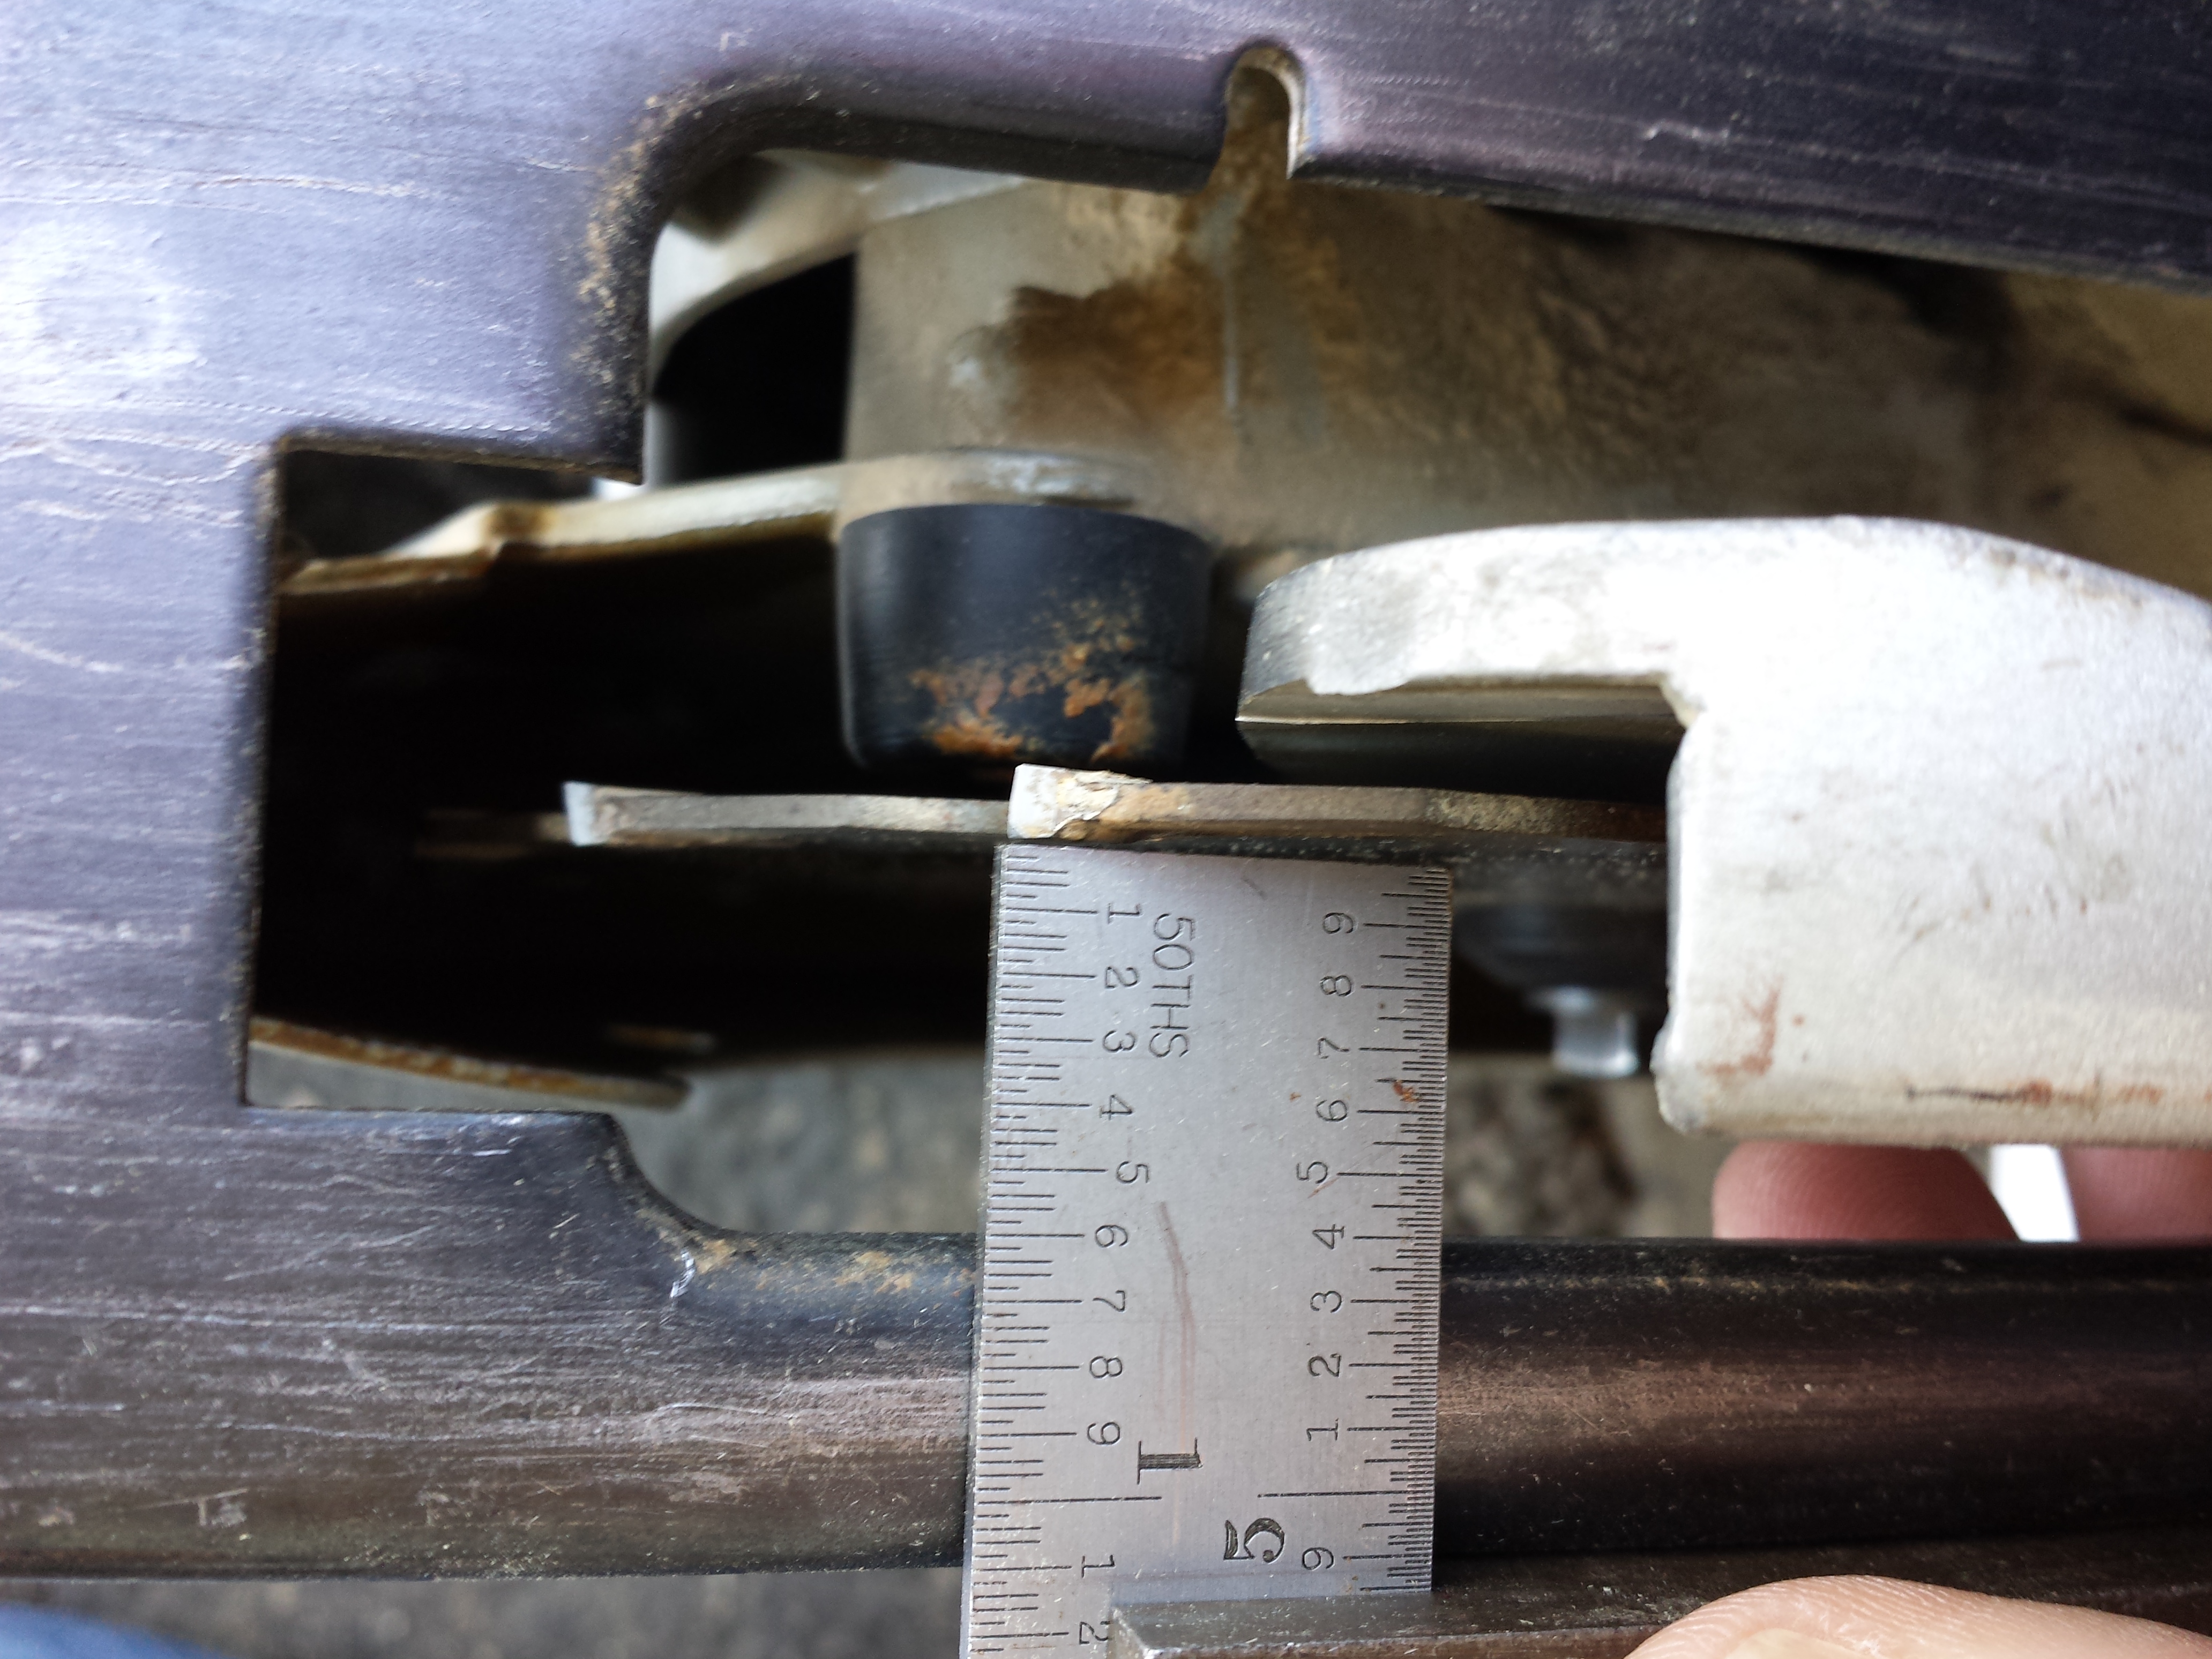
- Measuring to the outside of the blade
-

- Adjusting the saw guide.
-
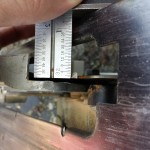
- Measuring to the inside of the blade.

-
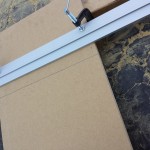
- Clamped and ready to cut.
-
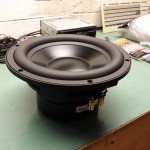
- The Dayton Reference Series 10″ woofer

-
- Complete and installed.
-
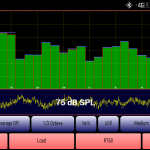
- Whole system frequency response.
Pingback: Advanced Speaker Design Simulation | The World of Wogg
Pingback: Anarchies Construction | The World of Wogg